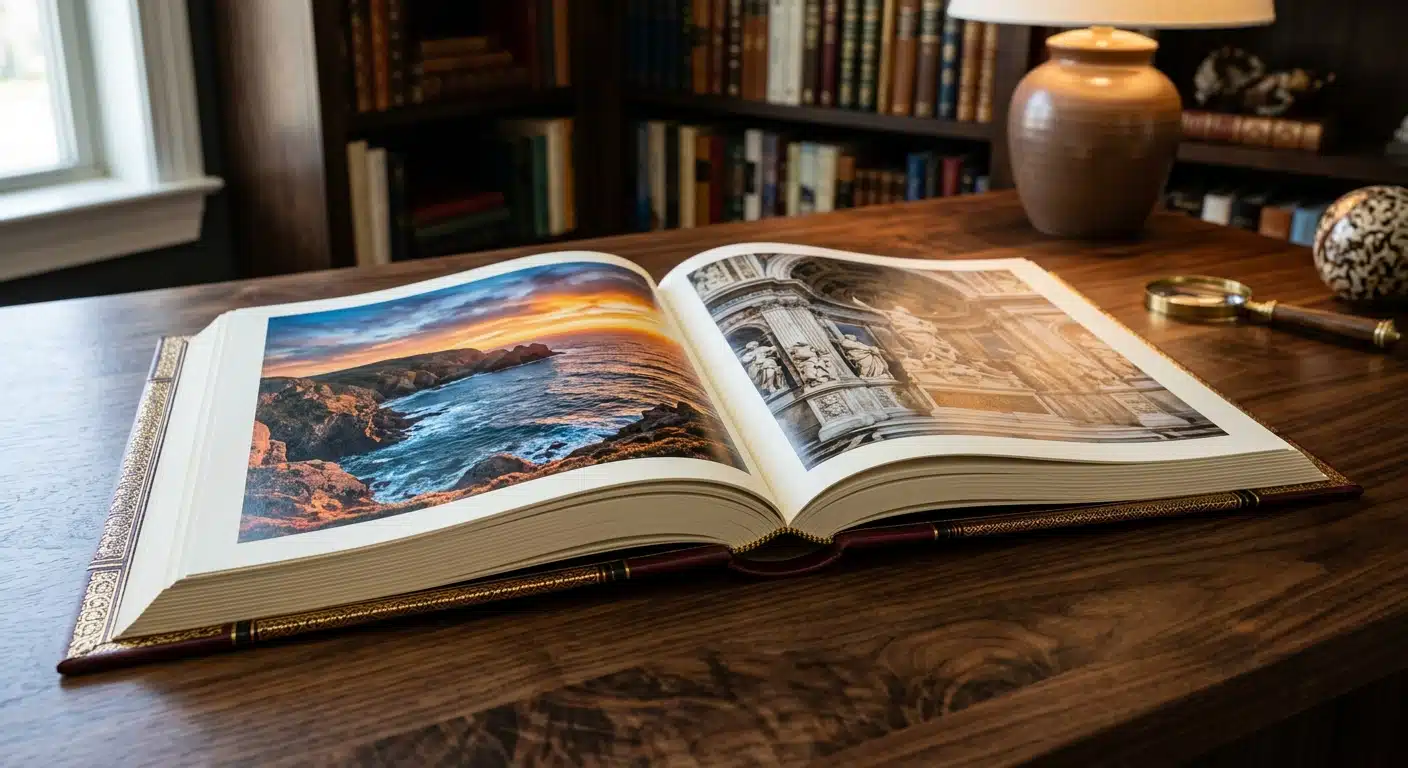
من التصميم الرقمي إلى الحبر المطبوع: لماذا تكتسب مرحلة ما قبل الطباعة أهمية

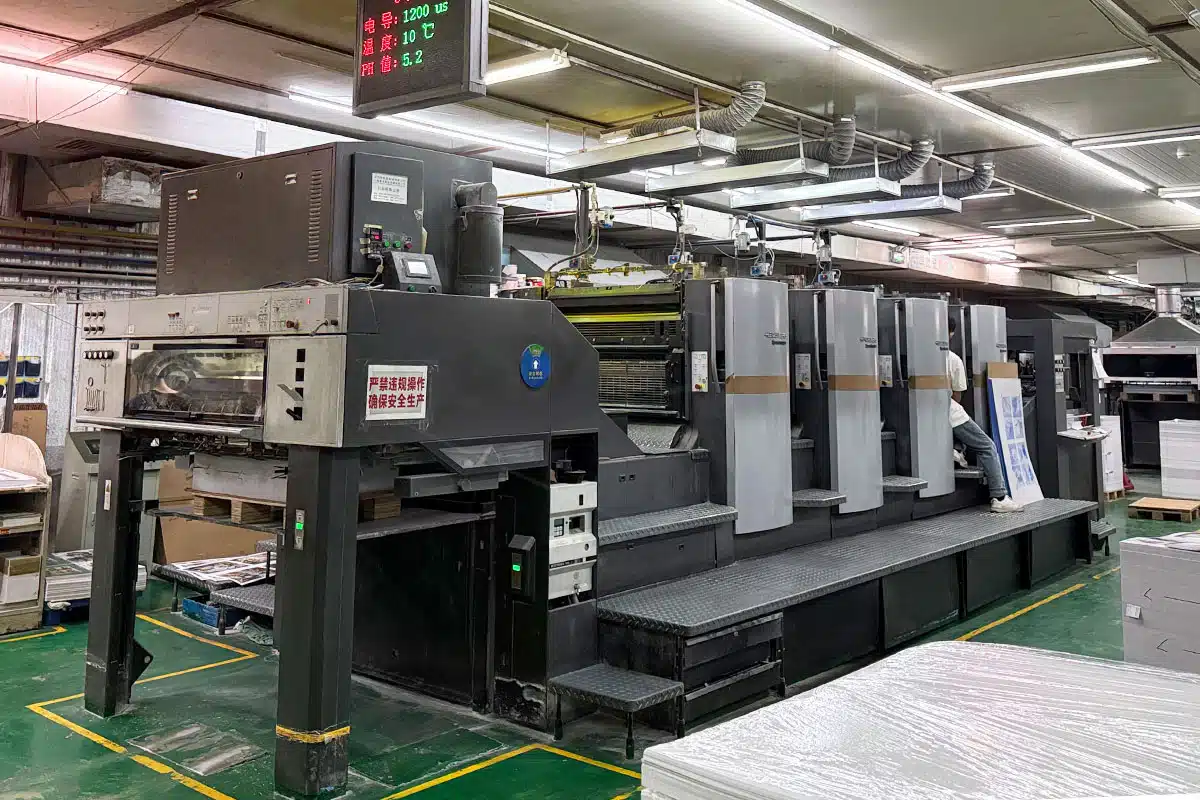
في عالم الطباعة الأوفست الاحترافية، يُعد الانتقال من ملف رقمي على الشاشة إلى كتاب مادي أو صندوق أو مجموعة أوراق لعب مرحلة حاسمة. وعلى عكس الطباعة الرقمية، التي تتيح إجراء تعديلات سريعة ومنخفضة التكلفة، تتطلب الطباعة الأوفست إنشاء ألواح مادية وتستغرق وقتًا طويلاً في الإعداد. ويمكن أن يؤدي أي خطأ في ملف المخطوط — مثل أوضاع الألوان غير الصحيحة أو عدم وجود حواف التسييل — إلى تأخيرات في الإنتاج أو إعادة طباعة مكلفة.
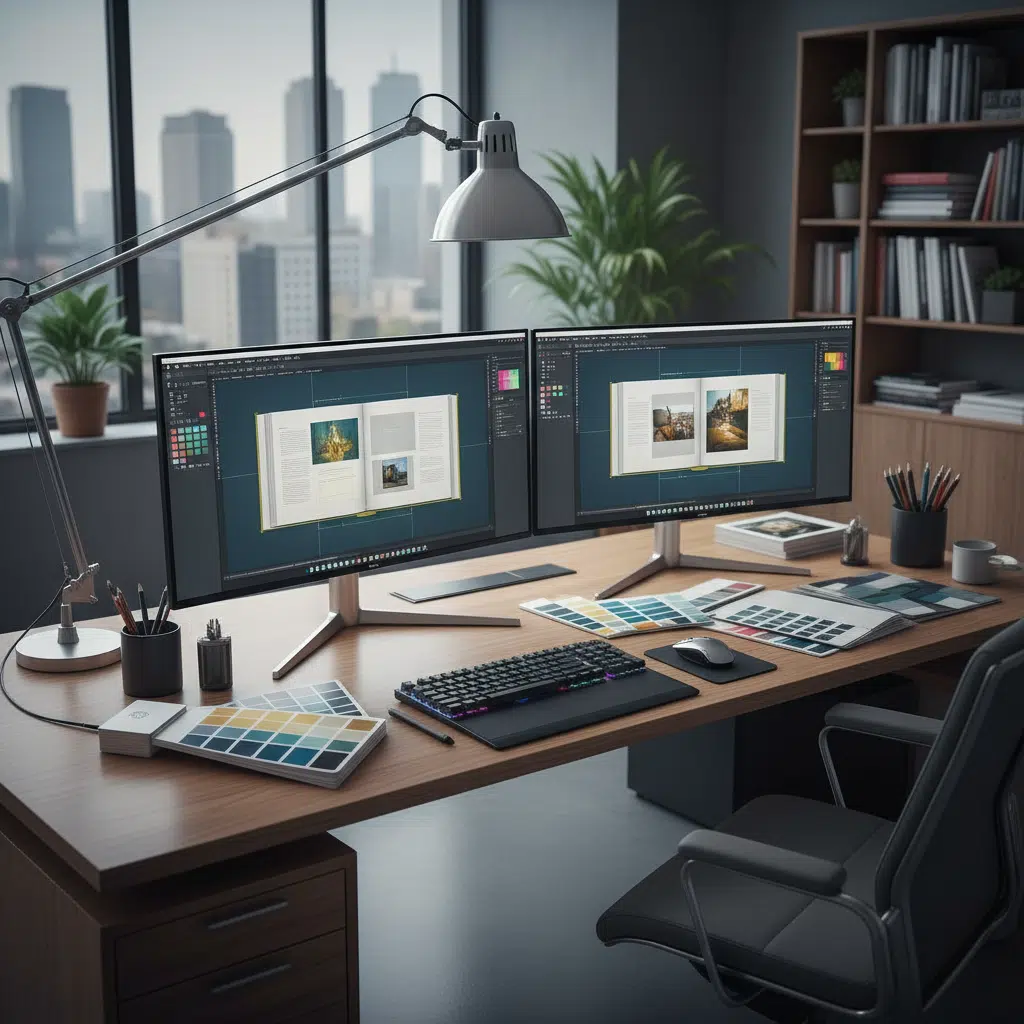
For self-publishers, brand owners, and procurement managers, understanding the technical requirements of industrial printing is essential. A well-prepared "print-ready" file ensures that the final product matches the designer’s vision and flows smoothly through the manufacturing process without interruption.
1. وضع الألوان: تحويل RGB إلى CMYK
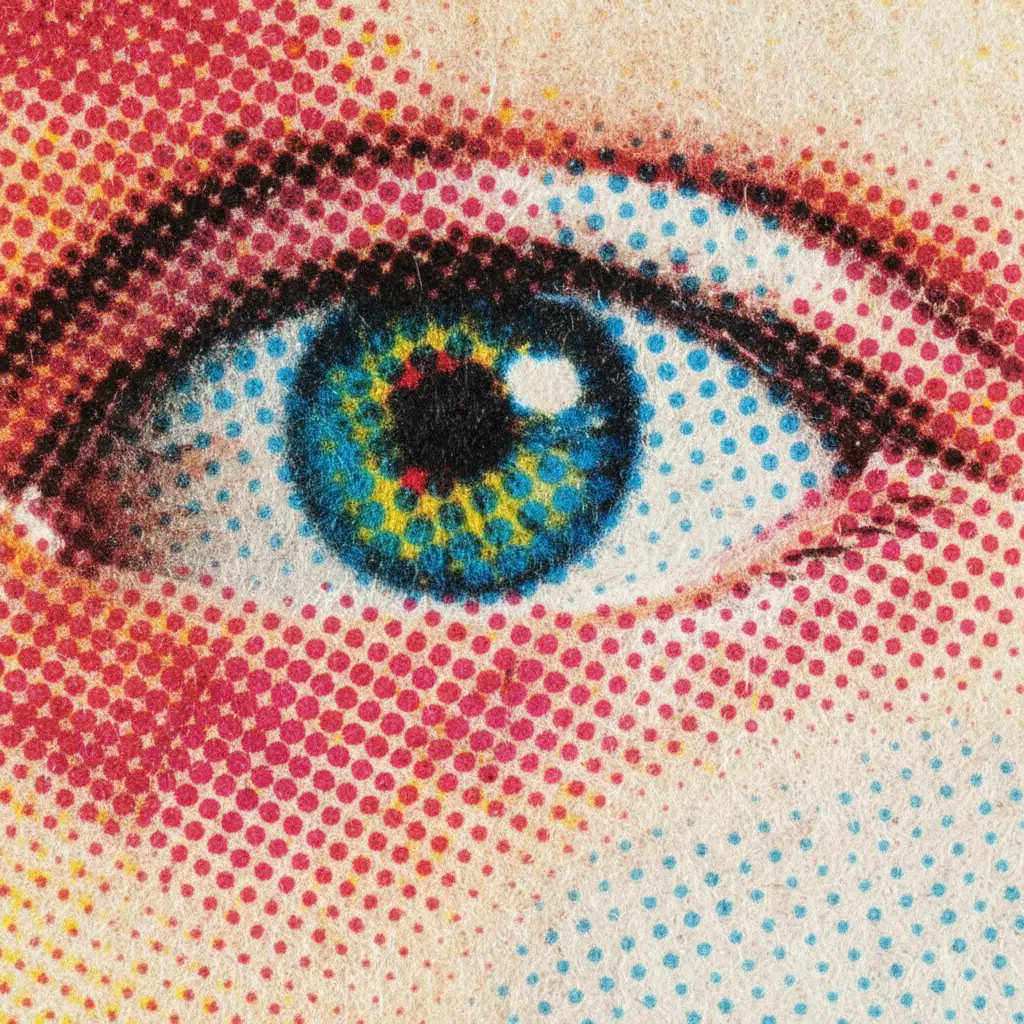
الخطأ الأكثر شيوعًا في إعداد الملفات هو تقديم التصميمات بتنسيق RGB (الأحمر، الأخضر، الأزرق). ويُعد RGB نموذجًا لونيًّا تراكميًّا يُستخدم للشاشات، حيث يتم إسقاط الضوء لتكوين الألوان. أما الطباعة الأوفست، فهي عملية طرحية تستخدم الحبر المادي على الورق، وتحديدًا عملية الألوان الأربعة: السماوي، والأرجواني، والأصفر، والأسود (Key)، والمعروفة باسم CMYK.
تغير نطاق الألوان
تقع العديد من الألوان الزاهية الشبيهة بألوان النيون التي تظهر على شاشة الكمبيوتر خارج نطاق ألوان CMYK القابلة للطباعة. إذا قمت بإرسال ملف بتنسيق RGB، فسيقوم برنامج التحويل (RIP) في مطبعة الطباعة بتحويله تلقائيًا إلى نظام CMYK. وغالبًا ما يؤدي هذا التحويل التلقائي إلى ظهور ألوان باهتة وغير واضحة لا تتوافق مع توقعاتك.
خطوة عملية: قم بتحويل أوضاع ألوان جميع الصور والمستندات إلى CMYK قبل الانتهاء من التصميم. إذا كنت بحاجة إلى لون معين خاص بالعلامة التجارية لا يمكن الحصول عليه عبر نظام CMYK (مثل الألوان الفلورية أو المعدنية)، فيجب عليك تحديد لون محدد من نظام Pantone (PMS).
2. الدقة: معيار 300 نقطة في البوصة
تبلغ دقة الشاشة عادةً 72 نقطة في البوصة (DPI)، والتي تبدو واضحة على الشاشة ولكنها تظهر مشوشة وغير واضحة عند طباعتها على مطبعة أوفست. وللحصول على طباعة احترافية عالية الجودة، يجب أن تكون جميع الصور النقطية (الصور الفوتوغرافية، والأنسجة) بدقة لا تقل عن 300 نقطة في البوصة بحجمها الفعلي عند الطباعة.
- الرسومات المتجهة: من الأفضل أن تكون الشعارات والنصوص بتنسيقات متجهة (AI أو EPS أو PDF). فالرسومات المتجهة لا تتأثر بالدقة وستظل واضحة مهما كان حجمها.
- تحذير بشأن توسيع نطاق البحث: لا تكتفِ بتغيير إعدادات الدقة لصورة منخفضة الجودة في برنامج «فوتوشوب». فهذا لا يضيف تفاصيل، بل يزيد من الضبابية فحسب. يجب عليك الحصول على ملفات عالية الدقة منذ البداية.
3. التخلص من الألوان الزائدة، والتشذيب، وهوامش الأمان
Industrial cutting machines handle thousands of sheets at once. While modern guillotines are precise, there is always a mechanical tolerance (often ±1mm). To account for this, your file must include specific structural elements.
فهم المصطلحات
- خط التزيين: الحجم النهائي للمنتج بعد القص.
- منطقة النزيف: العمل الفني الذي يتجاوز خط القطع. وعادةً ما يكون التجاوز القياسي 3 ملم (0.125 بوصة) من جميع الجوانب. إذا كان تصميمك يحتوي على لون خلفية أو صورة تمتد حتى حافة الصفحة، فيجب أن تمتد هذه الخلفية إلى منطقة التسييل لمنع ظهور خطوط بيضاء رفيعة في حالة حدوث انحراف طفيف في القص.
- هامش الأمان (المنطقة الآمنة): منطقة عازلة داخل خط القطع، تتراوح عادةً بين 3 مم و5 مم. يجب أن تظل العناصر المهمة مثل أرقام الصفحات والنصوص والشعارات داخل هذه المنطقة لضمان عدم قطعها.
4. التعامل مع درجات اللون الأسود: الأسود الغني مقابل الأسود القياسي
في الطباعة الأوفست، لا تتساوى جميع درجات اللون الأسود. فقد يؤثر استخدام النوع الخاطئ من اللون الأسود على سهولة القراءة ومدة الجفاف.
أسود قياسي (100% K)
استخدم هذا من أجل النص الأساسي، والرموز الشريطية، والخطوط الرفيعة. وهي تستخدم الحبر الأسود فقط، مما يضمن حوافًا واضحة. إذا استخدمت لونًا أسود مركبًا للنصوص الصغيرة، فقد يؤدي الاختلاف الطفيف في محاذاة الألواح الأربعة إلى ظهور النص بشكل ضبابي أو محاط بهالات ملونة.
أسود غني (على سبيل المثال، C:60 M:40 Y:40 K:100)
استخدم هذا من أجل خلفيات كبيرة أو مساحات سوداء صلبة. Standard black can look dark gray or washed out when covering large areas. Adding percentages of Cyan, Magenta, and Yellow creates a deeper, darker "Rich Black." However, avoid exceeding a Total Ink Limit (TIL) of 300%, as this can cause ink smearing and drying issues.
5. إعدادات تصدير ملفات PDF لأغراض التصنيع
عند الانتهاء من التصميم، تكون الخطوة الأخيرة هي تصدير الملف. نوصي بالالتزام بـ PDF/X-1a:2001 معيار مقبول على نطاق واسع في هذا المجال. يعمل هذا المعيار على إزالة الشفافية وتضمين الخطوط، مما يقلل من مخاطر حدوث الأخطاء.
قائمة مراجعة للتصدير:
- تضمين جميع الخطوط: Ensure all typefaces are embedded so they render correctly on the factory’s system.
- تسوية الطبقات: يجب دمج الشفافيات المعقدة لمنع حدوث خلل في العرض.
- الصفحات المفردة مقابل الصفحات المزدوجة: بشكل عام، تتطلب الطابعات الملفات على النحو التالي: صفحات منفردة بترتيب متتالي، وليس على شكل صفحات مزدوجة (مثل الصفحتين 2 و3 جنبًا إلى جنب). وسيقوم برنامج الترتيب في المصنع بترتيب الصفحات استعدادًا لألواح الطباعة.
6. عملية التدقيق
بمجرد إرسال ملفاتك، عادةً ما يقوم قسم ما قبل الطباعة بتقديم نسخة تجريبية. وفهم نوع هذه النسخة أمرٌ بالغ الأهمية لضمان الجودة.
- التدقيق اللوني (التدقيق الرقمي): ملف PDF تم إرساله عبر البريد الإلكتروني للتحقق من المحتوى ودقة النص وترقيم الصفحات. ولا يُعتبر دقيقًا فيما يتعلق بمطابقة الألوان بسبب الاختلافات في معايرة الشاشات.
- نسخة مطبوعة (مطبوعة رطبة أو طباعة رقمية): A physical sample. A "wet proof" is printed on the actual offset press (expensive), while a high-quality digital print (Epson proof) is common for checking color approximate to the final output.
ملخص: قائمة المراجعة الخاصة بمرحلة ما قبل الطباعة
| العنصر | المتطلبات |
|---|---|
| وضع الألوان | CMYK (لا تستخدم ألوان RGB أو الألوان المحددة إلا إذا كان ذلك مقصودًا) |
| القرار | 300 نقطة في البوصة كحد أدنى للصور |
| نزيف | 3mm (0.125″) on all sides |
| نص أسود | 100% K (C0 M0 Y0 K100) |
| تنسيق الملف | ملف PDF (صفحات منفردة، الخطوط مضمنة) |
الأسئلة الشائعة (FAQs)
هل يمكنني استخدام Canva لإنشاء ملفات مخصصة للطباعة الأوفست؟
While Canva is great for digital assets, it often defaults to RGB and lacks advanced control over bleed and color separation. If you must use it, ensure you export with "PDF Print" settings and select "Crop marks and bleed," but professional software like Adobe InDesign is preferred for bulk manufacturing.
ما الفرق بين الطلاء والتصفيح في إعداد الملفات؟
عادةً، لا تتطلب هذه التشطيبات إجراء أي تغييرات على طبقة التصميم الفني نفسها، ولكن إذا كنت تستخدم الطلاء بالأشعة فوق البنفسجية الموضعي (Spot UV) أو الختم بالرقائق المعدنية (Foil Stamping)، فيجب عليك توفير طبقة أو ملف منفصل باللون 100% K (أسود) يحدد بدقة المكان الذي يجب تطبيق التشطيب فيه.
لماذا تبدو الألوان مختلفة على الورق عنها على شاشتي؟
تنبعث الشاشات الضوء (RGB)، بينما تعكس الورقة الضوء (CMYK). بالإضافة إلى ذلك، يؤثر نوع الورق (المطلي مقابل غير المطلي) على امتصاص الحبر. فالورق غير المطلي يمتص كمية أكبر من الحبر، مما يجعل الألوان تبدو أغمق قليلاً وأقل حيوية مقارنةً بالورق المطلي اللامع.
هل يجب عليّ تضمين علامات القص؟
تفضل معظم شركات الطباعة المحترفة الملفات بدون علامات القص، شريطة أن يتضمن حجم صفحة المستند منطقة التسييل. ومع ذلك، يجب عليك دائمًا التأكد من ذلك مع مدير حسابك قبل التصدير.
يتطلب إعداد المخطوط للطباعة الأوفست الاهتمام بالتفاصيل، لكنه يضمن الحصول على نتيجة احترافية ومتينة تبرز في السوق. إذا كنت مستعدًا للانتقال من مرحلة التصميم إلى مرحلة الإنتاج، فإن فريقنا جاهز لإرشادك خلال جميع المواصفات الفنية.