
جدول المحتويات
- What custom sketchbook printing involves
- How to test sketchbook paper with your medium
- Compare paper characteristics and use cases
- Paper and medium comparison table
- Choose a binding that supports the artwork
- Turn test results into a print specification
- Buyer checklist and key takeaways
- Make the paper decision with a physical test
The best sketchbook paper depends on how artists will use it. Learn how to test drawing paper with your intended medium, compare paper characteristics and binding options, and turn test results into a clear print specification.
What custom sketchbook printing involves
Custom sketchbook printing means specifying a book’s paper, size, page count, binding and cover to suit a particular artist, audience or use. Paper should be tested with the intended drawing tools before production: a stock that feels good under pencil may behave differently with wet ink or markers.
For buyers, the goal is not to identify one universally best paper. It is to confirm a workable combination of surface texture, weight, opacity, sheet strength and binding. These choices affect drawing experience, finished-book thickness, handling and cost. The exact result depends on the paper grade, manufacturing tolerances, print setup and book construction, so a physical sample is more informative than a paper name alone.
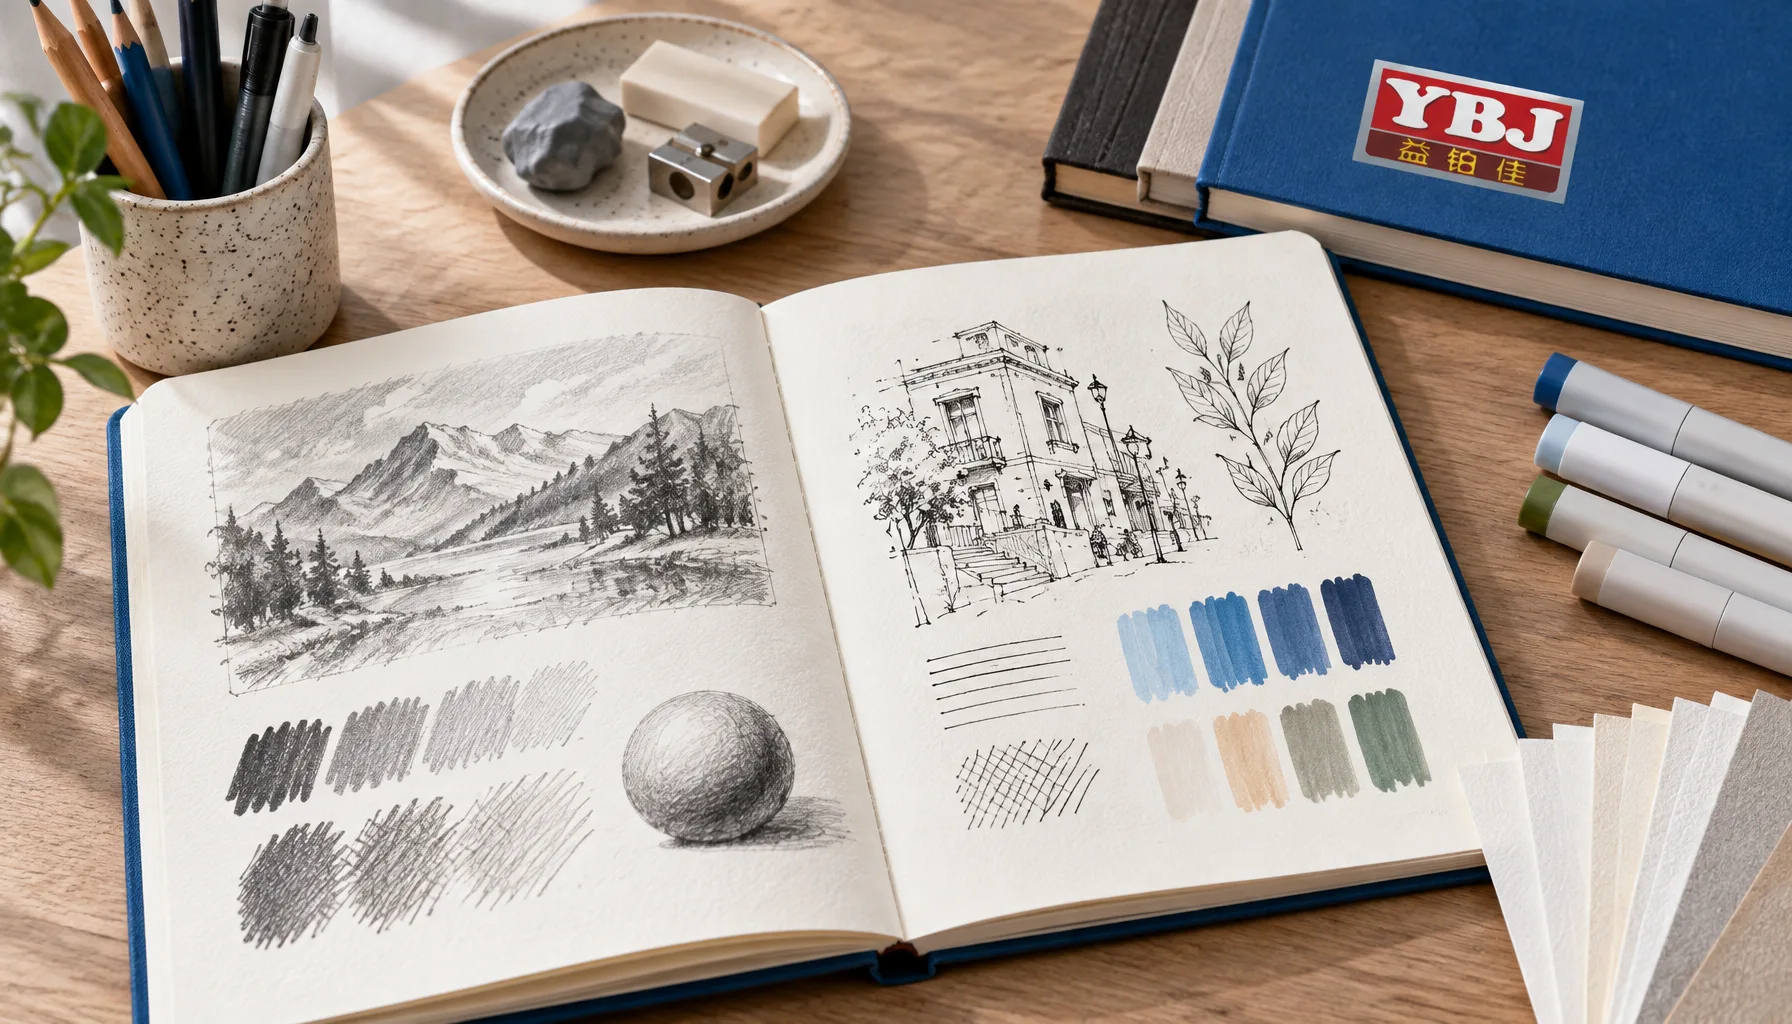
Plan a controlled test using the actual or closest available paper candidates and the media your customers will use. Compare identical marks on each sheet, check the reverse side after drying, and review how the paper behaves when the book is opened and handled.
How to test sketchbook paper with your medium
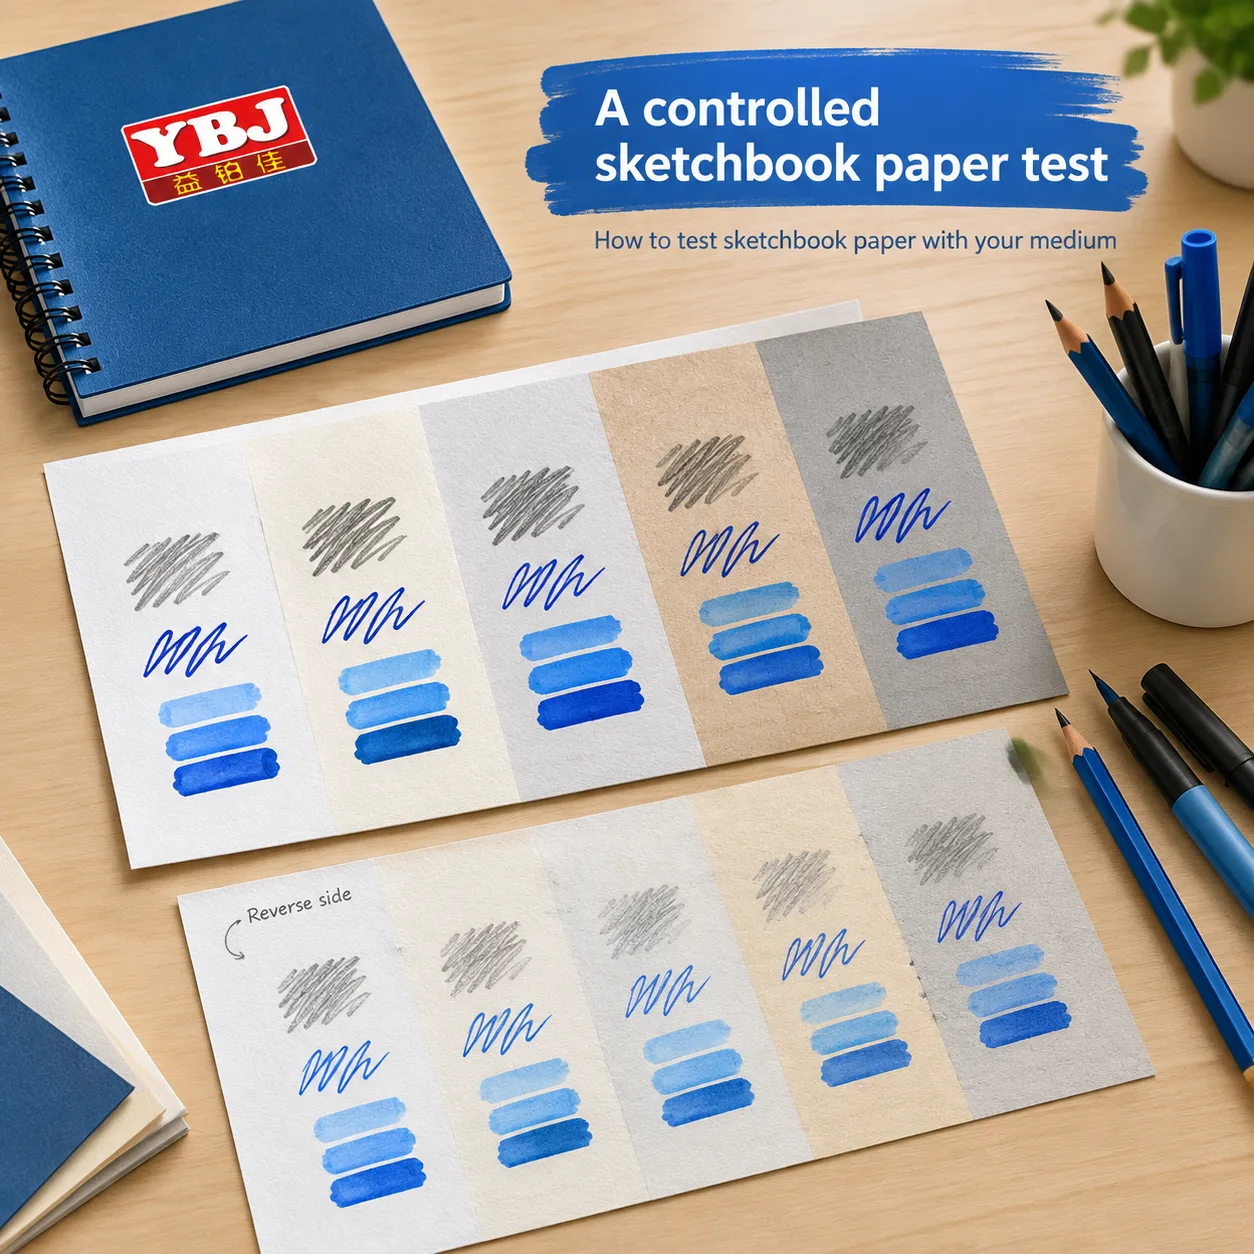
A useful paper test reproduces the way the sketchbook will actually be used. Test more than one paper option, keep the tools and test marks consistent, and record what you observe rather than relying only on memory or a supplier’s general description.
- Define the use case. List the primary media, expected users and typical techniques. A pocket sketchbook for dry pencil has different priorities from an illustration book expected to handle layered marker work.
- Choose candidate stocks. Ask for samples or a printed dummy using paper options under consideration. Confirm the paper description and weight with the supplier; names such as “drawing paper” can cover different surfaces and constructions.
- Use the same tools on each candidate. Make light and dark pencil marks, repeated lines, shading, erasing, and any intended ink or marker strokes. If artists will use water-based media, test the actual tool and amount of water they are likely to apply.
- Inspect both sides. Check for feathering, surface damage, visible impressions, show-through and marker bleed-through. Allow ink or marker to dry before judging the reverse, and distinguish a visible mark from actual ink passing through the sheet.
- Repeat normal working actions. Erase, layer, blend or apply pressure as appropriate. Note whether the sheet pills, buckles, tears or loses a usable surface. Results depend on the tool, pressure, ink load and drying time.
- Test in book form. A loose sheet cannot show how the finished sketchbook opens or how inner pages behave near the binding. Review a dummy or sample with the planned page count and binding where possible.
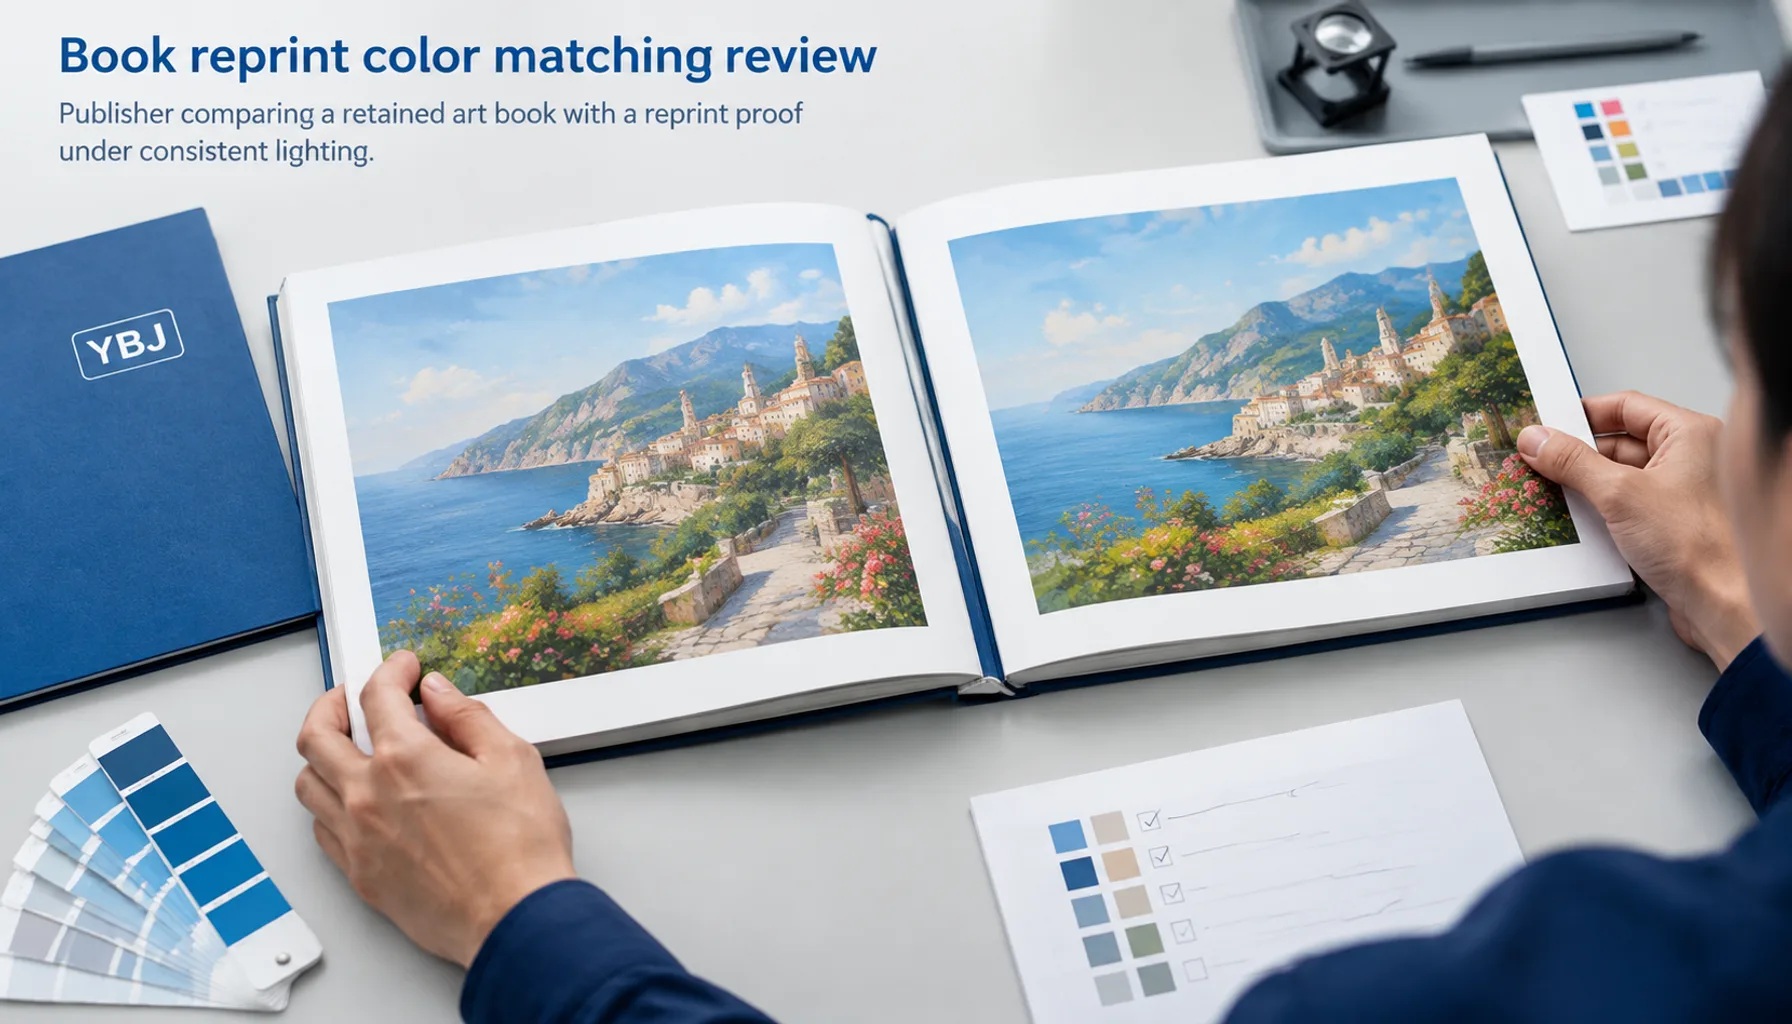
- Record and approve. Photograph the test under consistent lighting, label each stock, and make a decision against written criteria. Keep an approved sample for production reference.
To compare paper weight consistently, request the stock’s basis or grammage information rather than estimating by touch. For reference, the ISO 536 paper grammage standard describes a method for determining grammage; it does not, by itself, tell you whether a paper suits a specific medium.
Compare paper characteristics and use cases
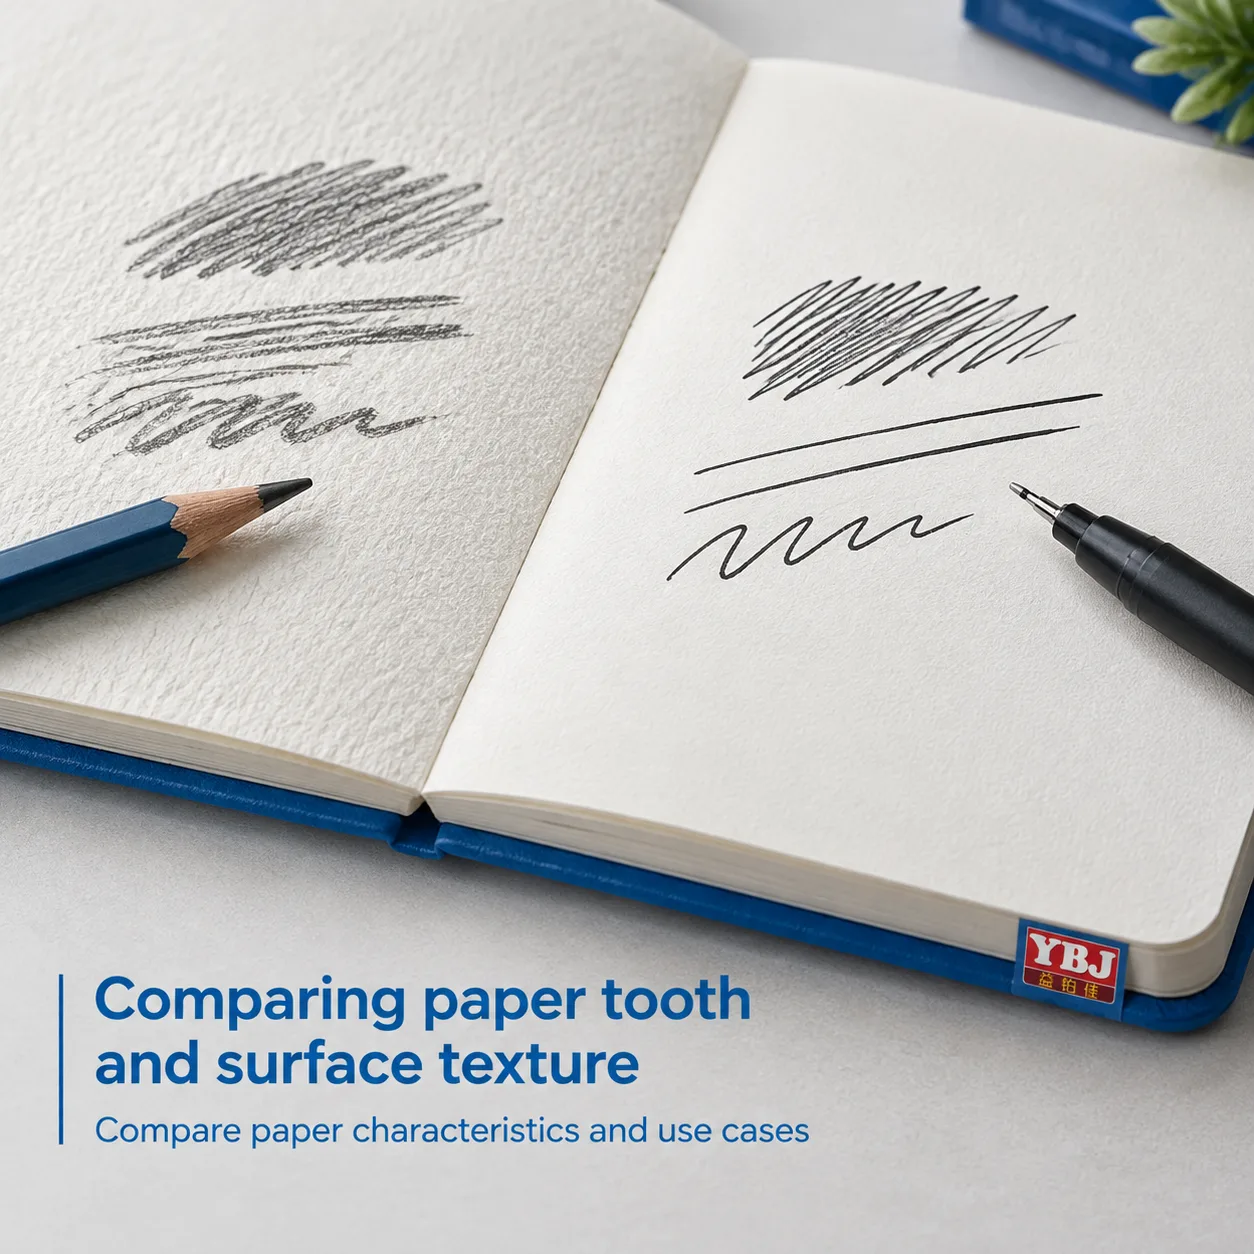
Compare paper on the qualities that matter to the artist, not on a single specification. A heavier sheet can feel substantial, but weight alone does not determine surface texture, opacity, ink behavior or resistance to erasing. Likewise, “smooth” and “toothy” are useful descriptions only when buyers and suppliers agree on what the sample feels like.
What to look for in a sample
- Paper tooth: the surface texture that can help a pencil or other dry medium leave a mark. Evaluate whether the texture supports the intended strokes without feeling too coarse for fine detail.
- Surface smoothness: a smoother surface may suit controlled lines and some pen work, but the actual result depends on the paper and tool. Test for skipping, smearing and how the line looks after drying.
- Opacity and show-through: some marks may be visible through a sheet even when they have not penetrated it. Check the reverse under consistent lighting and decide what level is acceptable for the intended use.
- Absorbency and feathering: observe how quickly the mark sets and whether its edges spread. Pen type, ink formulation and the amount applied can change results.
- Strength and surface durability: check whether erasing, repeated strokes or page turning damages the sheet. For wet media, look for buckling and changes to the usable surface.
- Color and appearance: compare the paper’s shade and how it affects the visual impression of pencil, ink and colored media.
Use a written scorecard with consistent criteria: feel, line quality, layering, erasing, reverse-side visibility, drying, surface damage and opening behavior. A preference can be subjective; documenting the test makes approvals easier to communicate across a buying, design and production team.
Paper and medium comparison table
This comparison is a starting point for sample selection, not a guarantee of performance. Paper grades vary, so test the actual candidate stock with representative tools before approving a production specification.
| Use case or medium | Sample qualities to prioritize | Test questions | Potential trade-off |
|---|---|---|---|
| Graphite and dry pencil | Suitable paper tooth, controlled erasing, comfortable surface feel | Does the paper hold light and dark marks? Does erasing leave damage? | A more textured feel may not suit every fine-detail style. |
| Fineliner and drawing ink | Consistent line edges, appropriate smoothness, manageable drying | Do lines feather, skip or smear? Does the reverse show distracting marks? | Results depend on ink formulation and how much is applied. |
| Alcohol-based markers | Acceptable reverse-side visibility and sheet behavior for intended layering | Does ink pass through? How much show-through occurs? Does the sheet remain usable? | Marker bleed-through may occur; test with the exact marker style and technique. |
| Colored pencil | Surface that supports layering and blending at the planned pressure | Can artists build color without roughness or surface damage becoming a problem? | Texture preference varies with the artist and drawing style. |
| Water-based pen or light washes | Resistance to surface disruption and acceptable buckling for the use case | How does the sheet respond to the planned water and drying time? | Performance depends on application; a sketchbook may not be intended for heavy washes. |
When options are close, ask artists or representative users to test anonymous samples. Their feedback can help distinguish meaningful differences from assumptions based on paper weight or marketing terminology.
Choose a binding that supports the artwork
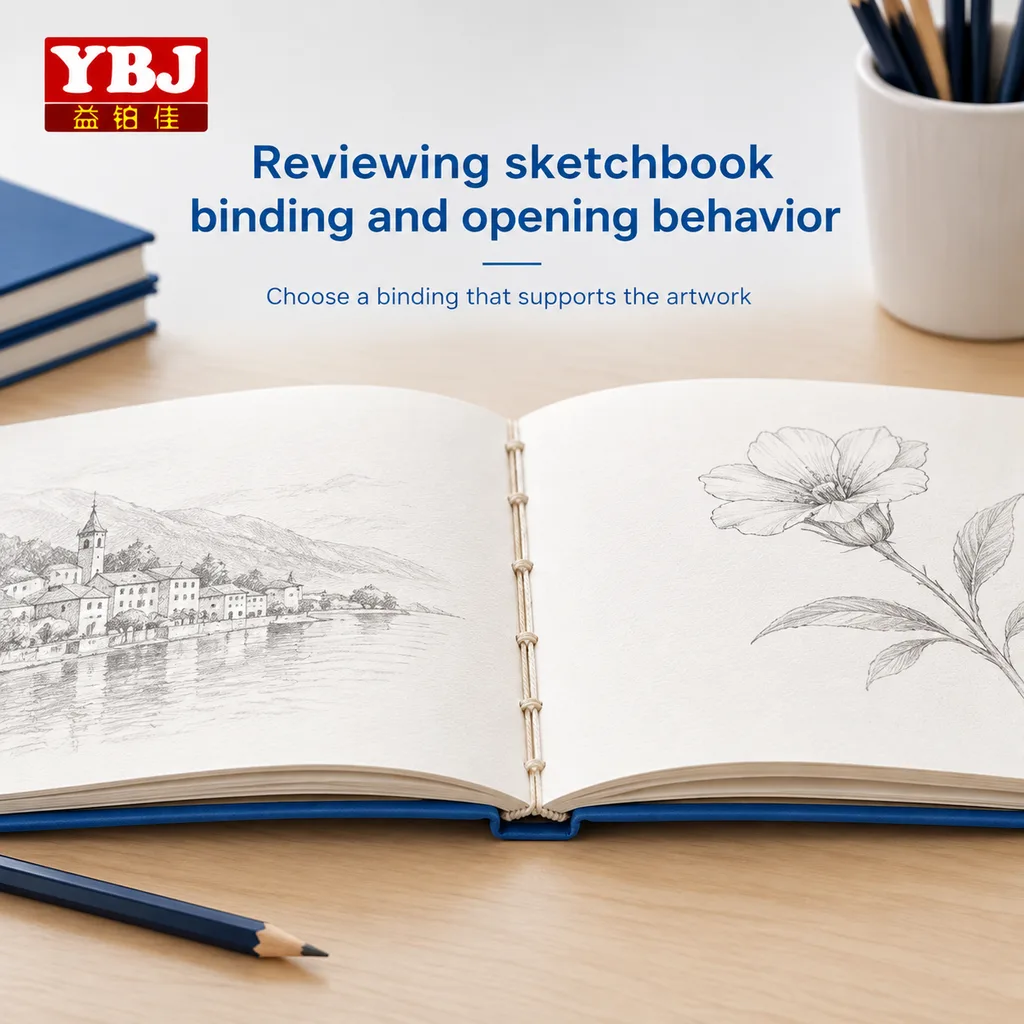
Binding affects how much of the page is convenient to use أنd how the sketchbook feels during drawing. Consider the book’s finished size, page count, intended opening behavior and whether users need to draw across a spread. Confirm the construction with a physical dummy when page access is important.
| Binding consideration | What to assess | Buyer question |
|---|---|---|
| Lay-flat opening | Whether pages stay open comfortably on a desk and how the center area behaves | Do users need to work near the gutter or across two pages? |
| Page attachment | How the sheets are held and how the book responds to repeated opening | Does the format suit the expected handling and page count? |
| Spine appearance | Whether the spine is covered or intentionally exposed | Does the exposed construction fit the product’s design and practical use? |
| Book thickness | The combined effect of paper, page count and covers | Will the finished book remain comfortable to carry and handle? |
An exposed spine Smyth sewn sketchbook is one construction to consider when an open-spine appearance and easy opening are part of the brief. Confirm the specific format, paper and opening behavior with the production team; details depend on the selected specification.
When evaluating an exposed spine sketchbook, inspect the sewing, cover attachment and page movement on a sample. Check that the open design suits the intended audience and that the finished book can be handled as expected. Do not assume every open-spine format will perform identically across different sizes or page counts.
Turn test results into a print specification
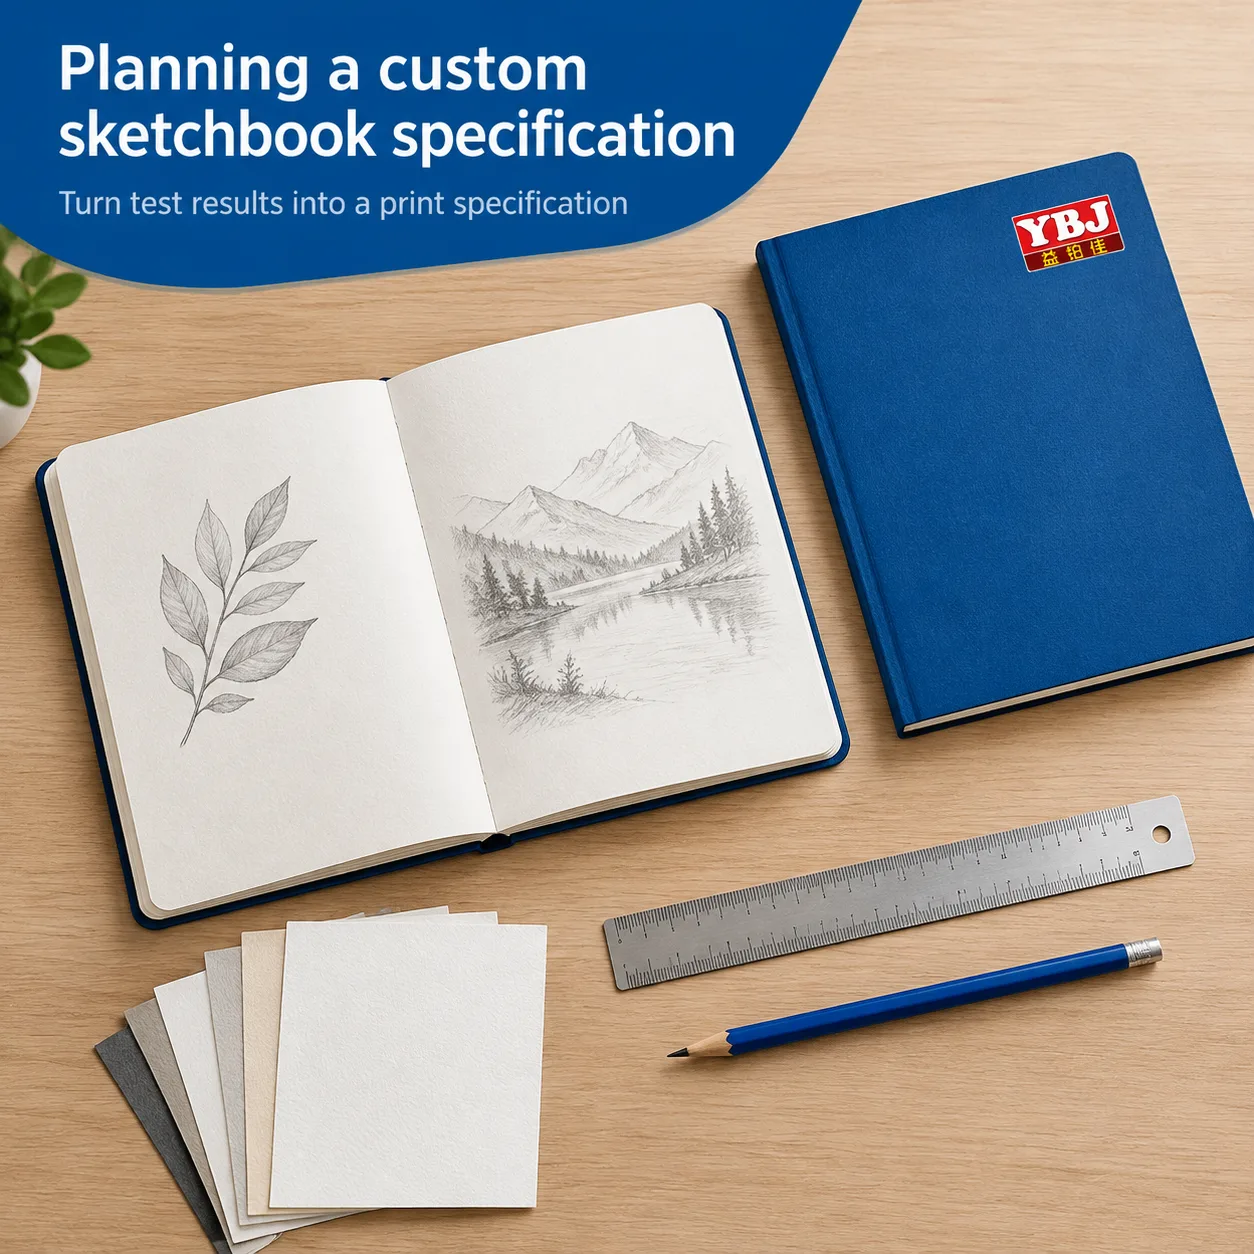
Once a paper passes testing, write down the approved details so the sample can be matched to the order. A clear specification helps the printer assess feasibility, calculate the book construction and identify decisions that still need confirmation.
Information to confirm before quotation
- Product and audience: sketchbook purpose, intended users and primary media.
- الحجم النهائي: trim dimensions, orientation and whether artwork should work on a single page or across a spread.
- Interior: page count, blank or printed pages, paper description, weight or grammage where available, and preferred paper shade or texture.
- الغلاف: cover material, printed artwork and any requested finish. State whether a sample or proof is needed.
- التجليد: preferred construction, opening expectations and any exposed-spine requirement.
- الكمية والوجهة: order quantity, delivery country and any packaging or shipping requirements.
- حالة العمل الفني: whether files are final, still in design or need preflight review.
Price and production timing depend on the full specification, quantity, paper availability, proofing requirements, binding and delivery destination. Print-ready artwork should follow the agreed trim, bleed and safe-area requirements. Before sending files, review this print-ready PDF export and preflight workflow and confirm any project-specific setup with your printer.
A proof or physical sample can help check the finished format, paper feel and binding before a larger production run. Agree what the proof is intended to verify: a printed sample can show paper and construction, while a digital file review cannot reproduce the tactile behavior of drawing paper. Proof scope and availability should be confirmed for the project.
Buyer checklist and key takeaways
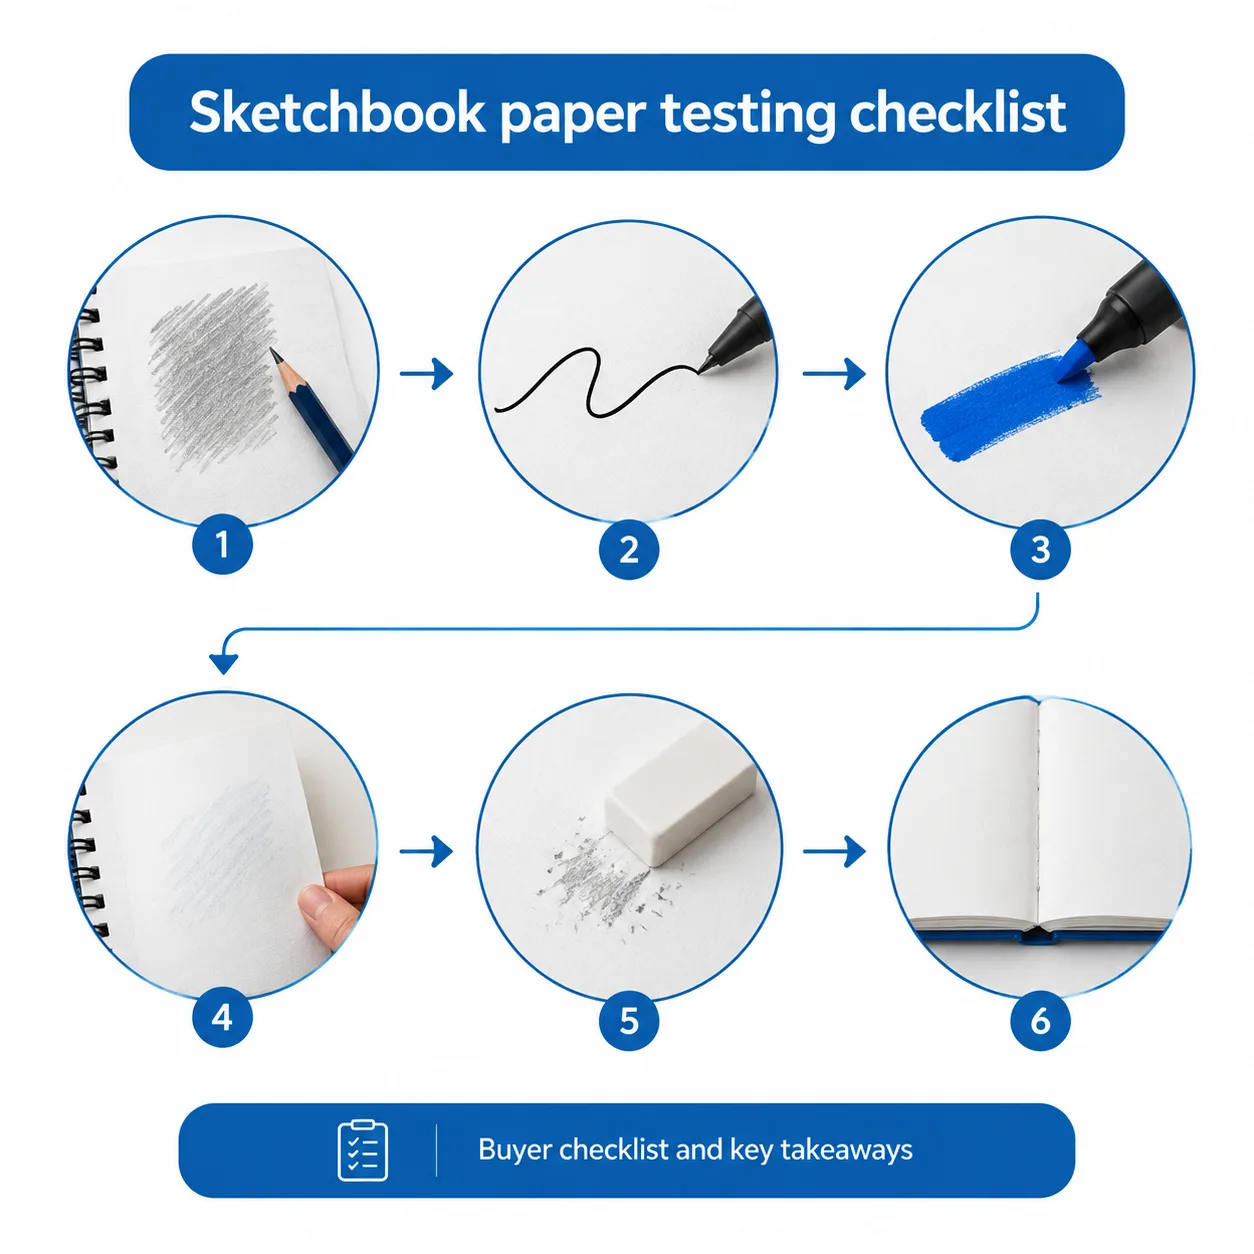
Use this checklist to keep paper selection and quotation discussions focused:
- Have you identified the main drawing media and the techniques users are likely to apply?
- Have you tested the actual candidate paper with the same tools, pressure and layering style?
- Did you inspect both sides for show-through, bleed-through, feathering and impressions?
- Did you check erasing, surface wear, drying and any water-related buckling?
- Have you reviewed the paper in a book dummy or sample to assess opening and gutter access?
- Have you recorded the approved stock, finished size, page count, binding, cover finish, quantity and destination?
- Are artwork files ready, and have proofing needs been discussed?
Key takeaways: match paper to the intended medium rather than choosing by weight alone; use consistent tests and record the results; distinguish show-through from actual bleed-through; and evaluate paper together with the finished book’s binding and opening behavior. A sample provides useful evidence, but production conditions and the final specification should be confirmed with the printer.
Make the paper decision with a physical test
The most reliable way to choose sketchbook paper is to test candidate stocks with the intended drawing tools, then review the paper in the planned book format. Record the results, confirm the binding and finished specifications, and use an approved sample to guide the production discussion. That process gives buyers a clearer basis for choosing materials and requesting a quote.
الأسئلة الشائعة
How do I test paper for a custom sketchbook?
Use the same pencils, pens, markers or other media on each candidate paper. Make comparable marks, allow them to dry, then check the front and reverse for line quality, show-through, bleed-through, feathering and surface damage. Test erasing or layering if those are normal use cases.
What does paper tooth mean?
Paper tooth refers to surface texture. It can affect how a drawing tool contacts the sheet and how marks build up. The preferred amount depends on the medium, drawing style and artist, so compare physical samples rather than relying on the term alone.
Is marker show-through the same as marker bleed-through?
No. Show-through means a mark can be seen from the reverse side, while bleed-through means ink has passed through the sheet. Check the back after the marker dries and test with the marker type and layering technique users will actually use.
Does heavier paper always work better for sketchbooks?
No. Weight is only one specification and does not determine texture, opacity, absorbency or performance with a particular tool. Test the paper’s surface and behavior with the intended medium, and consider how the selected stock affects the finished book’s thickness.
What should I consider when choosing an exposed spine sketchbook?
Review the opening behavior, page access near the center, sewing and cover attachment on a sample. Confirm that the exposed construction suits the book’s use and appearance, and ask the printer to assess it alongside the finished size, paper and page count.
Ready to Plan Your Custom Printing Project?
Tell YBJ Printing about your sketchbook product type, trim size, page count, quantity, paper or binding preference, finish requirements, file status and delivery destination. Share your intended drawing media and any paper test results as well. Our team can discuss practical options and prepare a factory-direct quotation; final price and timing depend on the confirmed specification.