

جدول المحتويات
- What Makes a Book PDF Print-Ready?
- Confirm the Specifications Before Export
- Prepare the Interior Pages
- Check Images, Color and Fonts
- Build the Cover from an Approved Template
- Compare Common PDF Export Choices
- Preflight the Exported PDF
- Final Buyer Checklist and File Handoff
- الخاتمة
A practical workflow for turning approved book artwork into production PDFs. Check the specifications first, export interior and cover files correctly, then preflight what you actually sent.
What Makes a Book PDF Print-Ready?
A print-ready PDF for book printing is an exported production file whose page size, bleed, page order, images, fonts and color settings match the printer’s agreed specifications. It should contain the final approved artwork, not a working layout or a PDF prepared only for screen viewing.
In practice, prepare the interior and cover as separate files unless your printer asks for a different arrangement. Export the interior as individual pages in reading order. Build the cover to the printer’s template, which accounts for the binding and finished book dimensions. Then inspect the exported PDFs themselves: a correct-looking source document does not prove that the export is correct.
There is no universal export preset that suits every book. The right settings depend on trim size, binding, paper, color process and the printer’s production workflow. Confirm those requirements before treating any checklist as final.
Confirm the Specifications Before Export

Start with the approved manufacturing specification, not an assumed PDF preset. Confirm the finished trim size, page count, binding, paper, printing colors, cover construction and any finishing. Ask the printer for its required bleed, safe-area guidance, color profile, PDF standard and cover template. Requirements can differ between an interior, a wraparound paperback cover and a hardcover case.
Also confirm how the printer counts pages. A blank page may still be part of the book’s pagination and should remain in the PDF if it is required for the layout. Do not insert printer’s spreads or rearrange pages for imposition unless specifically instructed; the production team normally handles imposition from correctly ordered pages.
| Book component | Typical file to supply | Specification to confirm |
|---|---|---|
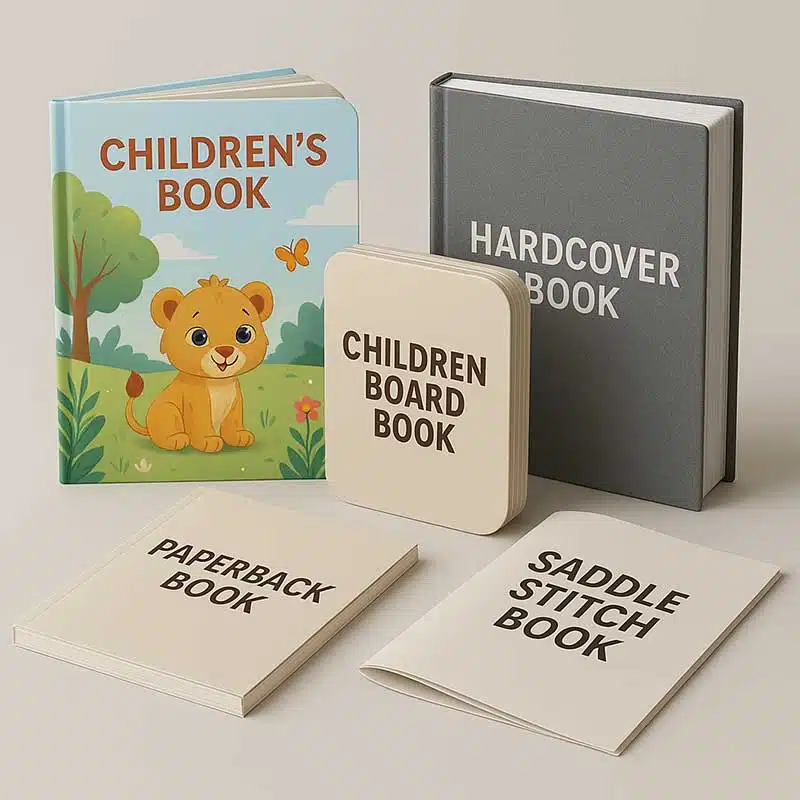
| Text or illustrated interior | One PDF containing individual pages in reading order | Trim, bleed where needed, page count and color setup |
| Paperback cover | Separate PDF of the complete wraparound cover | Spine width, bleed, fold positions and safe areas |
| Hardcover case or jacket | Separate artwork files based on printer templates | Board, wrap or flap allowances and finish boundaries |
The table describes a common handoff, not a substitute for your printer’s file instructions. A change in paper or binding can change the cover dimensions even when the interior trim size stays the same.
Prepare the Interior Pages
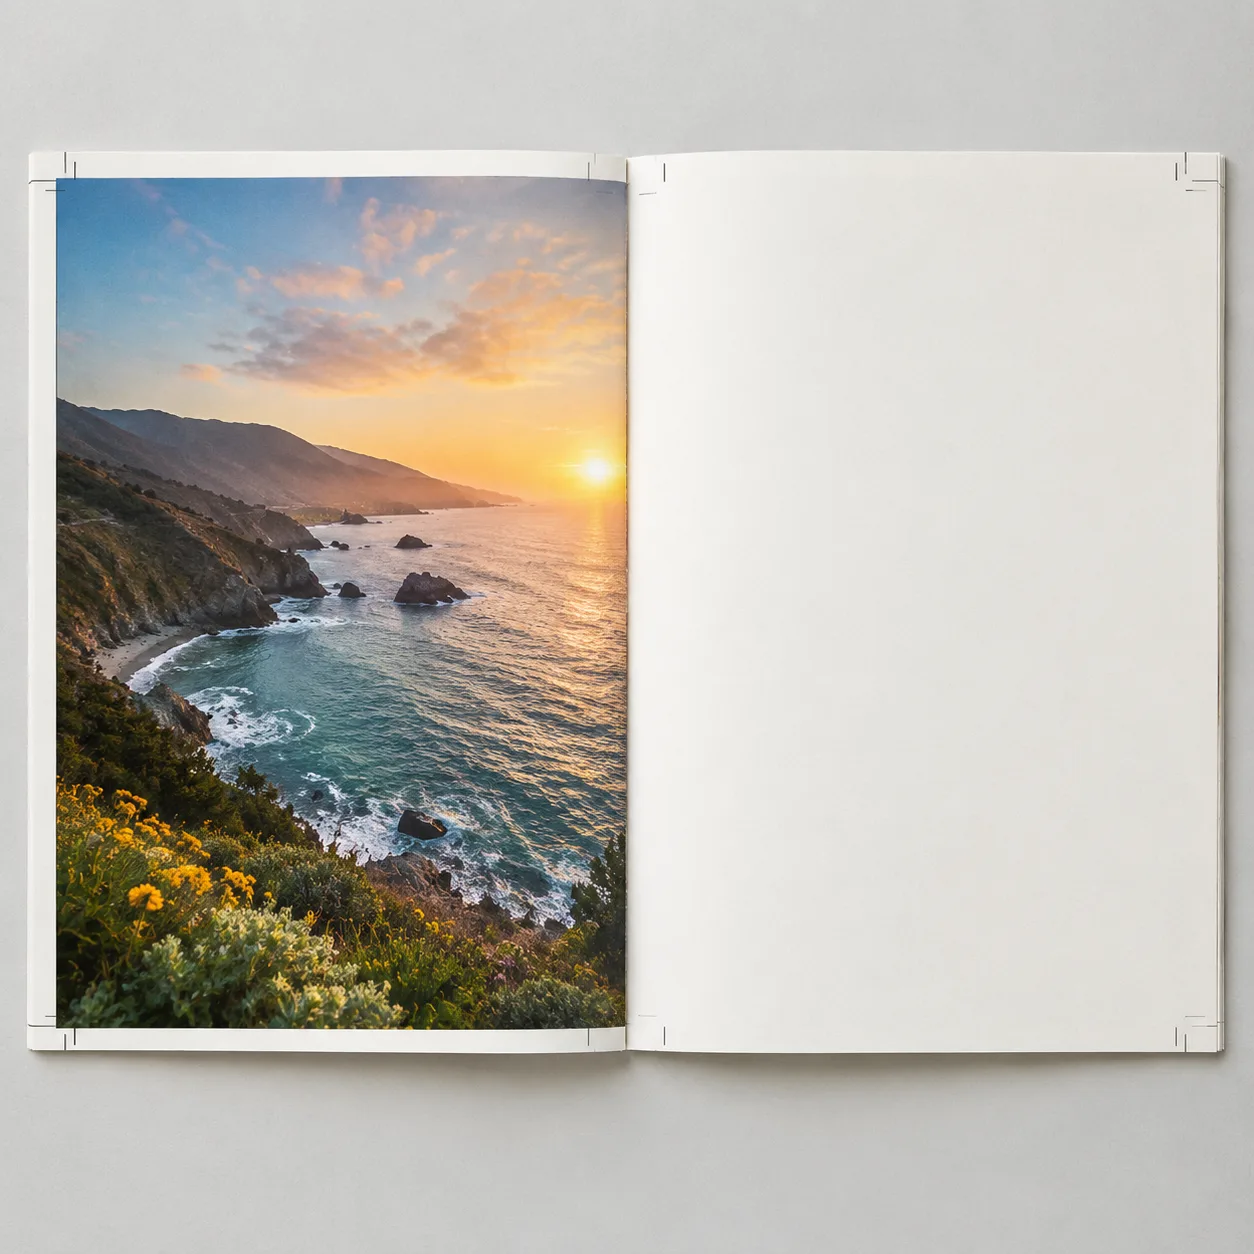
Set the document page size to the finished trim size. If artwork, background colors or images must run to the cut edge, extend them beyond the trim line by the printer’s specified bleed. Do not enlarge the entire page or add a white border to simulate bleed. Keep page numbers, running heads and other important content comfortably inside the trim, allowing for the specified safe area and the space visually lost near the binding.
Check left- and right-hand pages across the entire book. Verify that folios, chapter openings, blank pages and illustrations fall where intended. Export single pages in reading order rather than reader spreads unless the printer explicitly requests spreads. A spread in the design application can still export as two separate pages.
Pay particular attention to cross-gutter images. Binding can obscure part of an image at the center, and the effect varies with construction. Keep faces, small type and other critical details away from the gutter. For saddle-stitched work, page count and creep may also affect the layout; the saddle-stitch booklet PDF setup guide covers that format’s specific requirements.
Check Images, Color and Fonts
Review images at their placed size, not just at their original pixel dimensions. Effective resolution falls when an image is enlarged in the layout. Around 300 pixels per inch at final size is a common target for continuous-tone photographs, but the appropriate value depends on the image, screening and printer’s process. Line art often needs a higher-resolution source. Avoid upscaling a small image simply to produce a larger resolution number; it does not restore missing detail.
Agree on a color workflow before conversion. CMYK is commonly used for process printing, but printers may prefer a particular profile or may accept tagged RGB images and handle conversion themselves. Unplanned RGB-to-CMYK conversion can change bright colors, while an incorrect or missing profile can produce unexpected results. If a project uses a spot color, metallic ink or another special process, identify it clearly and ask how it should be represented in the PDF.
Embed all fonts during export and check the PDF’s font information afterward. Missing fonts can cause substitutions, reflow or altered symbols. Small reversed text, thin rules and low-contrast type deserve inspection at realistic print size, especially on textured or uncoated paper. Proofs can help evaluate appearance, but screen color alone cannot predict the result on a chosen stock.
Build the Cover from an Approved Template

Prepare cover artwork only after the trim size, page count, paper and binding are sufficiently settled for the printer to confirm its dimensions. For a typical paperback, the artwork spans the back cover, spine and front cover, plus the required bleed. The spine is not simply an estimate based on page count: paper caliper and binding construction matter. See the book spine width calculation guide for the inputs to gather before requesting a template.
Use the printer’s supplied template to position folds, spine text, barcode and any finishing artwork. Keep important elements clear of folds and trim lines. If the book has a dust jacket, case wrap, foil, embossing or spot UV, confirm whether those components need separate files or clearly named layers. Do not leave template guides visible as printable artwork unless the printer asks for them.
For books intended for retail distribution, use a valid supplied barcode asset rather than drawing bars manually. Its size, quiet zone and placement need to survive both finishing and scanning. The ISBN and barcode placement guide explains common considerations for US-bound books; requirements for other markets or distributors should be checked separately.
Compare Common PDF Export Choices
The export dialog offers choices that can look interchangeable but produce different files. Use the printer’s requested preset or PDF standard where provided. Otherwise, confirm the points below before selecting a setting.
| Export choice | Suitable use | Risk to check |
|---|---|---|
| Single pages versus spreads | Single pages are the usual interior handoff; spreads are used when specifically requested | Reader spreads can disrupt the printer’s page sequence and imposition |
| Bleed included versus omitted | Include specified bleed for artwork reaching a trimmed edge | Artwork ending at trim may leave a white sliver after cutting |
| Printer-requested PDF/X preset versus generic high-quality PDF | Use the requested standard to meet an agreed print workflow | A generic preset may handle fonts, color or transparency differently |
| Preserve color profiles versus convert colors | Follow the agreed color-management instructions | Unapproved conversion can change color appearance or spot-color behavior |
| Printer marks included versus omitted | Add marks only when requested | Unrequested marks can complicate checking or conflict with production setup |
PDF/X is a family of print-oriented standards, not a single universal answer. Ask which version the printer accepts and whether its preset handles image downsampling, transparency and output intent appropriately for the job. After exporting, check that trim and bleed boxes reflect the intended dimensions.
Preflight the Exported PDF
Open each delivered PDF in a viewer with production inspection or preflight tools. Check the document properties, page count, page dimensions and embedded fonts. Where available, inspect the trim and bleed boxes, effective image resolution, color spaces, spot-color separations and any overprint settings. Automated preflight can find technical problems, but it cannot decide whether the wrong photograph or an outdated price appears on a page.
Review the first and last pages, several pages in each chapter, every full-bleed page and any complex spread. Then page through the full file to catch missing or duplicated pages, unexpected blanks, shifted text and clipped artwork. Zoom in on small type and fine rules; view pages at a realistic size to judge legibility. Check cover text, spine direction and barcode readability against the approved design.
Resolve warnings in context. A non-bleeding text page does not necessarily need printed artwork in its bleed area, while a full-bleed image does. If a preflight tool flags a color or resolution issue you cannot interpret, send the specific page and warning to the printer for review before approving production. Re-export after corrections and preflight the replacement PDF, not only the source layout.
Final Buyer Checklist and File Handoff
Before sending files, compare the exported PDFs with the approved specification and record anything the printer still needs to confirm:
- Finished trim, page count, binding and paper match the current quotation or specification.
- Interior pages are individual pages in reading order, including intentional blanks.
- Full-bleed artwork extends to the required bleed; important content remains inside safe areas.
- Images are suitable at placed size, fonts are embedded and color settings follow the agreed workflow.
- The cover uses the current printer template, with confirmed spine and finishing positions.
- Both PDFs have been visually checked after export and are clearly named by title, component and revision.
Send only the intended production revision and state whether the files are final for review or still awaiting an editorial decision. If you replace one file, identify exactly which version it supersedes. File approval and any requested proof should happen against the same revision; otherwise, a corrected cover can be paired accidentally with an earlier interior.
These checks reduce avoidable rework, but they do not replace the printer’s own prepress review. File corrections, unusual construction and proof rounds can affect the production schedule. Confirm any timing implications when changes are made.
الخاتمة
A reliable print-ready PDF begins with confirmed book specifications and ends with a check of the actual exported files. Set up the interior and cover for their different production needs, follow the printer’s bleed and color instructions, and verify page order, fonts and artwork before handoff. When a requirement is unclear, settle it before export rather than relying on a preset to make the decision.
الأسئلة الشائعة
Should I send book interior pages as spreads or single pages?
Send individual pages in reading order unless your printer requests spreads. The printer will generally handle imposition for its press and binding process.
Does every page of a book PDF need bleed?
Only artwork that reaches a trimmed edge needs to extend into the specified bleed area. Confirm the bleed amount with your printer; a page with no edge-to-edge artwork does not need an image added solely to fill bleed.
Can I use a high-quality PDF preset instead of PDF/X?
Use the printer’s requested preset or PDF standard. A generic high-quality preset may produce a usable file, but its settings for color, transparency, compression and fonts should be checked against the job requirements.
Should I convert all images to CMYK before exporting?
Not automatically. Agree on a color workflow and profile with the printer first. Some workflows call for supplied CMYK files, while others accept tagged RGB images for conversion during prepress.
When should I finalize the cover PDF?
Finalize it after the printer confirms the cover template using the agreed trim size, page count, paper and binding. A specification change may alter the spine or other cover allowances.
Discuss Your Book Printing Files
Request a quotation or ask YBJ Printing to review the file requirements for your project. Share the product type, trim size, page count, quantity, paper or binding preference, finish, current file status and destination country so the team can assess the specification and quote accurately.