
جدول المحتويات
- What sketchbook sample testing should establish
- Prepare a fair comparison before testing
- Seven paper tests for sketchbook printing
- 1. Test pencil texture and fine-line control
- 2. Test tonal range and repeated layering
- 3. Test ink feathering and drying
- 4. Separate bleed-through from show-through
- 5. Test eraser resistance and redraw quality
- 6. Test surface wear during repeated work
- 7. Test drawing near the binding
- Compare paper candidates by intended use
- A sketchbook construction to evaluate
- Turn test results into an approval specification
- Key takeaways before ordering
Approve sketchbook paper with a repeatable sample test, not paper weight alone. These seven checks help buyers compare drawing performance, surface durability and usability near the binding before ordering.
What sketchbook sample testing should establish
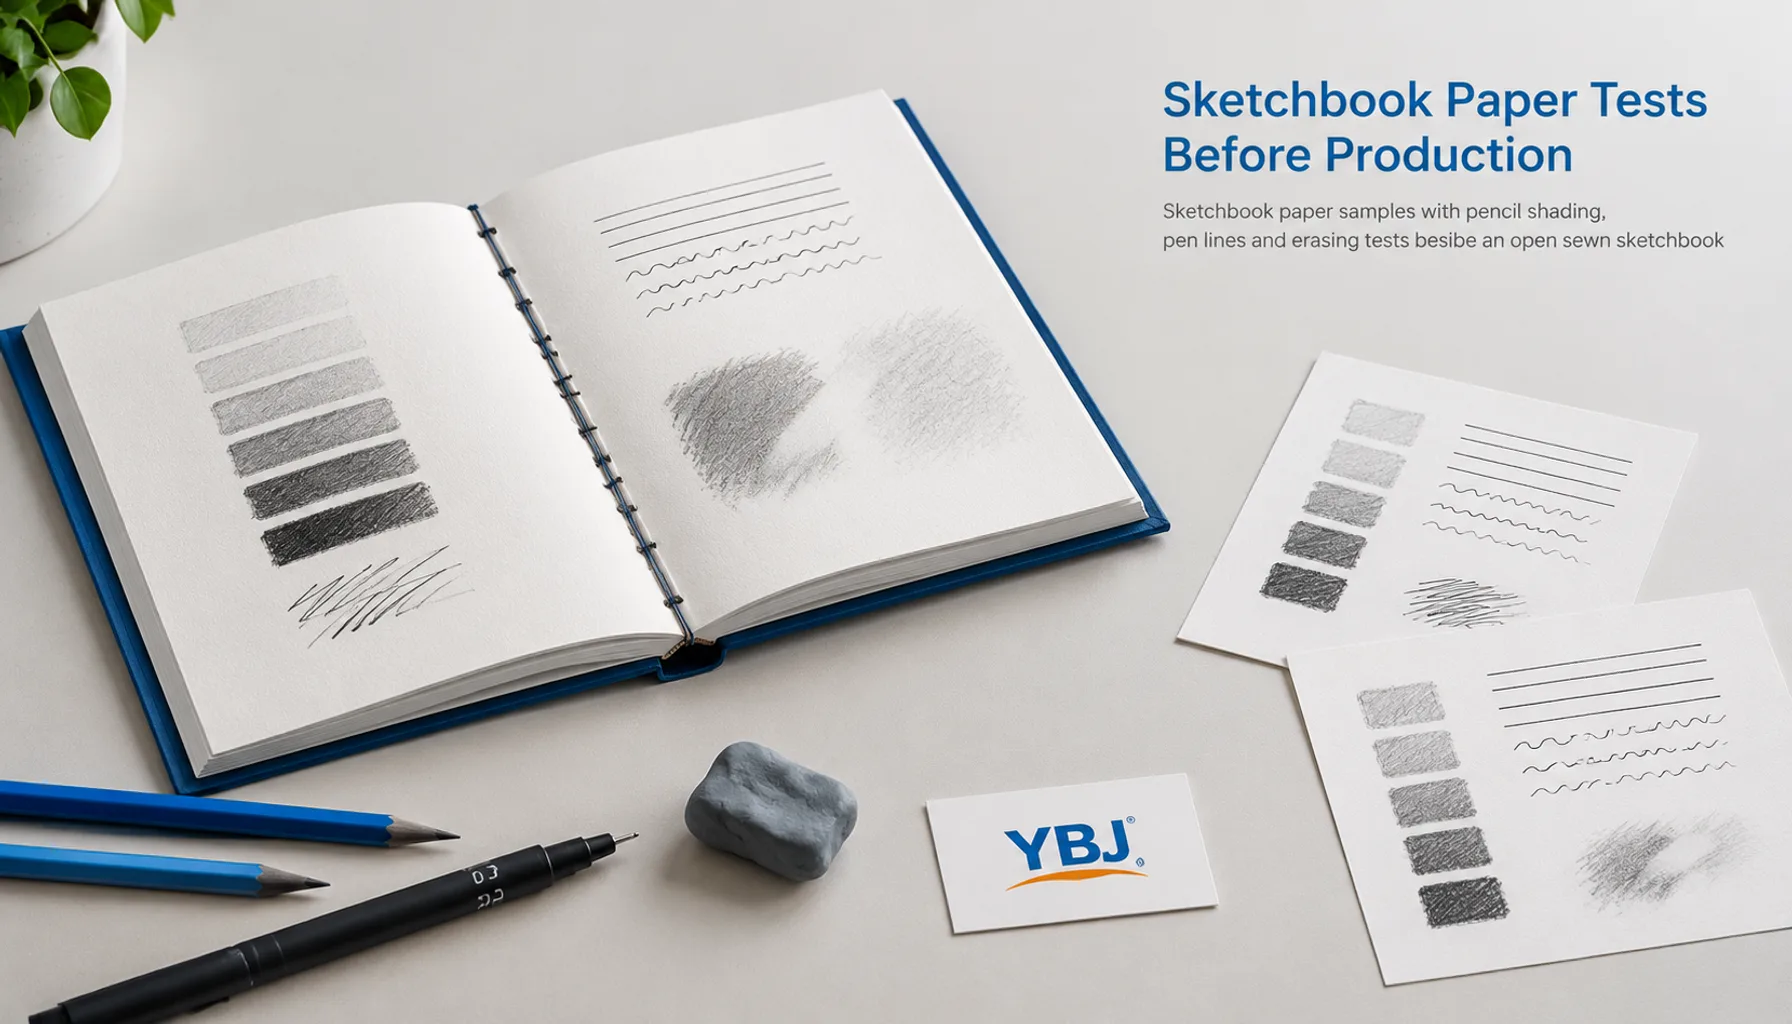
For sketchbook printing, choose paper by testing the drawing tools your customers will use on the proposed stock and in a representative bound sample. Seven checks should cover pencil texture, tonal layering, ink feathering, bleed-through, erasing, surface wear and access near the binding.
Sketchbook sample testing is a controlled comparison of candidate papers and book constructions under the same drawing conditions. Its purpose is to turn a general preference, such as “good for drawing,” into a specification that a buyer and manufacturer can review.
Paper weight alone cannot establish suitability. Papers with the same grams per square metre, or gsm, can differ in surface texture, thickness, opacity and sizing. Sizing is a treatment that helps control liquid penetration into paper; its effect must still be checked with the intended ink or paint.
For branded merchandise, retail ranges and educational sketchbooks, define the core use first. A graphite sketchbook, a fineliner journal and a book intended for light washes may need different acceptance criteria.
Prepare a fair comparison before testing
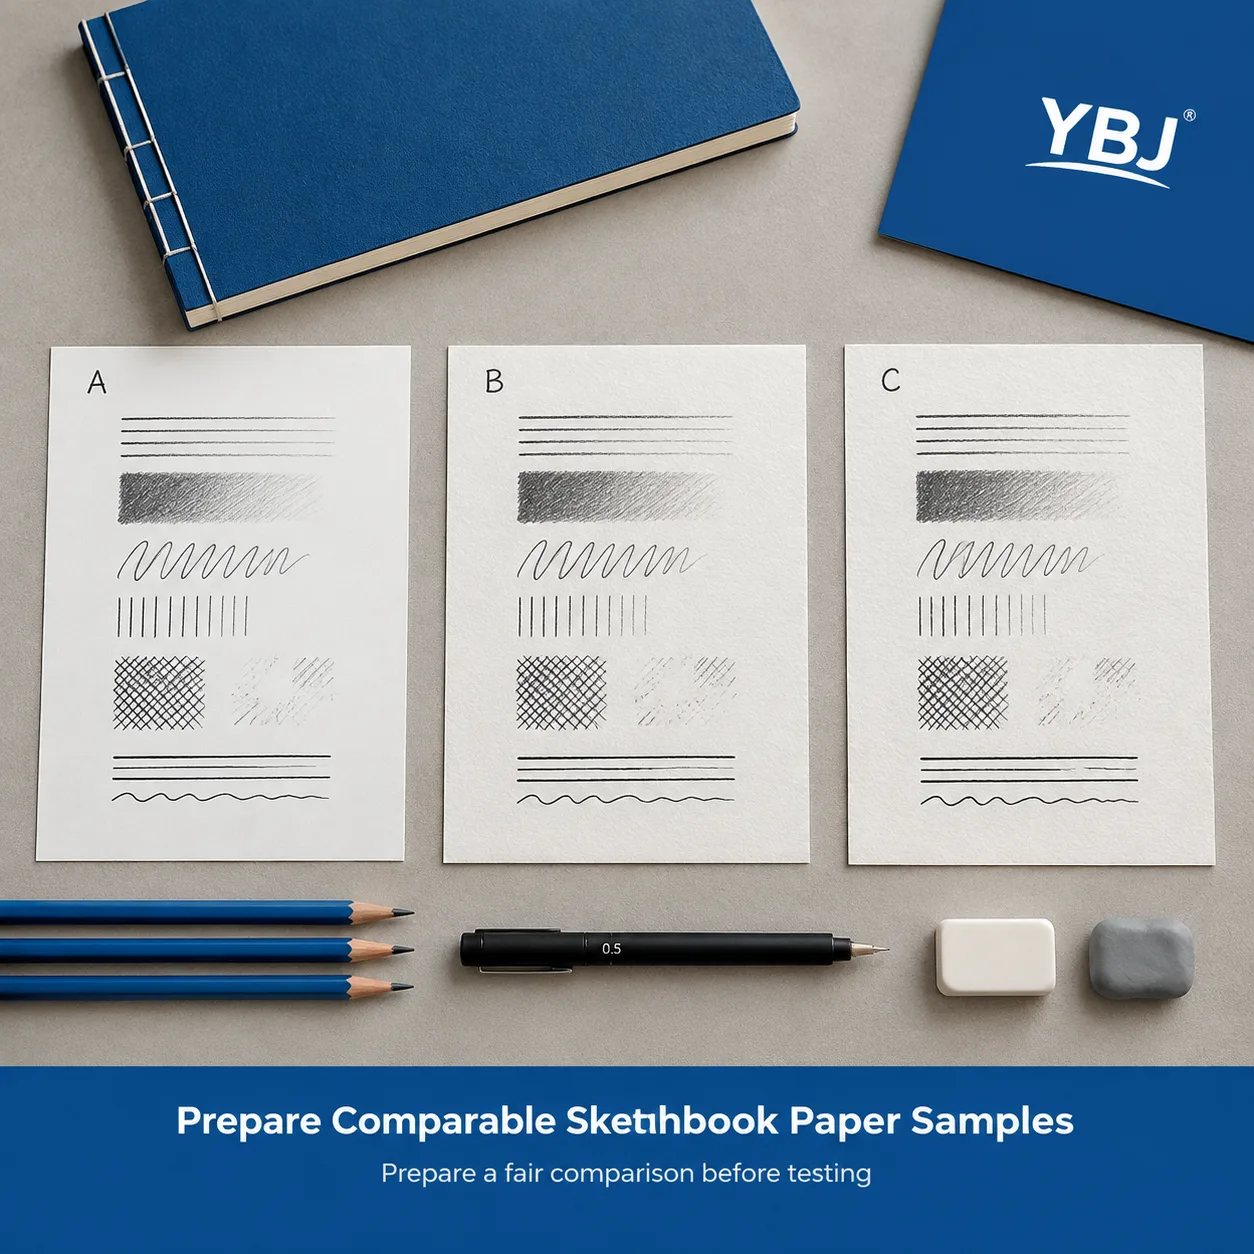
Use the same tools, marks and viewing conditions for every candidate. Loose sheets help shortlist custom sketchbook paper; a bound dummy is needed to judge the finished drawing experience.
- Identify each stock: record its supplier reference, stated gsm, finish, shade and measured thickness if available. Label both sides.
- Choose representative tools: include the actual pencil grades, coloured pencils, pens and erasers relevant to the intended users.
- Repeat one test layout: include lines, shaded blocks, layered areas, erasing zones and a margin test.
- Control handling: test samples in the same room after allowing them to adjust to its conditions. Use consistent pressure and backing sheets.
- Record the evidence: photograph the front and reverse under consistent lighting, and keep the marked originals.
Ask whether samples match the proposed production stock. A blank dummy can confirm size and construction, but cannot establish the effect of printed guides, borders or page graphics. If those features are planned, include representative printed pages in the approval process.
Seven paper tests for sketchbook printing
Judge each test against the intended product use, with written acceptance criteria agreed before approval. A simple result sheet can record “acceptable,” “borderline” or “unsuitable,” followed by a photograph reference and a short observation.
Do not average away a critical failure. If clean use of both sides is essential, unacceptable ink penetration should disqualify a stock even when its pencil response is strong.
1. Test pencil texture and fine-line control
The right pencil paper texture should support the intended marks without making fine details difficult. Surface tooth—the small irregularities that catch drawing material—affects both line character and shading.
Draw straight lines, curves and closely spaced crosshatching with a hard, medium and soft graphite pencil. Add a light shaded patch using the side of the lead. Repeat on both sides of each sheet, because their surfaces may differ.
Inspect whether lines remain continuous, whether the pencil catches unexpectedly and whether light shading looks evenly distributed. A textured result may suit expressive drawing but conflict with a product intended for precise linework.
Record: pencil grade, pressure, line clarity, surface feel and any difference between sides. Select the texture for the drawing style, rather than assuming smoother or rougher paper is universally better.
2. Test tonal range and repeated layering
A suitable drawing surface should build the required light-to-dark range without becoming difficult to work too early. This test reveals performance that a single pencil stroke cannot show.
Create a tonal strip from light shading to a dark block using repeated passes. Keep the pencil grade and pressure consistent across samples. If coloured pencils are part of the product brief, overlap two colours and add further layers using the same sequence.
Watch for areas becoming slick, uneven pigment pickup, loose particles and impressions visible on the following page. Heavy pressure can compress the surface and distort the comparison, so separate ordinary layering from deliberate burnishing.
Record: the number of passes used, ease of adding another layer and unwanted transfer when pages touch. A stock that feels pleasant initially may still limit the drawing depth expected by its users.
3. Test ink feathering and drying
Ink should retain the edge quality required for the intended pen work. Feathering occurs when ink spreads into fibres around a stroke, producing a fuzzy edge.
Use the specified fineliner, rollerball or fountain pen to draw slow lines, fast lines, intersections and a small filled area. Inspect the edges under magnification after drying. Different inks can behave differently on the same stock, so record the pen and ink identity.
Check smudging separately with gentle contact at consistent, recorded intervals. Also test whether a dried mark transfers to the facing page when the book closes under normal handling.
Record: edge sharpness, smearing and facing-page transfer. A sharp-looking line does not automatically mean ink dries quickly; paper that keeps ink near the surface may require more drying time.
4. Separate bleed-through from show-through
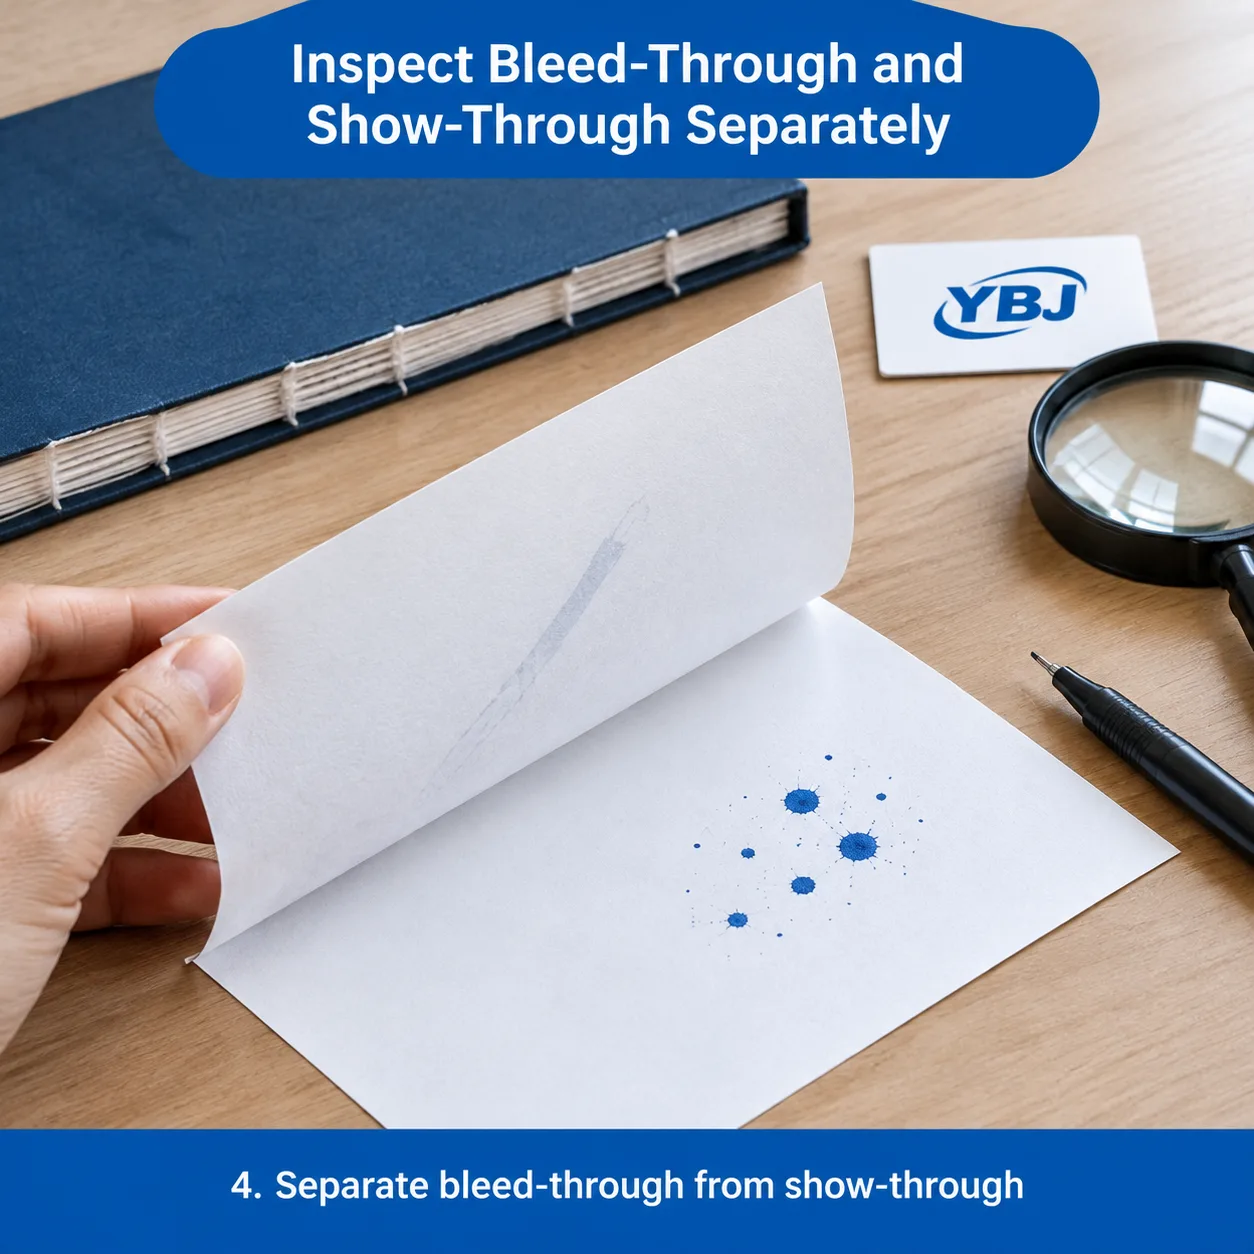
Pen bleed-through means ink penetrates to the reverse surface. Show-through means a mark is visible through the sheet because its opacity is insufficient for that use. These are different problems and need separate observations.
Draw ordinary lines and a denser filled patch, then let them dry. Inspect the reverse under normal reflected light with a clean white backing. Check a sacrificial sheet underneath for actual ink transfer. Backlighting can exaggerate show-through and should not be the sole approval condition.
Test the intended media explicitly. Alcohol markers, for example, can penetrate papers that perform acceptably with fineliners; a heavier stock is not an automatic solution.
Record: reverse-side staining, visibility through the sheet and marking of the next page. Decide whether the product must support drawing on both sides or requires a protective sheet for particular tools.
5. Test eraser resistance and redraw quality
Eraser resistance should cover both mark removal and the condition of the paper afterward. A clean-looking patch is insufficient if its damaged surface no longer accepts drawing evenly.
Make matching light and dark graphite patches. Lift one area with a kneaded eraser and rub another with the intended solid eraser, using comparable pressure and stroke counts. Remove debris gently, then redraw fine lines and shading over the erased zones.
Look for raised fibres, thinning, tearing, glossy rubbed patches and changes in pencil pickup. Deep impressions may remain after graphite is removed, particularly when the original mark was pressed hard.
Record: residual marks, surface damage and redraw quality. Agree what level of correction the product should tolerate; repeated heavy erasing is a different requirement from occasional removal of construction lines.
6. Test surface wear during repeated work
The surface should remain usable through the repeated handling expected in the finished sketchbook. Layering, blending and brushing away debris can expose weaknesses beyond the erasing test.
Work one area repeatedly with the intended pencil and blending tool. Brush away loose material, then inspect for pilling, fibre lifting or a polished patch that takes marks differently. Compare with an untouched area of the same sheet.
If light water-based washes are part of the brief, add a controlled wash test here. Keep water loading and drying conditions consistent, then assess buckling, surface disturbance and redraw quality after drying.
Record: the working sequence and visible damage. A successful light wash does not establish suitability for soaking, scrubbing or repeated wet layers. State the tested use precisely in product descriptions.
7. Test drawing near the binding
The chosen paper must work inside the proposed binding, especially near the gutter—the inner area where facing pages meet. Loose-sheet testing cannot show this.
Use a dummy with the intended trim size, page count, paper and binding. Draw near the inner margin and across a spread near the front, middle and back. Check whether the page stays accessible without excessive pressure and whether your hand has adequate support.
Observe page spring-back, resistance at the gutter and any stress during normal opening. Paper thickness, stiffness, grain direction and book construction can all affect the result. Discuss grain orientation with the manufacturer rather than treating binding style alone as the answer.
Record: usable drawing area and opening behaviour. Repeat the check if paper thickness or page count changes, because the approved construction may behave differently.
Compare paper candidates by intended use
Compare candidate stocks by their tested behaviour, using surface descriptions only to guide the shortlist. The options below are general starting points, not guaranteed performance categories or confirmed stock availability.
| Paper candidate | Why evaluate it | Priority checks | Main trade-off to assess |
|---|---|---|---|
| Smooth uncoated drawing stock | Fine graphite lines and detailed pen work | Line clarity, feathering, drying and erasing | Whether the surface accepts enough repeated pencil layers |
| Moderately textured uncoated stock | General graphite and coloured-pencil sketching | Tooth consistency, tonal buildup and surface wear | Texture visibility in fine lines and light shading |
| More strongly textured drawing stock | Expressive marks and visibly textured shading | Mark continuity, layering and redraw quality | Control of small details and dense crosshatching |
| Stock proposed for light wet-media use | Projects combining drawing with limited washes | Wash response, buckling, surface wear and ink penetration | Thickness, finished book bulk and suitability for the exact media |
A thicker sheet may increase book bulk and shipping weight. Ink performance still depends on the specific stock and ink, so avoid choosing solely by gsm or a broad “mixed media” label.
A sketchbook construction to evaluate
YBJ Printing’s دفتر رسم مفتوح الظهر، مُخيط بطريقة «سميث» is a relevant construction to evaluate when page-opening behaviour matters. Its visible sewn spine provides a distinctive appearance; paper suitability still requires the seven tests above.
| Product | Relevant construction | Buyer evaluation | Confirm before approval |
|---|---|---|---|
| طباعة كراسة رسم مكشوف العمود الفقري المخيط سميث المخيط المخصص | Exposed spine with Smyth sewn binding | Opening behaviour, drawing access and intended retail appearance | Proposed stock, page count, trim size and performance of the actual bound sample |
For projects involving a hardcover case, compare hardcover case materials and finishes alongside the paper tests. The cover supports handling and presentation, but does not establish interior drawing performance.
Turn test results into an approval specification
Approve an identified stock and construction with retained evidence. Descriptions such as “premium artist paper” leave too much room for interpretation during purchasing and production.
- Paper identity: supplier reference, gsm, shade, finish and agreed substitution procedure.
- Intended media: tested pencils, pens, inks, erasers and any limited wet-media use.
- Acceptance evidence: completed test sheet, photographs, marked samples and critical pass conditions.
- الإنشاءات: trim size, page count, binding, grain orientation and approved bound dummy.
- الطباعة: blank or printed interiors, guide marks, colour requirements and proof status.
- Order details: quantity, cover finish, packaging, destination country and required arrival window.
If the interior includes graphics, use a تصدير ملفات PDF الجاهزة للطباعة وسير عمل الفحص المسبق to prepare the approved artwork. Confirm how printed areas behave with the intended drawing tools.
Price depends on stock availability, sheet usage, size, page count, quantity, printing, binding, finishing and freight. Lead time depends on sourcing, sample revisions, approval timing, production scheduling and transport. A quotation should state its assumptions; changing the paper or construction may require revised pricing and another sample review.
Key takeaways before ordering
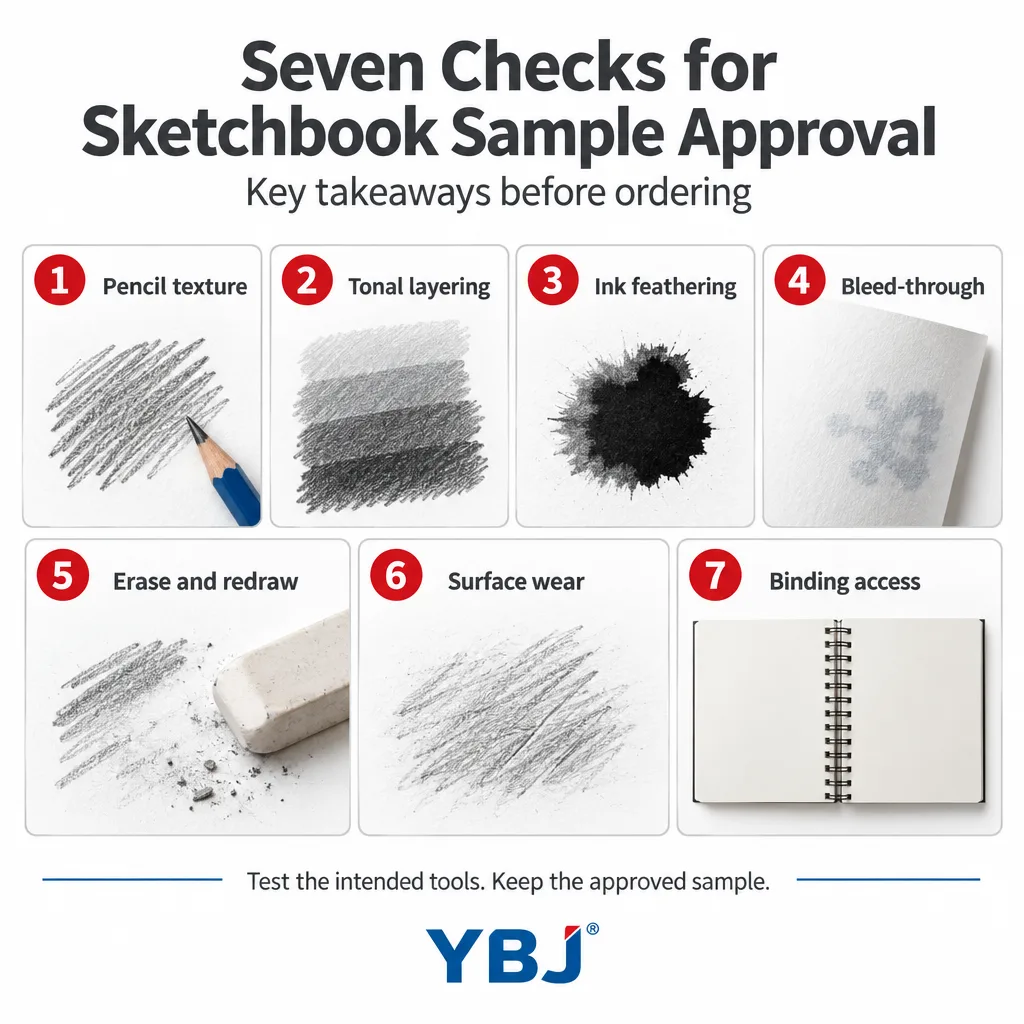
The most useful approval sample connects paper performance with the finished book. Complete the seven tests, then keep the chosen sample as the reference for your order.
- Test actual drawing tools under repeatable conditions.
- Distinguish feathering, bleed-through and show-through.
- Check redraw quality after erasing and repeated work.
- Approve gutter access in a representative bound dummy.
- Document the stock, construction and permitted substitutions.
These steps give buyers a practical basis for choosing paper, describing the product accurately and discussing production requirements with YBJ Printing.
الأسئلة الشائعة
What gsm is best for a custom sketchbook?
There is no single best gsm for every sketchbook. Choose candidate weights for the intended media and book format, then test texture, ink response, erasing and bulk. Papers of equal weight can perform differently.
Does thicker paper prevent pen bleed-through?
Greater thickness may help, but it does not guarantee resistance. Ink chemistry, paper structure and sizing also matter. Test the exact pen or marker, including dense marks, and inspect both the reverse and the next sheet.
Can a blank sketchbook dummy approve the finished product?
A representative blank dummy can help approve size, bulk and opening behaviour. It does not establish how printed graphics interact with drawing tools. Include printed samples when the interior contains guides, borders or other artwork.
How should buyers test eraser resistance?
Make consistent graphite patches, erase with the intended tools using comparable pressure, and redraw over the same areas. Assess remaining marks, raised fibres, thinning and changes in drawing response.
Should both sides of sketchbook paper be tested?
Yes, especially when both sides are intended for drawing. Surface feel and media response may differ. Repeat the line, layering, ink and erasing checks on each side, then inspect facing-page transfer in the bound sample.
هل أنت مستعد للتخطيط لمشروع الطباعة المخصص الخاص بك؟
Tell YBJ Printing about your sketchbook product type, trim size, page count, quantity, paper or binding preferences, finish requirements, file status and destination country. Include the drawing tools your customers will use and any sample-test priorities. Our team can discuss practical options and prepare a factory-direct quotation based on your specifications.