
Índice
- What board book file setup means
- Board book artwork checklist
- Set bleed and trim correctly
- Keep important content inside safe areas
- Build spreads and page order carefully
- Confirm page counts before export
- Prepare colour, images, and text
- Allow for board book features and construction
- Export and preflight final files
- Common board book file setup mistakes
- Final file setup guidance
A practical board book file setup guide for publishers and brands. Learn how to prepare bleed, safe areas, spreads, page counts, colour files, and final artwork checks before production.
What board book file setup means
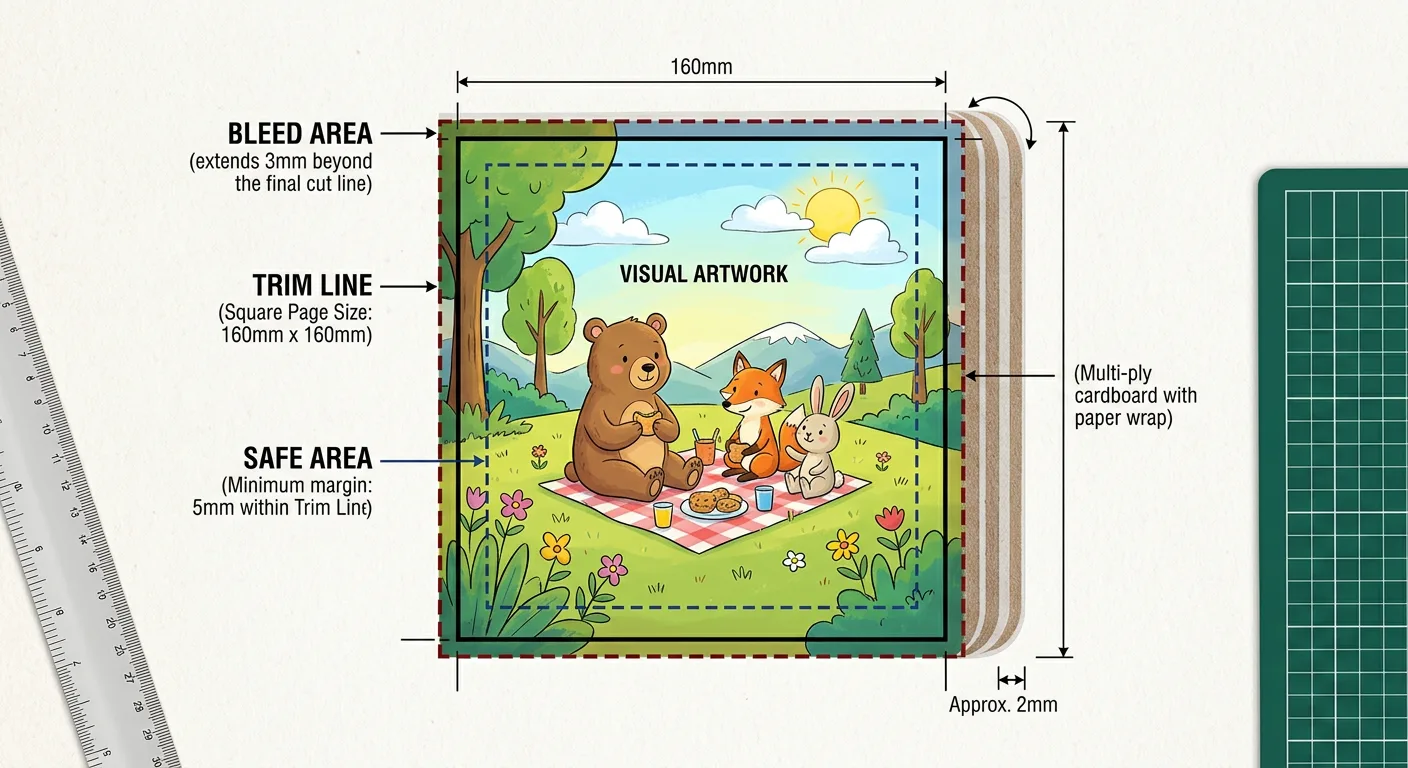
Board book file setup is the process of preparing artwork so it can be printed, mounted to board, trimmed, assembled, and checked without avoidable production problems. A print-ready board book file must account for more than the visible page design: it needs a trim size, bleed, safe area, correct page sequence, suitable image resolution, and allowances for the way thick board pages meet at the fold.
Unlike a thin paper book, a board book uses rigid pages. The construction can affect how a double-page spread reads near the centre fold, how close text can sit to an edge, and how page count is planned. For this reason, confirm the manufacturing specification before finalising artwork rather than applying settings from a paperback template.
This guide assumes a standard custom children’s board book with printed board pages. Exact bleed, safety margins, page-count increments, and file delivery requirements can vary with the finished size, corner style, board construction, and any interactive element. Use the printer-approved template or written specification as the final authority.
Board book artwork checklist
Before sending files, check the following points with your designer, publisher, or print supplier:
- Final trim size and orientation are confirmed.
- Every page includes the required bleed beyond the trim line.
- Text, faces, logos, and key details sit within the safe area.
- Page numbers and spread order match the approved dummy or storyboard.
- Artwork uses the agreed colour mode and any required spot colours are clearly identified.
- Placed images are high enough in resolution for the intended print size.
- Fonts are embedded or outlined where requested, and linked artwork is included if supplying native files.
- All die-cut, foil, varnish, flap, or other special-process layers are clearly named and separated.
- The supplied PDF has been checked page by page after export.
Start by selecting the physical format. Size determines the available design space, shipping profile, and practical page plan. For help choosing a suitable format before layout begins, see Tamaños y número de páginas de los libros de cartón.
Set bleed and trim correctly
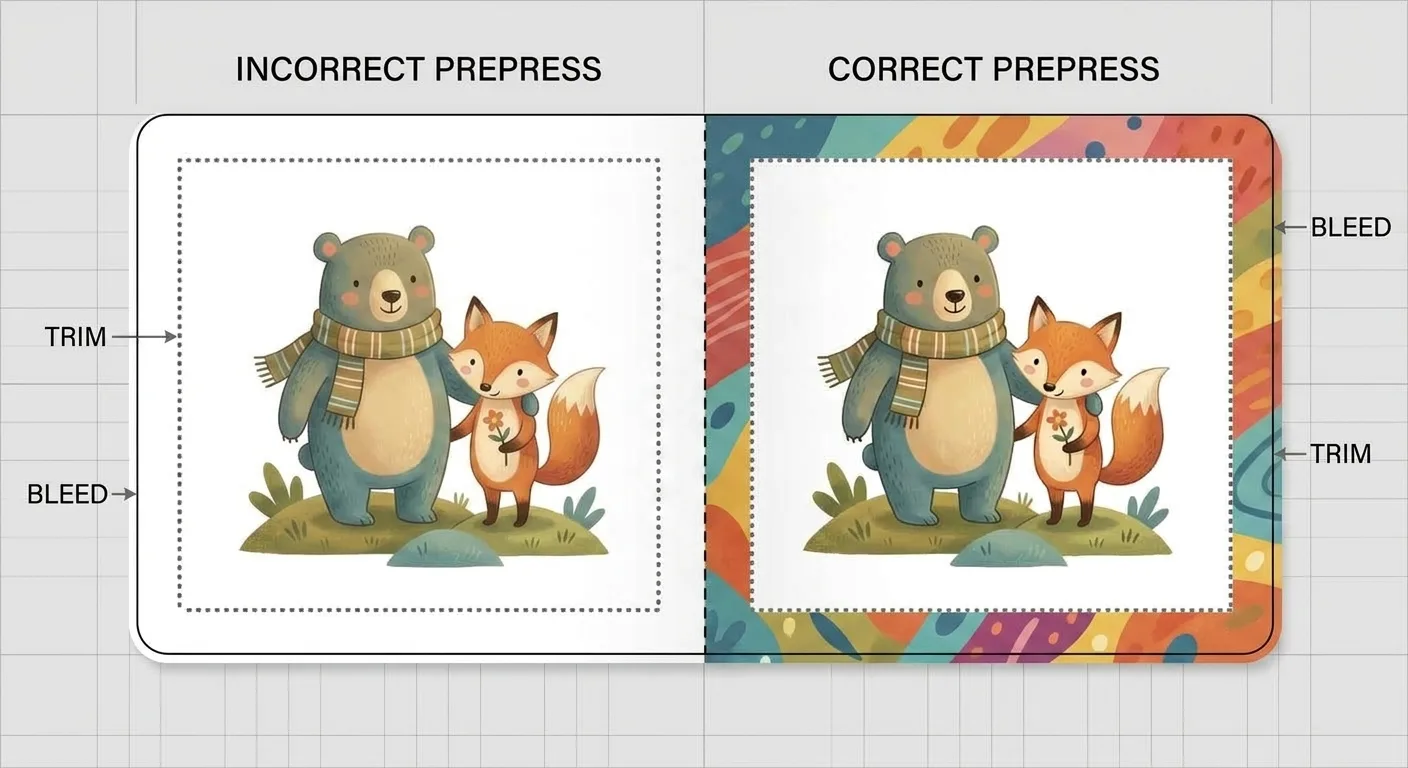
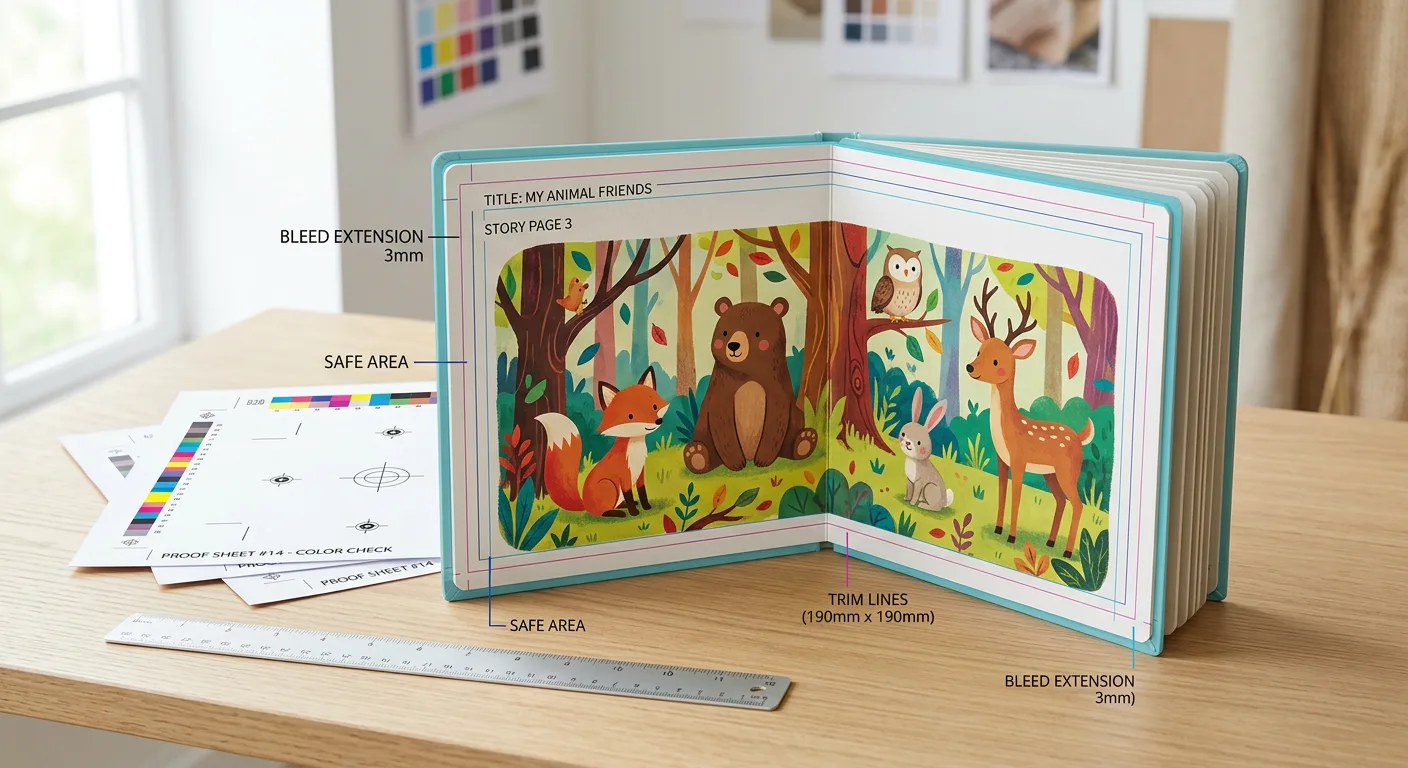
Trim size is the final size of the board book after cutting. Bleed is the extra image area that extends beyond that cut line. If a background colour, photograph, or illustration reaches the finished edge, it must continue into the bleed area. This lets the printer trim the book cleanly even when normal cutting variation occurs.
Do not place a visible white border at the edge unless it is an intentional design feature and you accept that small trimming variation may make it appear uneven. For full-bleed artwork, extend the background or image past the trim line on every outer edge.
Use the production template, not a generic setting
Many commercial print workflows commonly use 3 mm bleed, but a board book supplier may specify a different amount based on its process and format. Ask for the required bleed before exporting. If you are creating a single-page PDF, each page should normally include its own bleed. If the supplier requests spread files, the bleed must still be added around the outside of each spread according to the supplied template.
Crop marks are not always required and can be undesirable when a workflow expects clean PDF pages with defined page boxes. Supply them only when requested. The important point is that the PDF trim box and bleed box are correctly set and the artwork actually extends into the bleed area.
Keep important content inside safe areas
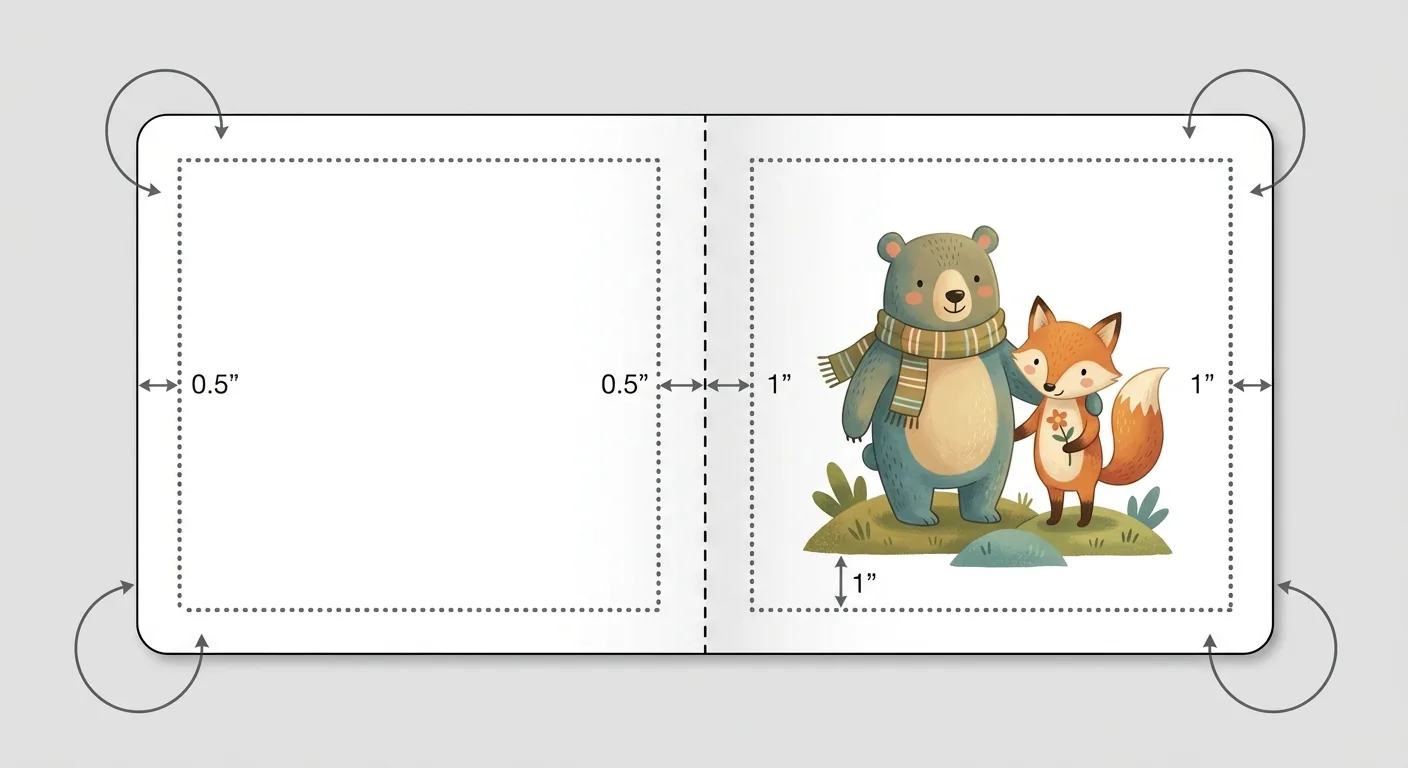
A safe area is the zone inside the trim line where important content is less likely to be affected by cutting, board wrapping, rounded corners, or the centre fold. Keep body text, small type, faces, logos, QR codes, and essential illustration details comfortably inside this zone.
The safe area is not the same as bleed. Bleed extends outward beyond trim; the safe area moves inward from trim. A design can have correct bleed and still be risky if a child character’s eyes, a line of copy, or a brand mark sits too close to an edge.
Give the centre fold extra respect
On a board-book spread, avoid treating the centre fold like a perfectly flat, uninterrupted sheet. Some image loss, visual interruption, or distortion may occur at the join depending on the construction. Do not place small text, a face, a word puzzle, or a precise alignment point directly across it. Where possible, make the fold part of the composition: use a plain background, a natural scene division, or a wider gap between important elements.
Rounded corners also reduce usable space near each corner. Keep critical details away from them, especially on small-format books. Your approved template should show the appropriate live area and any fold-related guidance for the chosen product.
Build spreads and page order carefully
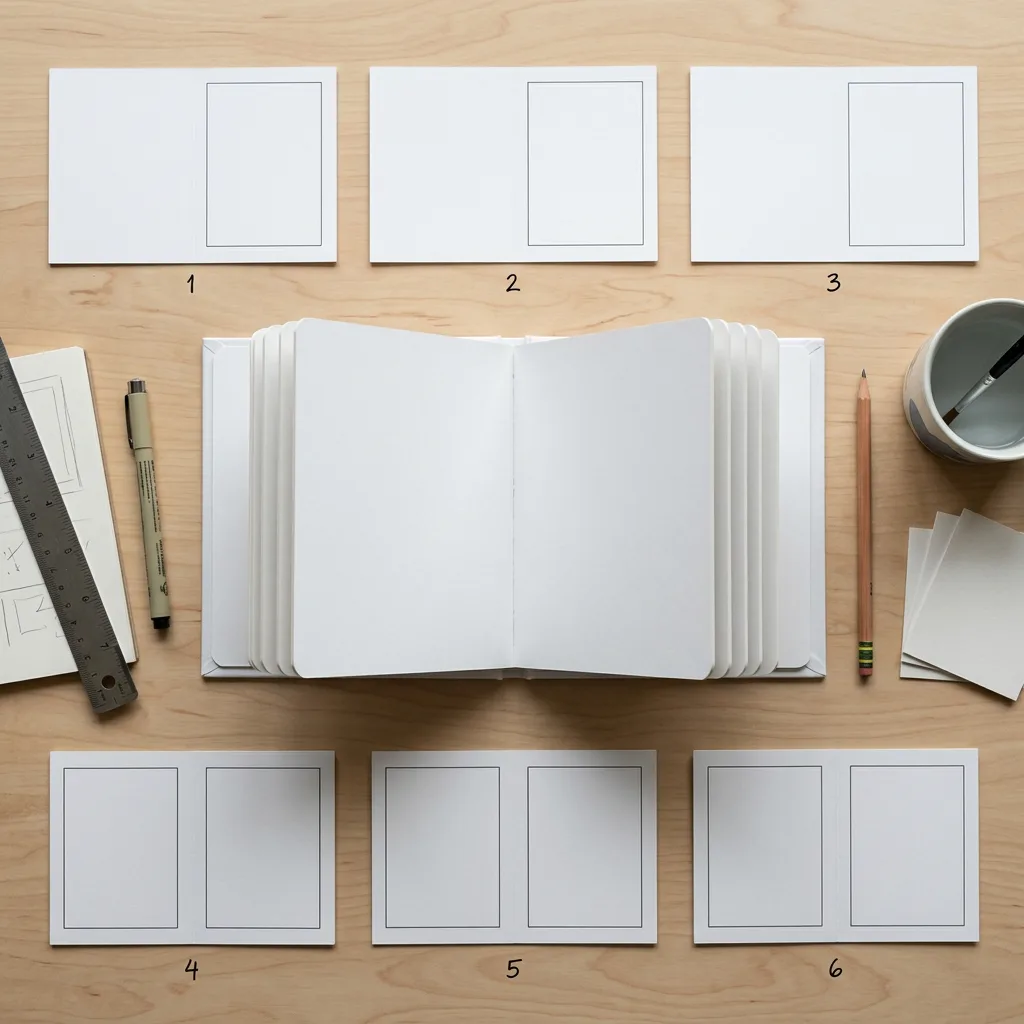
A spread is a left and right page viewed together when the book is open. Board books are often designed as spreads because illustration and storytelling frequently continue across both pages. However, the preferred supply method may be separate pages, reader spreads, or printer-imposed files. Never assume that a visually correct spread is the correct manufacturing file format.
Most printers prefer a sequential, single-page PDF for prepress unless they specifically request reader spreads or an imposed layout. In a single-page PDF, page 1 is followed by page 2, then page 3, and so on. The prepress team creates the production imposition. Do not manually rearrange pages into printer’s pairs unless asked to do so.
Check left and right pages in a physical dummy
Exported artwork should be reviewed in reading order. A low-cost paper dummy is useful for checking story flow, page turns, and the position of left-versus-right-page elements. For a board book, also make a simple folded mock-up or use card stock to simulate the page thickness. This often reveals copy that feels too close to the fold or a visual sequence that reads awkwardly when turned.
If you need a spine for a separate cover construction, its width cannot be estimated from a paper-book formula alone. It depends on the final board structure. Learn the variables involved in Cálculo del ancho del lomo del libro para la impresión, then obtain the final cover template from the manufacturer.
Confirm page counts before export
Page count is one of the first board book specifications to confirm because it affects the story plan, file sequence, construction, material use, and quotation. In buyer discussions, “pages” can mean printed reading sides, board leaves, or cover-inclusive pages. To avoid confusion, state exactly what you are counting and ask the printer to confirm the interpretation.
For example, a board leaf has two reading surfaces, but suppliers may describe a product by the number of printed pages rather than the number of physical leaves. Covers may also be counted differently depending on the construction. Page counts may need to follow a particular increment to suit the manufacturing method. These details should be settled before an illustrator finalises a page-by-page layout.
Create a page map
Make a simple document listing each page number, the intended text, illustration reference, and whether it forms part of a spread. Include the front cover, back cover, title page, copyright page, and any blank or instructional pages where applicable. This page map helps prevent a frequent error: completing the story pages and later discovering that the total does not meet the agreed construction requirement.
For a fuller format-planning discussion, refer to this guide to board book sizes and page counts. Confirm page count before requesting final pricing, because changing it later may affect both production planning and delivery weight.
Prepare colour, images, and text
Set up colour according to the print specification. CMYK is normally used for process-colour book printing, while RGB is intended for screens and can convert unpredictably if left unmanaged. If a brand requires a specific spot colour, discuss this during quotation and identify it clearly in the artwork. Do not assume that an RGB screen preview will exactly match the appearance of a printed board book.
Leer the practical guide to CMYK, RGB, and Pantone for book printing before approving colours that matter to a brand identity or licensed property.
Use high-resolution original images at their placed size. Avoid enlarging low-resolution web images; doing so can create soft or pixelated print. Keep type readable for the intended age group and consider how small reversed text, very thin strokes, and low-contrast lettering will reproduce on a physical page. Black text should normally be built according to the printer’s recommended colour values, particularly when it is small or finely detailed.
Embed fonts when exporting the PDF, or outline them if the supplier requests this. Review every foreign-language character, ligature, and special symbol after PDF export. Missing glyphs or substituted fonts are much easier to correct before prepress than after proof approval.
Allow for board book features and construction
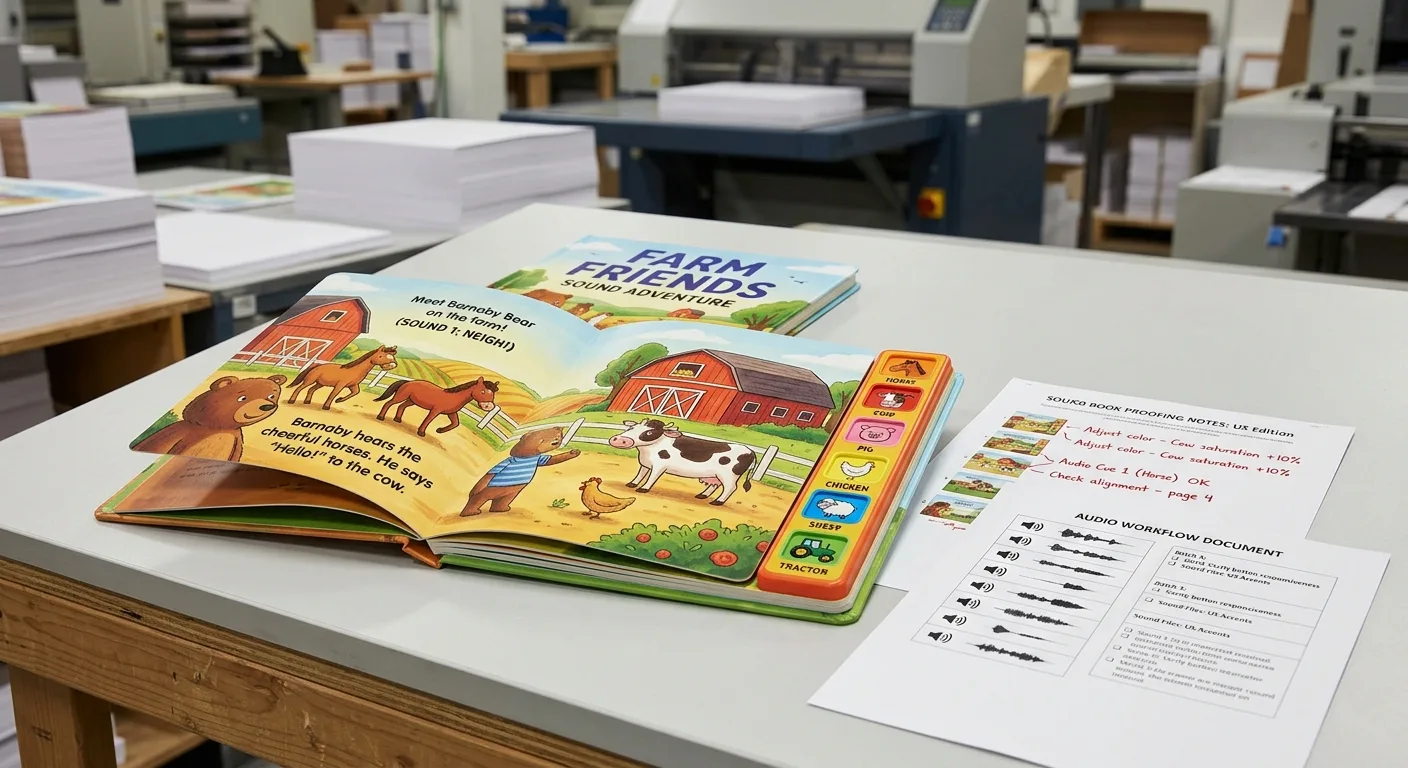
Interactive elements need their own artwork and safety planning. Lift-the-flaps, die-cut windows, tactile patches, and similar features can change the usable design area and require clear layer naming, cut-line files, and placement instructions. Never place essential copy where a flap will cover it unless that is intentional, and do not hide critical story information behind a feature without considering how the child will use it.
For die-cuts, the printer normally needs a clearly distinguished vector cut path as well as the printed artwork. Allow a practical clearance between the cut shape and important text or fine detail. Complex shapes, narrow bridges, and closely spaced cuts may need review for durability and production suitability.
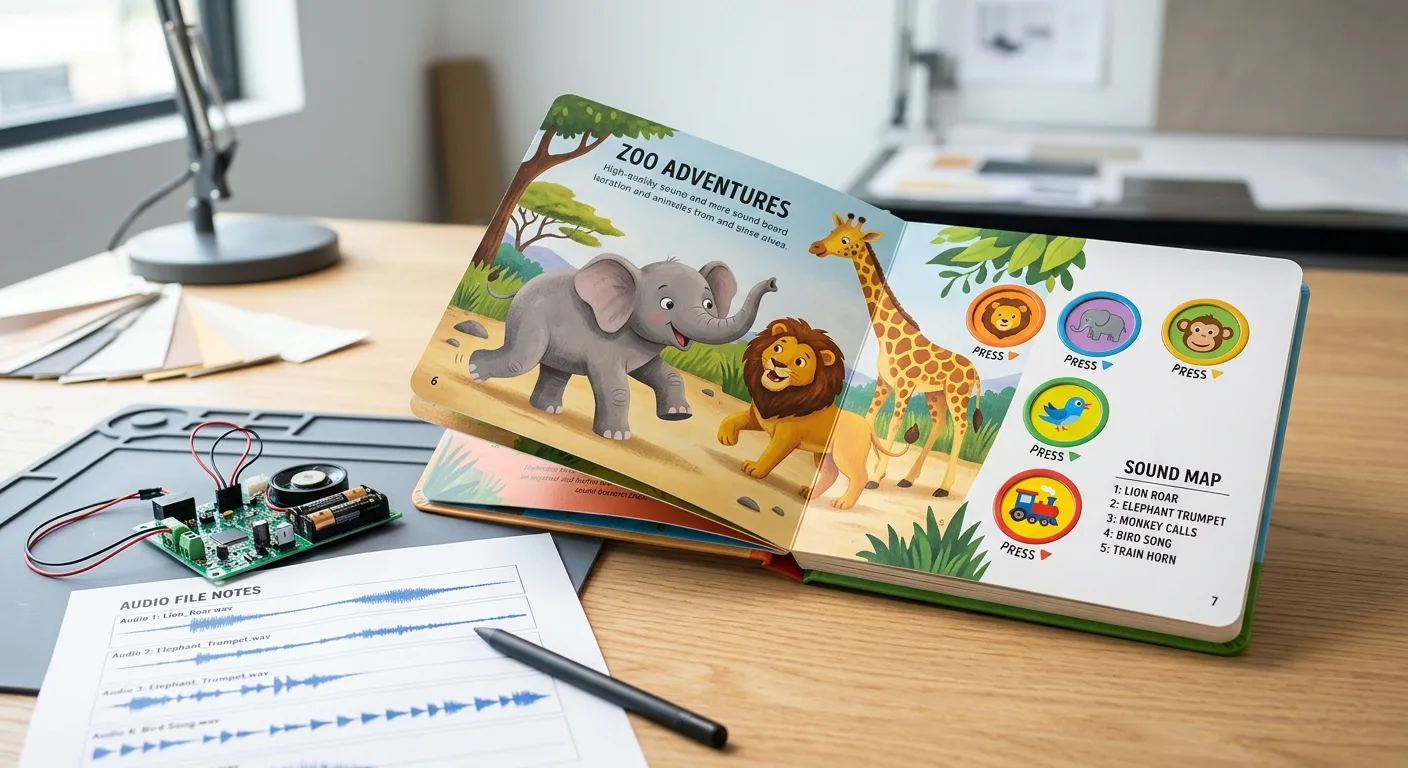
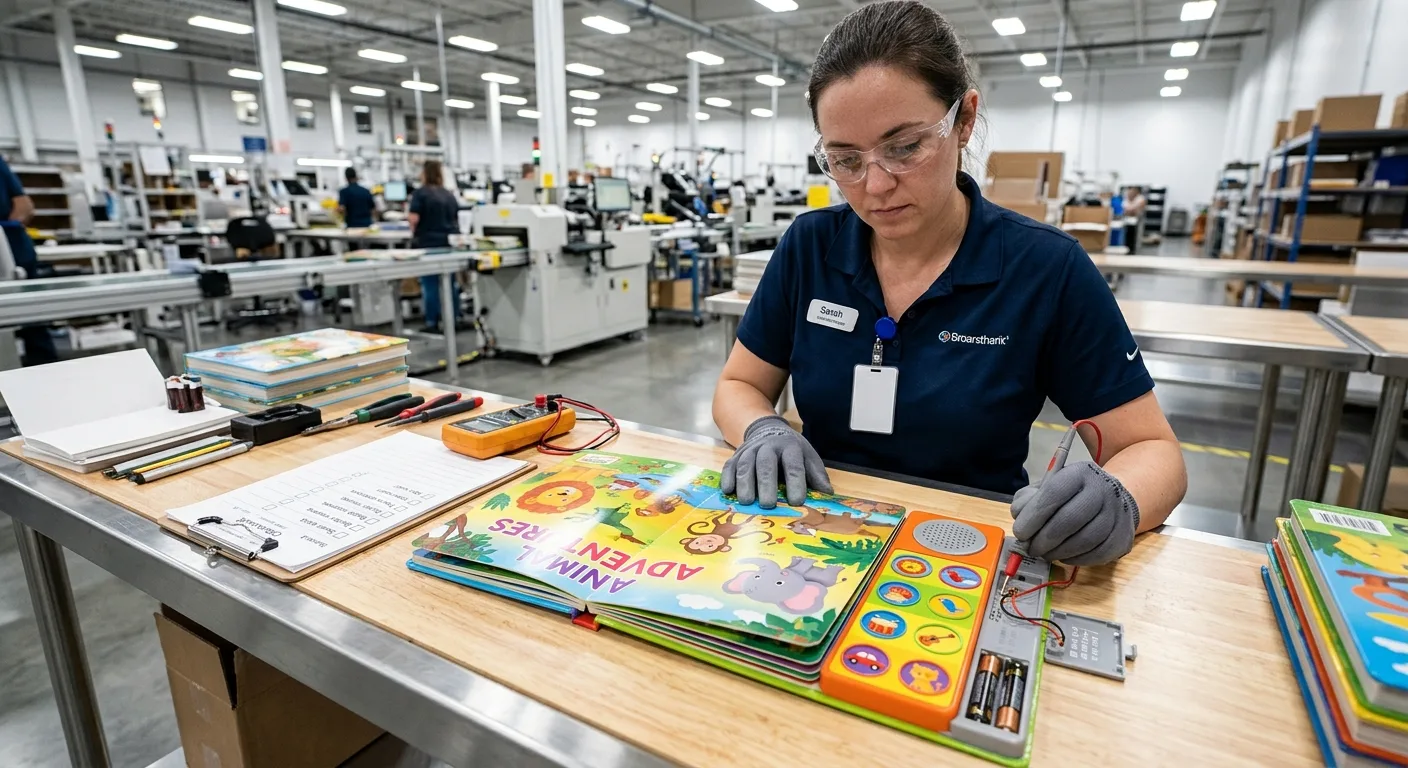
See interactive board book printing options for planning considerations around flaps, die-cuts, and touch features. If the project includes buttons or electronic components, file setup must also cover component locations, button labels, and assembly tolerances; a standard board book PDF alone is not enough.
Export and preflight final files
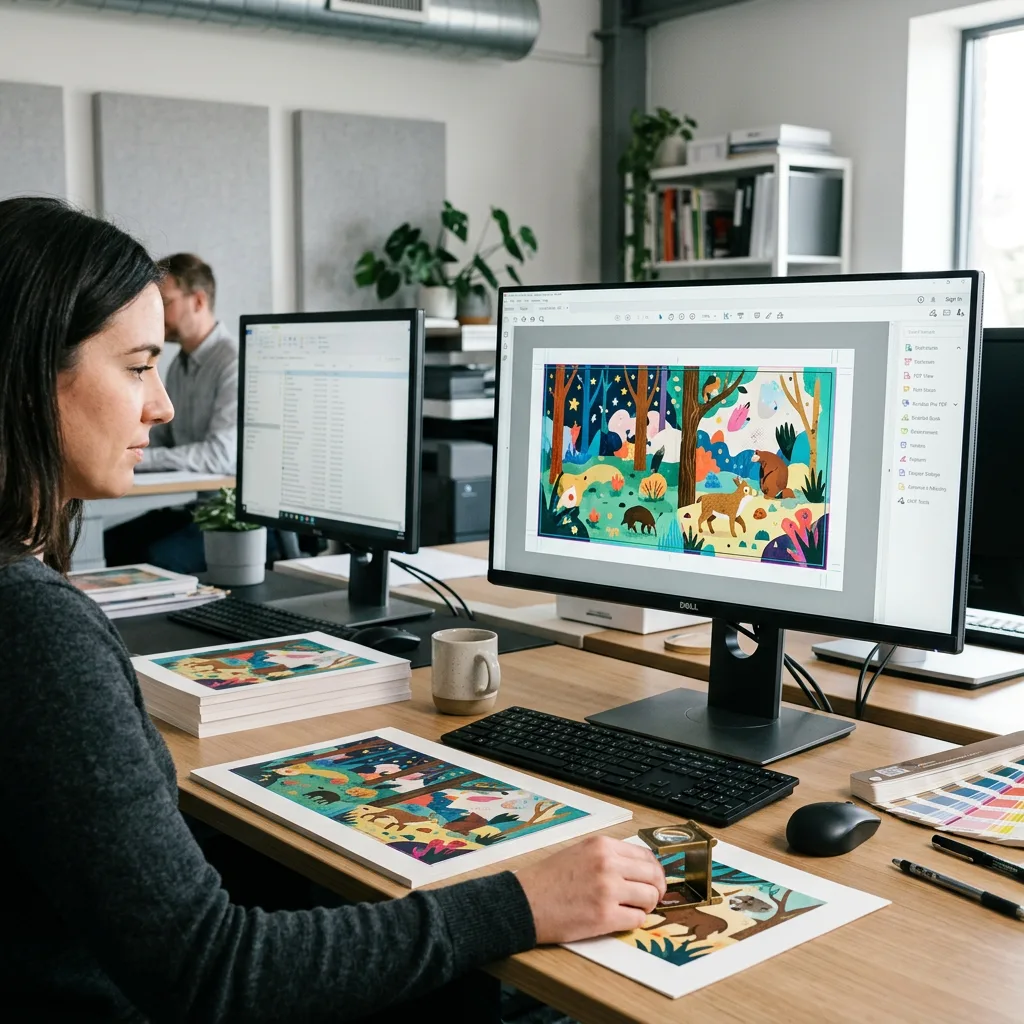
Export a high-quality PDF using the printer’s preferred PDF standard or preset. Include bleed settings, but only include marks when requested. Keep the file name clear and version-controlled, such as “Title_trim-size_32pp_v3.pdf”. Avoid ambiguous names such as “final-final-new.pdf”, especially where several parties review artwork.
Before upload, open the exported PDF independently of the design application and inspect it at 100% zoom. Check that the finished page dimensions are correct, bleed is visible where needed, pages are in sequence, and no unwanted guide, template, or hidden layer has printed. Zoom into pages containing small type, barcodes, QR codes, fine line art, and details close to the fold.
Also compare the PDF against the approved page map. Confirm front cover orientation, back cover orientation, and the direction of any text on the spine or packaging. A proof is the last practical opportunity to check content, but it does not replace disciplined file preparation. Record corrections in a single marked PDF or consolidated list to avoid conflicting feedback.
Common board book file setup mistakes
- Using a paperback template: It may not reflect board-page folds, corner treatment, or the chosen construction.
- Adding bleed without extending the artwork: A PDF can show a bleed box while the background stops at trim.
- Putting words across the centre fold: Small copy and precise visual details can become difficult to read.
- Counting pages inconsistently: Confusion over covers, printed sides, and physical leaves can disrupt the layout.
- Supplying imposed spreads without instruction: This can conflict with the printer’s production workflow.
- Leaving colour as unmanaged RGB: Screen colour and print colour are different output conditions.
- Forgetting special-feature layers: Die-cut lines, foil areas, and flap instructions must be clear and separate.
- Approving only on screen: A physical dummy and a careful PDF review identify different issues.
Most of these problems can be prevented by agreeing the specification early and sending a preliminary sample spread for technical review before the entire book is illustrated.
Final file setup guidance
Successful board book file setup starts with the physical product, not just the artwork. Confirm trim size, construction, page-count definition, bleed, safe area, file format, and any special features before the design is locked. Then review the final PDF against a page map and a physical dummy.
These steps protect the reading experience as well as the production schedule. They are particularly important for children’s titles, where a small illustration detail, a word near the fold, or an incorrectly ordered page can change how the book works in a child’s hands.