Les livres à rabats constituent un incontournable de l'éducation et des loisirs de la petite enfance. Pour les éditeurs et les marques, ils représentent un produit à forte valeur ajoutée qui favorise l'engagement. Cependant, pour les acheteurs d'imprimés et les ingénieurs de production, ces livres interactifs constituent un défi de fabrication complexe qui va bien au-delà de l'impression offset standard.
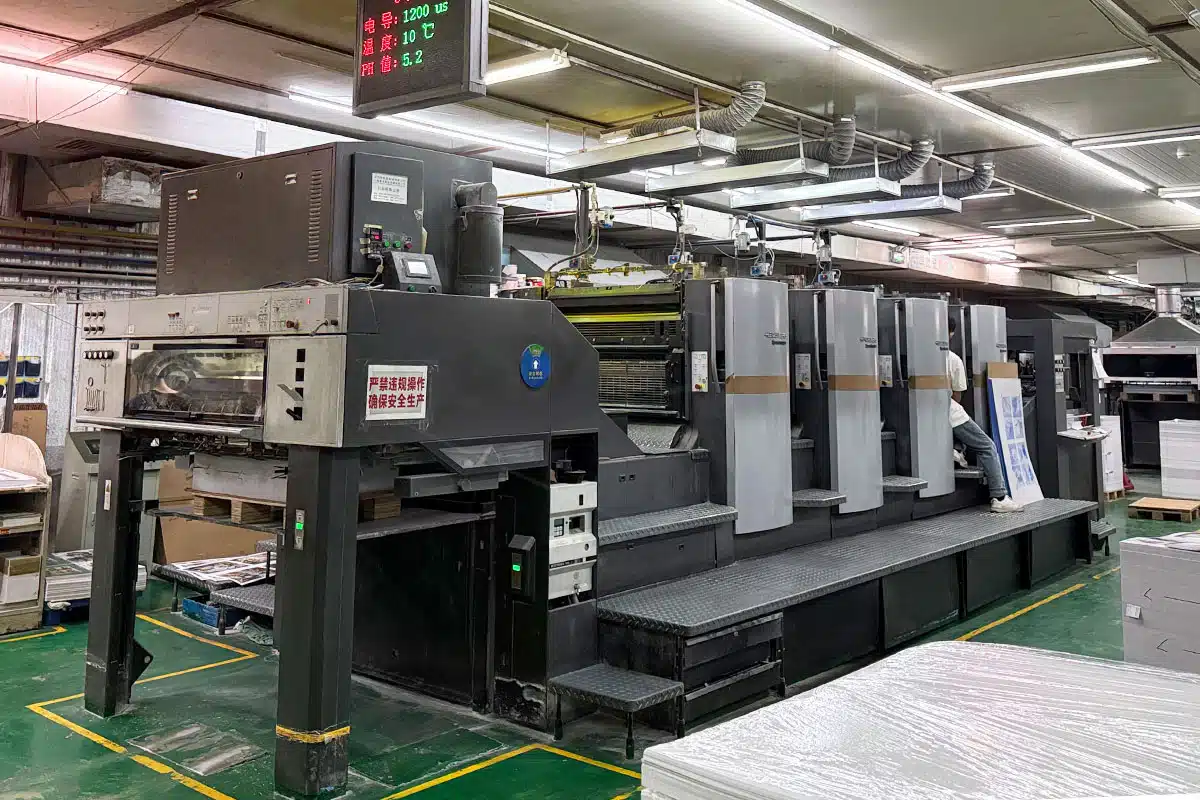
La fabrication d’un livre à rabats durable, sûr et fonctionnel repose sur une coordination parfaite entre une découpe mécanique de précision et un assemblage manuel réalisé par des artisans qualifiés. Contrairement aux livres d’images classiques, dont le processus est en grande partie automatisé, de l’impression à la reliure, les livres cartonnés interactifs nécessitent un outillage spécialisé, une superposition spécifique des matériaux et un contrôle qualité rigoureux.
Ce guide présente en détail les aspects techniques de l'impression des livres à rabats, en abordant les étapes clés de la fabrication des matrices, les subtilités de l'assemblage et les facteurs qui influencent les coûts de fabrication.
Le fonctionnement des livres cartonnés interactifs
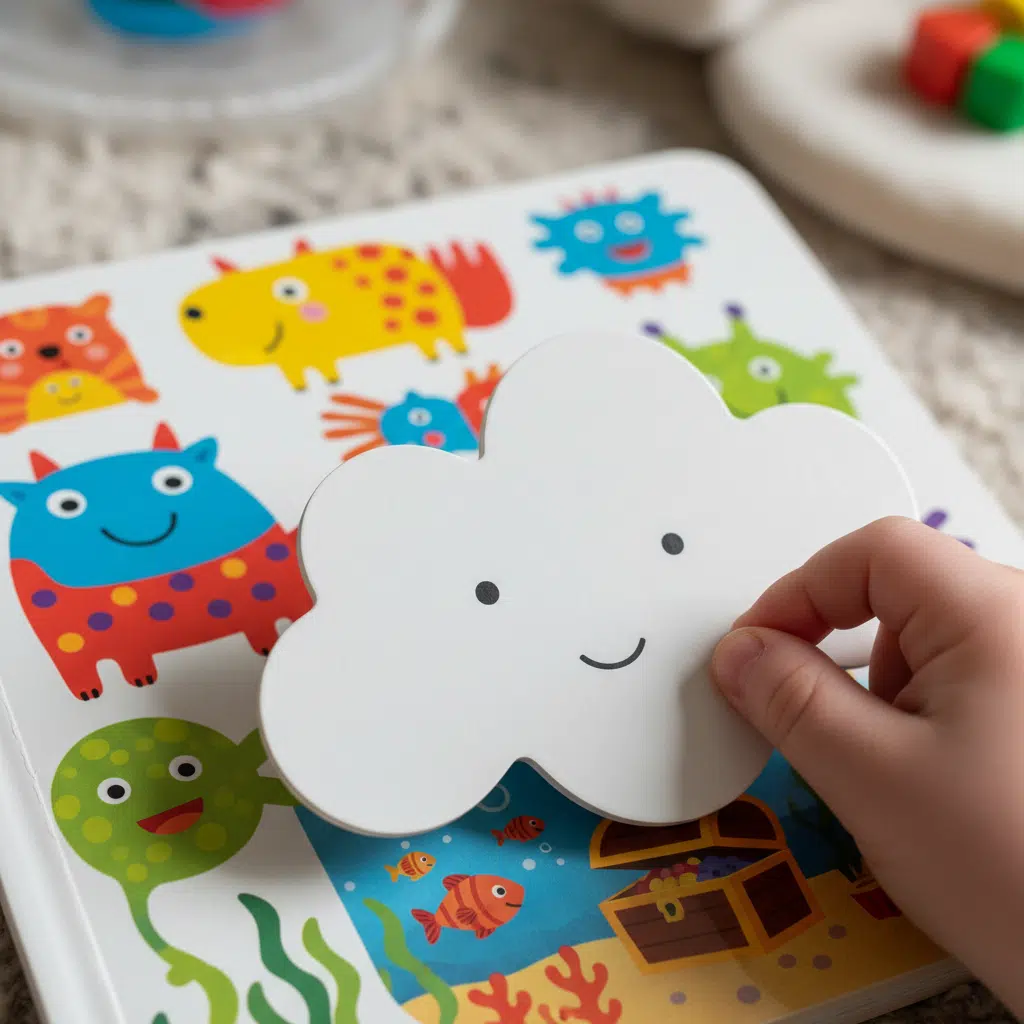
À la base, un livre à rabats est fabriqué en laminant plusieurs couches de carton. Le mécanisme des « rabats » repose sur une découpe précise dans la couche supérieure de papier (le « overs »), qui permet de dévoiler une image imprimée sur la couche de base située en dessous.
Le défi technique consiste à faire en sorte que le rabat s'ouvre facilement sans se déchirer, se referme à plat sans se bomber et résiste à une utilisation répétée par des tout-petits. Cela nécessite de prendre soigneusement en compte le sens du grain, la densité du carton et l'application de la colle.
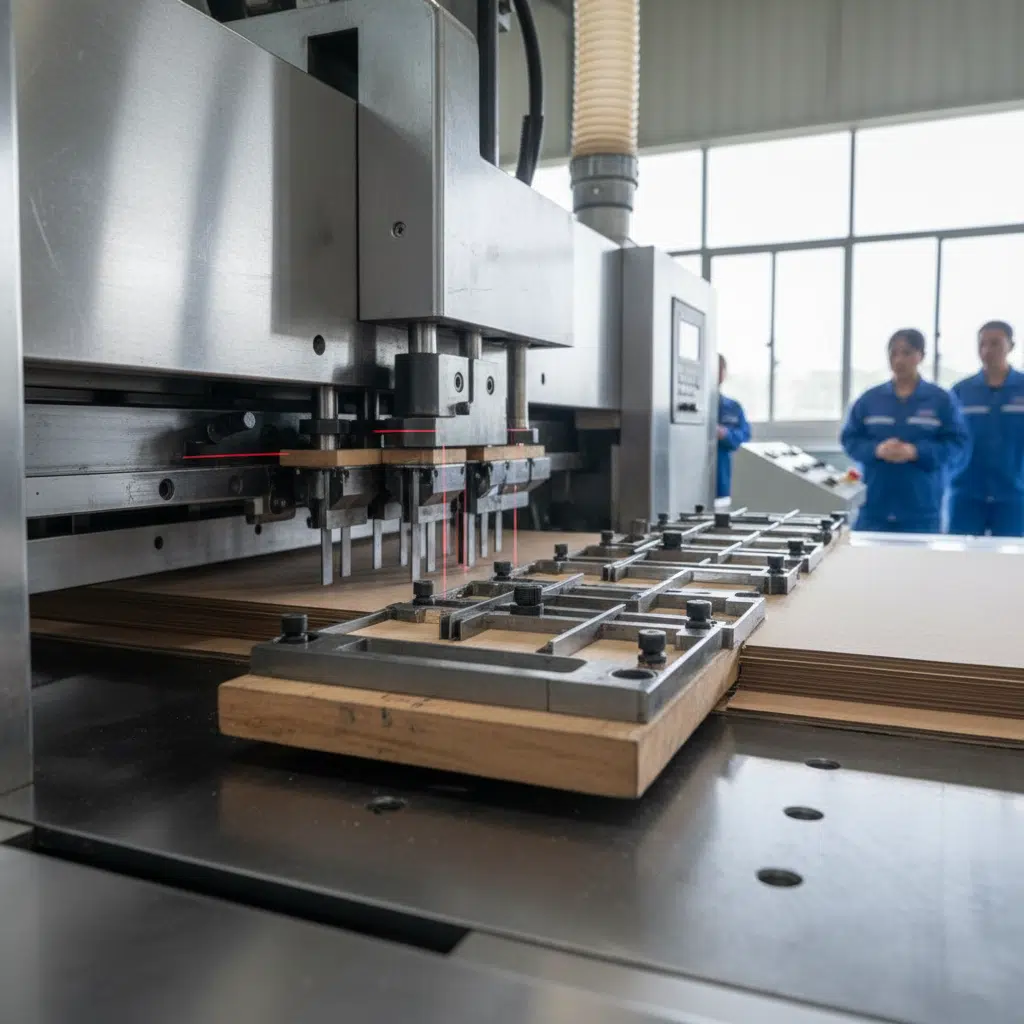
Le processus de découpe à l'emporte-pièce : la précision est primordiale
La découpe à l'emporte-pièce consiste à utiliser une lame en acier (l'emporte-pièce) pour découper des formes spécifiques dans du papier ou du carton. Dans la fabrication de livres à rabats, il s'agit de l'étape mécanique la plus cruciale.
Conception de la ligne de découpe
Avant le lancement de la production, il faut créer un gabarit numérique. Ce fichier vectoriel indique précisément au fabricant où découper, où plier et où coller. Les acheteurs B2B doivent s'assurer que leurs fichiers de conception respectent des tolérances spécifiques :
- Marges de sécurité : Les rabats doivent généralement être situés à une distance d'au moins 10 à 15 mm du bord de rognage de la page afin d'éviter toute erreur de production lors du rognage final.
- Zones de saignement : L'image figurant sur le rabat et l'image cachée en dessous nécessitent souvent un fond perdu plus large (généralement de 3 à 5 mm) afin de compenser les légers décalages pouvant survenir lors du pelliculage.
- Tractions aux doigts : Une encoche semi-circulaire (poignée) doit être intégrée au tracé de découpe afin de permettre aux petits doigts de saisir facilement le rabat.
Outillage et usinage
Une fois le tracé de découpe validé, un gabarit physique sur mesure est fabriqué. Celui-ci se compose d'une base en bois dans laquelle sont encastrées des lames en acier. Différentes lames sont utilisées pour différentes fonctions :
- Règle de découpe : Des lames tranchantes qui transpercent complètement le papier.
- Règle de rainurage : Des lames émoussées qui permettent de créer une ligne de pliage (charnière) pour le rabat.
- Règle de perforation : Utilisé occasionnellement lorsque le rabat doit être scellé au départ et déchiré par le consommateur (bien que cela soit moins courant dans les livres cartonnés).
Les feuilles imprimées sont acheminées vers une machine de découpe où la matrice est pressée contre la feuille avec une pression de plusieurs tonnes. La précision est ici mesurée en fractions de millimètre. Si le repérage n'est pas correct, le rabat risque de révéler la mauvaise partie de l'image située en dessous.
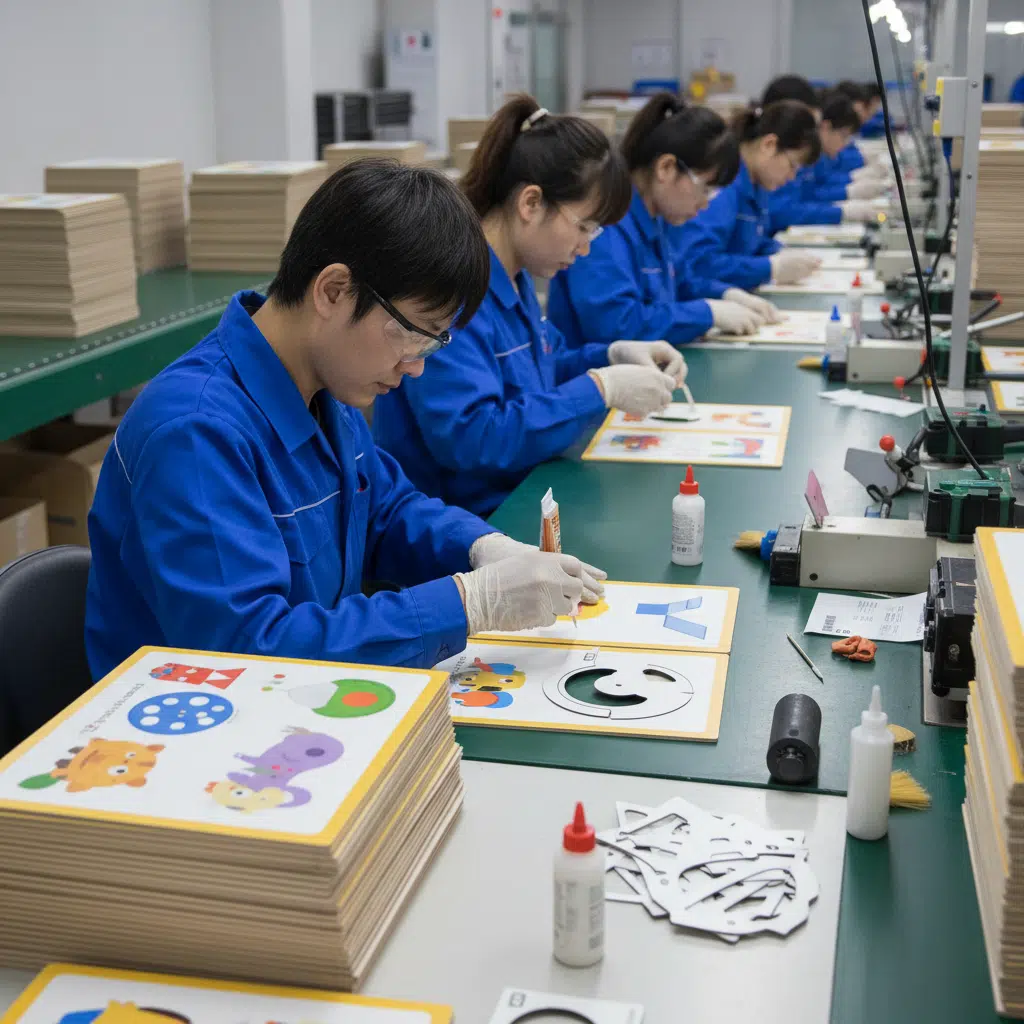
Assemblage : quand l'ingénierie rencontre l'artisanat
Si l'impression et la découpe sont automatisées, l'assemblage des livres à rabats nécessite souvent une intervention manuelle importante. C'est là un facteur clé qui différencie la structure des coûts des livres interactifs de celle des livres classiques.
Assemblage manuel ou automatisé
Pour les rabats simples intégrés à une page standard, une certaine automatisation est possible. En revanche, pour les livres cartonnés de haute qualité comportant plusieurs rabats par page ou des formes complexes, l'assemblage manuel est souvent la norme dans les imprimeries professionnelles.
Le processus :
- Coller : Des opérateurs ou des machines appliquent de la colle sur les couches « d'espacement » ou au dos de la feuille découpée, en prenant soin d'éviter la zone où se trouve le rabat. Si la colle entre en contact avec la zone du rabat, celui-ci se collera et restera fermé, ce qui entraînera un produit défectueux.
- Montage : La feuille découpée (couche supérieure) est alignée puis fixée sur la feuille de base (couche inférieure). L'image cachée se retrouve ainsi prise en sandwich entre les deux couches.
- Pressage : Les panneaux assemblés sont pressés afin d'assurer une bonne adhérence et d'éviter tout gauchissement.
Colles et adhésifs
Le choix de l'adhésif est déterminant. Il doit être suffisamment résistant pour maintenir ensemble les couches épaisses du carton, tout en étant suffisamment souple pour éviter toute fissure lors de l'ouverture du livre. Les fabricants utilisent généralement des colles d'origine animale ou des adhésifs synthétiques à base d'eau, non toxiques et conformes aux normes de sécurité telles que la norme EN 71 ou ASTM.
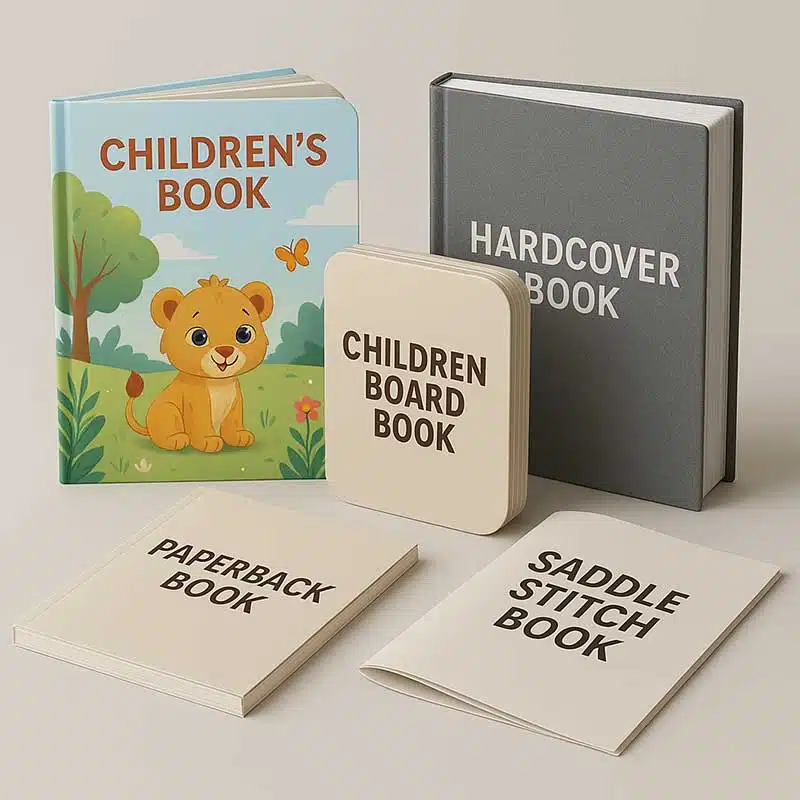
Sélection des matériaux pour la durabilité
La qualité tactile d'un livre à rabats dépend fortement du type de papier utilisé. Les acheteurs B2B ont généralement le choix entre deux grandes catégories :
- Carton C1S (couché sur une face) : Souvent utilisé pour les rabats eux-mêmes. La face couchée offre une surface d'impression aux couleurs vives, tandis que le verso non couché adhère bien au carton de support.
- Panneau gris avec fixation : Pour les pages plus épaisses, une âme en carton gris est insérée entre deux feuilles imprimées. Cela confère au livre la rigidité caractéristique d’un « livre cartonné ».
Caractéristiques techniques types :
- Couverture : Papier C1S de 350 g/m² collé sur un carton gris de 2 mm d'épaisseur.
- Pages intérieures : Deux couches de papier C1S de 300 g/m² collées dos à dos (environ 600 g/m² au total) ou montées sur un support en carton de 1 mm d'épaisseur.
Facteurs de coût dans la production de livres à rabats
Comprendre les facteurs qui déterminent les coûts aide les acheteurs à optimiser leur budget sans pour autant faire de compromis sur la qualité. Parmi les principaux facteurs, on peut citer :
- Nombre de volets : Un plus grand nombre de rabats implique des matrices plus complexes et, surtout, davantage de travail manuel pour éviter tout débordement de colle.
- Complexité de la découpe : Les formes complexes nécessitent des outillages plus coûteux et des cadences de production plus lentes afin d'éviter que le papier ne se déchire lors du processus de découpe (élimination des chutes).
- Exigences relatives à l'assemblage manuel : Si votre conception nécessite de coller un morceau de papier séparé sur une page (un « rabat collé ») plutôt que de découper la page elle-même, le coût de la main-d'œuvre augmente considérablement.
- Normes d'essai : Les livres destinés aux tout-petits (0 à 3 ans) doivent faire l'objet de tests rigoureux visant à vérifier l'absence de petites pièces. Les rabats doivent être renforcés afin d'éviter qu'ils ne se détachent et ne présentent un risque d'étouffement.
Contrôle de la qualité et essais de sécurité
Pour tout produit destiné aux enfants, la sécurité est une priorité absolue. Les imprimeurs professionnels appliquent des protocoles de contrôle qualité stricts pour les livres à rabats :
- Test de traction : Des échantillons prélevés au hasard sont soumis à des essais de traction afin de s'assurer que les rabats ne se déchirent pas facilement.
- Contrôle des arêtes vives : La découpe à l'emporte-pièce peut parfois laisser des bords de papier coupants. Ceux-ci doivent être lissés ou éliminés lors de la conception.
- Intégrité de la colle : Les livres sont soumis à des tests dans différentes chambres d'essai d'humidité et de température afin de s'assurer que la colle ne se détériore pas et ne s'écoule pas avec le temps.
Guide d'achat pour les commandes sur mesure
Lorsque vous demandez un devis pour l'impression d'un livre à rabats, le fait de fournir dès le départ des spécifications claires permet de réduire les délais de production et de garantir une tarification précise.
- MOQ (Minimum Order Quantity) : En raison de la fabrication d'outillages sur mesure et de la mise en place nécessaire, la quantité minimale de commande (QMC) est généralement plus élevée que pour l'impression numérique. Comptez une QMC comprise entre 1 000 et 3 000 unités pour obtenir un bon rapport qualité-prix.
- Fichiers : Envoyez des fichiers PDF prêts à imprimer comportant un calque distinct indiquant le tracé de découpe dans une couleur d'accompagnement (souvent le magenta ou le cyan).
- Mannequin blanc : Demandez toujours d'abord un échantillon « blanc » non imprimé. Cela vous permettra de tester le fonctionnement physique des rabats avant de vous engager dans la production en série.
FAQ
Quelle est la taille standard d'un livre à rabats ?
Il n'existe pas de norme stricte, mais les dimensions courantes vont de 6 × 6 pouces à 8 × 8 pouces pour les tout-petits. Les formats carrés sont prisés pour leur efficacité de production.
Puis-je imprimer sur la face inférieure du rabat ?
Oui, il est possible d'imprimer au verso du rabat. Cela nécessite toutefois une impression recto-verso sur la feuille supérieure avant son montage, ce qui exige un repérage précis afin de garantir que le verso du rabat corresponde à l'alignement du visuel.
Pourquoi les livres à rabats sont-ils plus chers que les livres cartonnés classiques ?
La différence de coût s'explique principalement par les frais liés aux matrices de découpe sur mesure et par le travail manuel nécessaire pour assembler les pages sans coller les rabats.
Comment puis-je m'assurer que les rabats ne se déchirent pas ?
Utilisez un papier cartonné résistant (300 g/m² ou plus), veillez à ce que le pli soit dans le sens du grain du papier, et concevez le rabat avec des coins arrondis plutôt qu'avec des angles vifs, qui ont tendance à se déchirer.
Quel est le délai de livraison habituel ?
En raison du montage manuel et du temps de séchage des adhésifs, les délais de livraison sont généralement compris entre 30 et 45 jours après validation de l'épreuve, en fonction du volume et de la complexité de la commande.
Prêt à vous lancer dans votre projet ?
Pour concevoir avec succès un livre à rabats, il est indispensable de s'adosser à un partenaire qui maîtrise les subtilités de la conception structurelle et le respect des normes de sécurité. Que vous produisiez un petit tirage destiné à un marché de niche ou un grand volume destiné à la distribution internationale, la précision est essentielle.
Contactez-nous dès aujourd'hui pour demander un devis ou obtenir un aperçu de nos possibilités en matière de livres interactifs.