
Índice
- What a Print-Ready Saddle Stitch Booklet File Is
- Confirm the Printer’s Specifications First
- Build the Correct Booklet Page Layout
- Set Bleed, Margins and the Centre Fold
- Prepare Colour, Images and Fonts
- Export and Preflight the Booklet PDF
- Proof the File Before You Submit It
A print-ready saddle stitch booklet file should use the correct finished size, a total page count divisible by four, proper bleed and safe margins, embedded fonts, suitable image resolution and a printer-ready PDF export. This guide explains how to prepare and check the file before production.
What a Print-Ready Saddle Stitch Booklet File Is
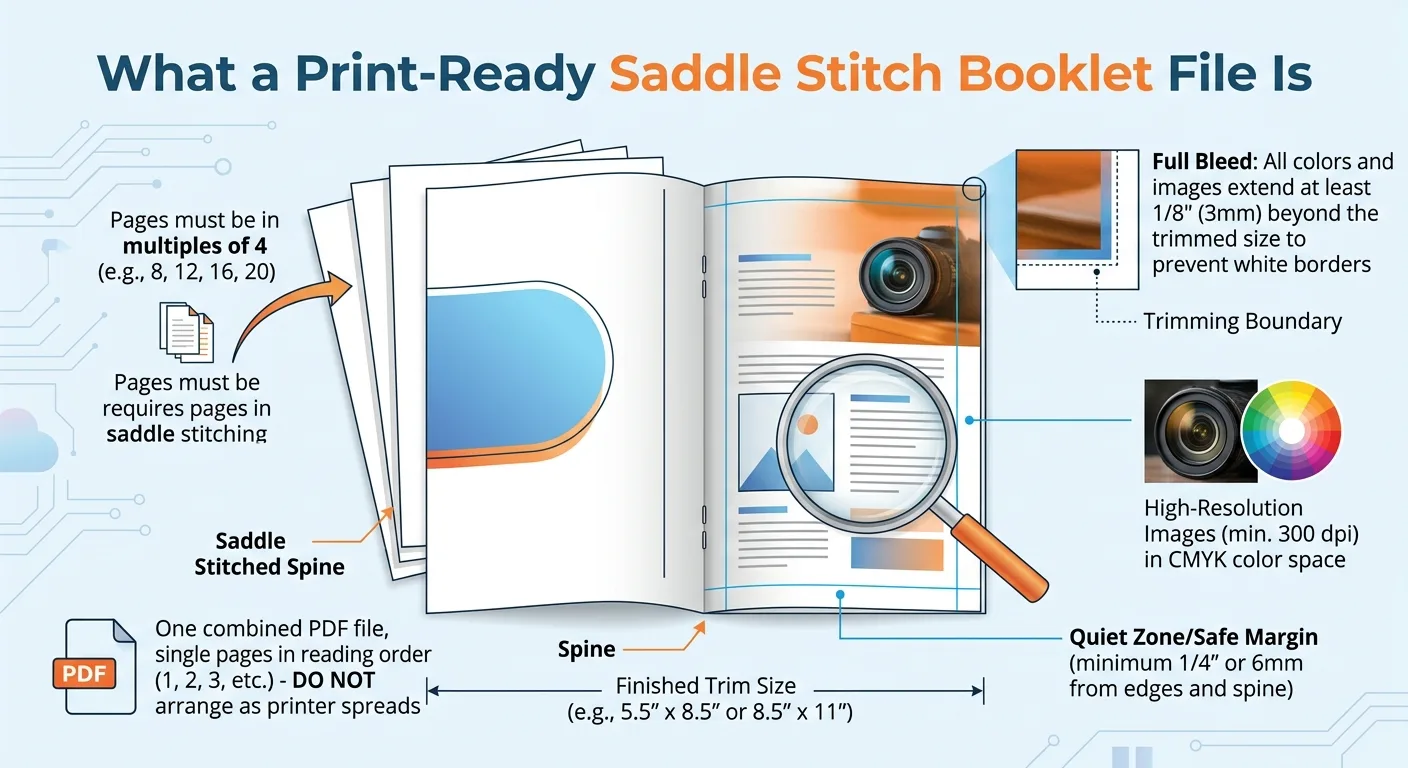
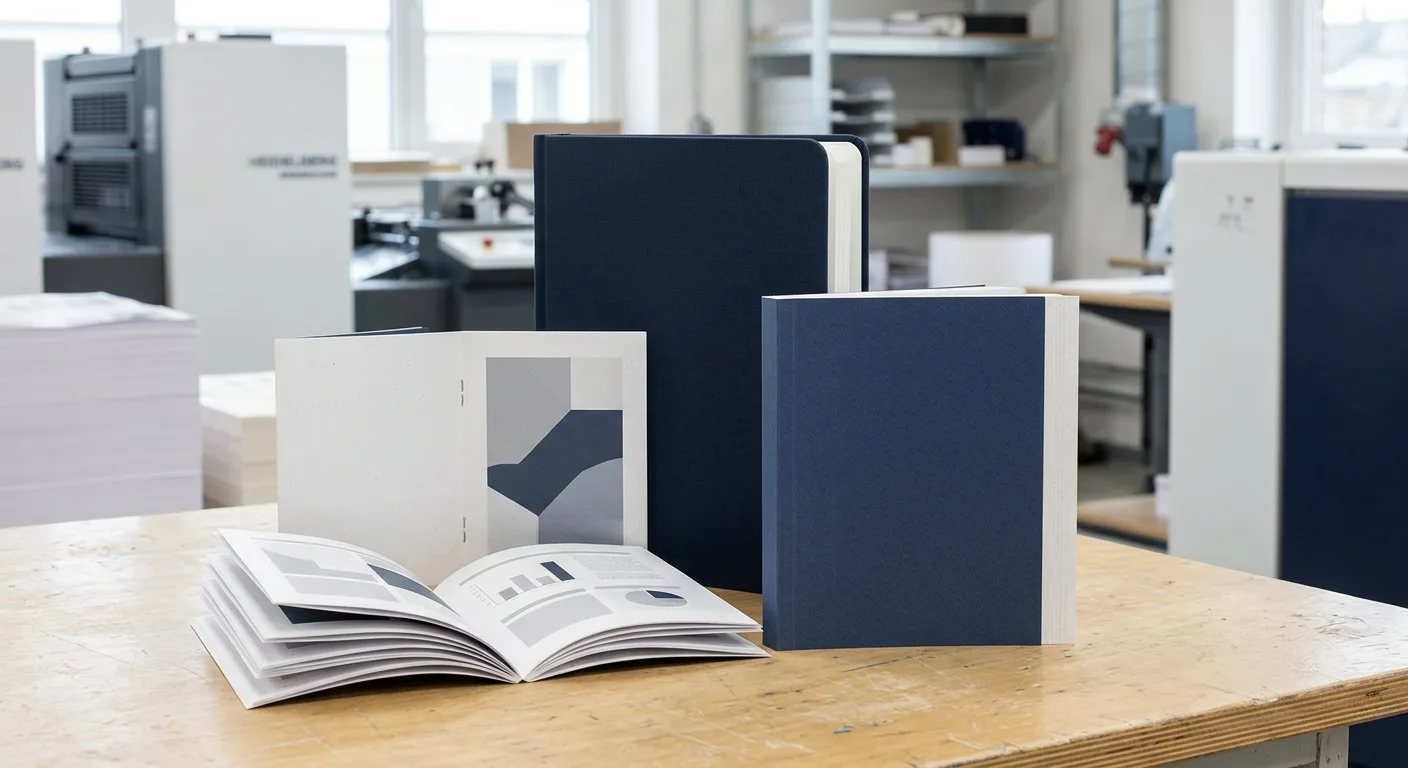
A print-ready saddle stitch booklet file is a final PDF set up at the correct trim size, with the pages in reading order, sufficient bleed, safe margins and production-ready colour, images and fonts. Saddle stitching folds printed sheets in the centre and secures them with staples through the fold.
For most commercial workflows, you should submit individual pages in normal reading order rather than manually arranging printer spreads. The printer or prepress team normally handles imposition, which places pages on large press sheets in the correct folding sequence.
The most important structural rule is that a saddle stitch booklet normally contains a total number of pages divisible by four. Each folded sheet creates four booklet pages. If your content does not fit this structure, discuss blank pages, a different binding method or a revised page plan before exporting the final PDF.
This guide assumes a standard rectangular booklet with a separate cover or cover pages included in the final page count. Exact bleed, colour profile, cover arrangement and PDF standard can vary by printer, so the production specification supplied with your quotation should take priority.
Confirm the Printer’s Specifications First
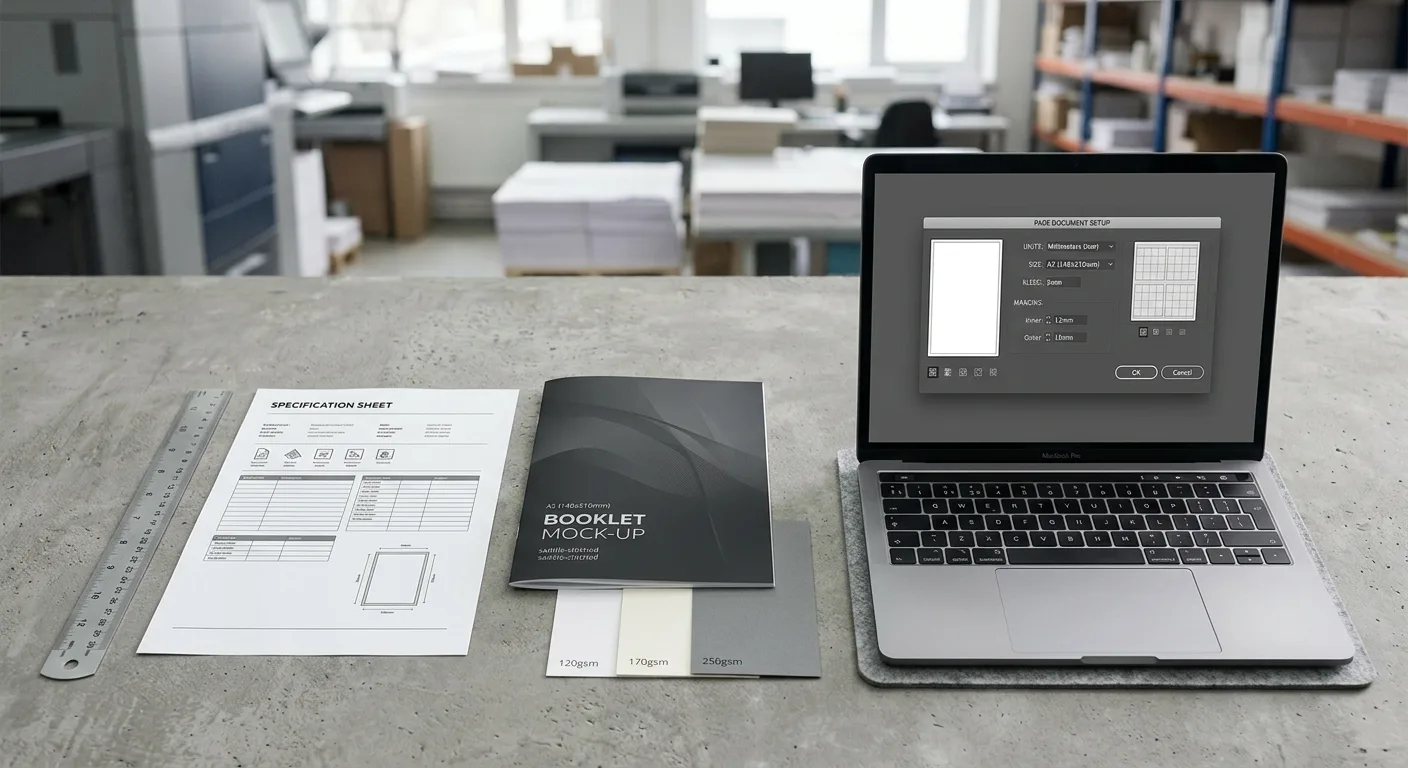
Before designing, confirm the specifications that affect the document setup. A correct file cannot compensate for an incorrect finished size or an unsuitable binding plan.
- Finished trim size: Confirm the final width and height after folding and trimming.
- Número de páginas: Check whether the cover is included and whether blank pages are required to reach a multiple of four.
- File structure: Ask whether the printer wants one PDF in page order, separate cover and text PDFs, or a specific template.
- Sangrar: Confirm the required bleed on each outside edge. A common starting point is 3 mm, but use the value in the printer’s specification.
- Colour: Confirm the preferred CMYK profile, spot-colour requirements and whether RGB files will be converted during prepress.
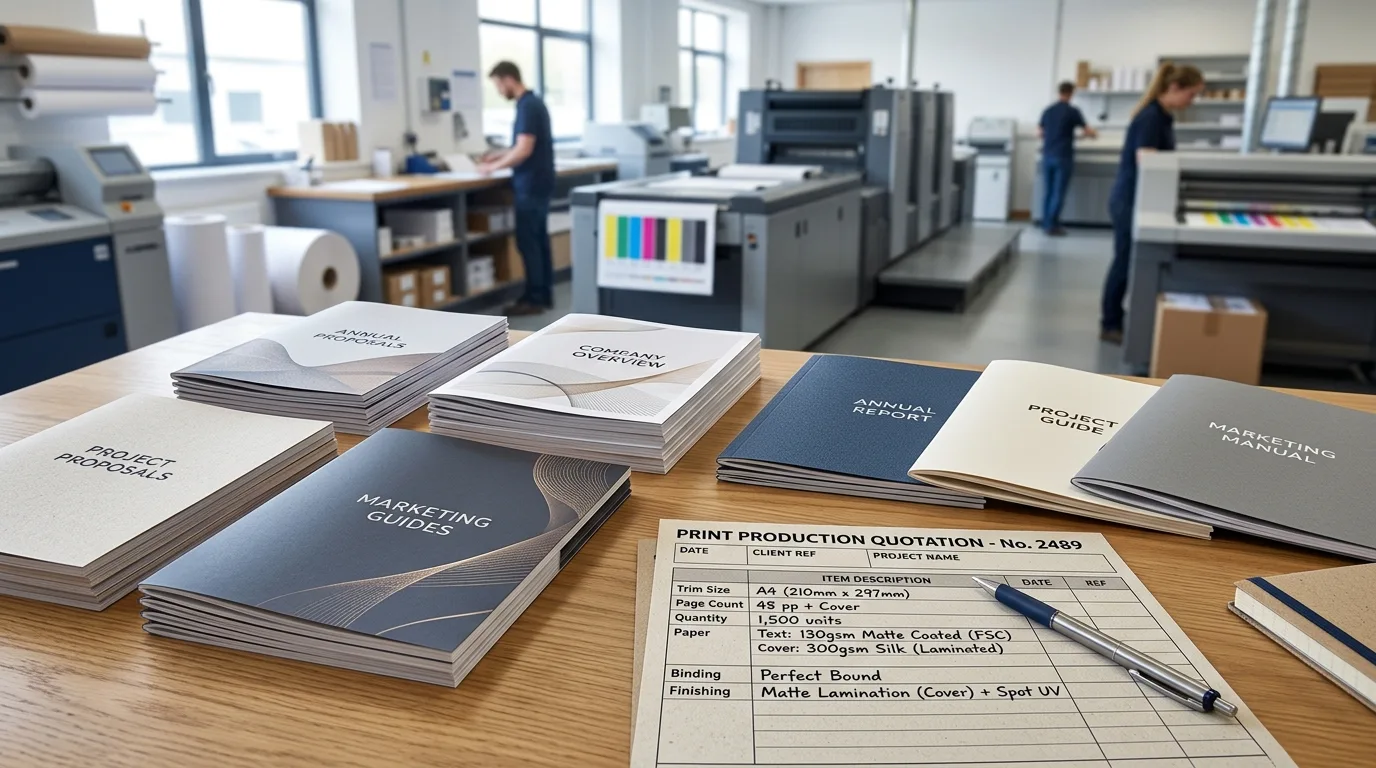
- Acabado: Ask about paper, cover stock, coating and any special finishes that may affect the cover artwork.
- Pruebas: Confirm whether a digital proof or physical proof is available before mass production.
For a broader checklist covering trim, fonts, images, covers and proofing, review the complete book printing file requirements checklist.
Build the Correct Booklet Page Layout
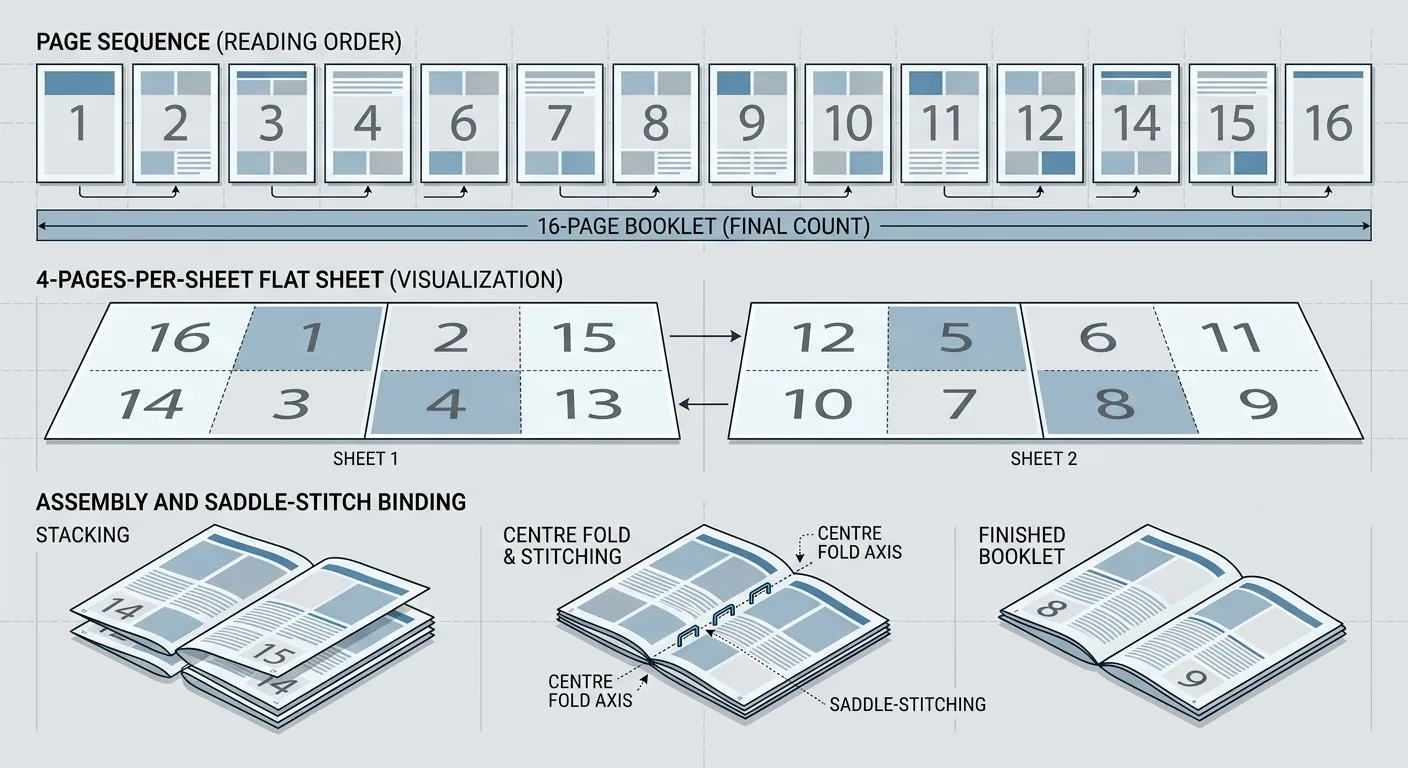
Set up the document at the finished page size, not at the size of the unfolded press sheet. For example, if the finished booklet is A5, each document page should be A5 plus the specified bleed. Do not create an A4 landscape file and place two A5 pages on it unless the printer specifically requests imposed spreads.
Keep pages in reading order
In a normal reader’s PDF, page 1 is the front cover, followed by the inside front cover, interior pages and the back cover. If the cover is supplied separately, label the files clearly and confirm the required order. Do not assume that the first and last pages should be placed together in your design application.
Plan the page count
Count every printed page, including covers and intentional blanks, according to the printer’s instructions. A 20-page booklet can be arranged as five folded sheets. If your content has 18 pages, you may need two blank pages or a different specification. Never add blank pages accidentally, because they can shift the entire reading sequence.
Account for the fold
Keep headings, small type, page numbers and important images away from the centre fold. The exact visual movement depends on paper thickness, page count, trimming and production tolerances. Do not design critical elements so that they sit directly on the fold or cross from one page to the other unless the effect is intentional.
When selecting a finished format, compare the available options in this practical book printing trim size guide.
Set Bleed, Margins and the Centre Fold
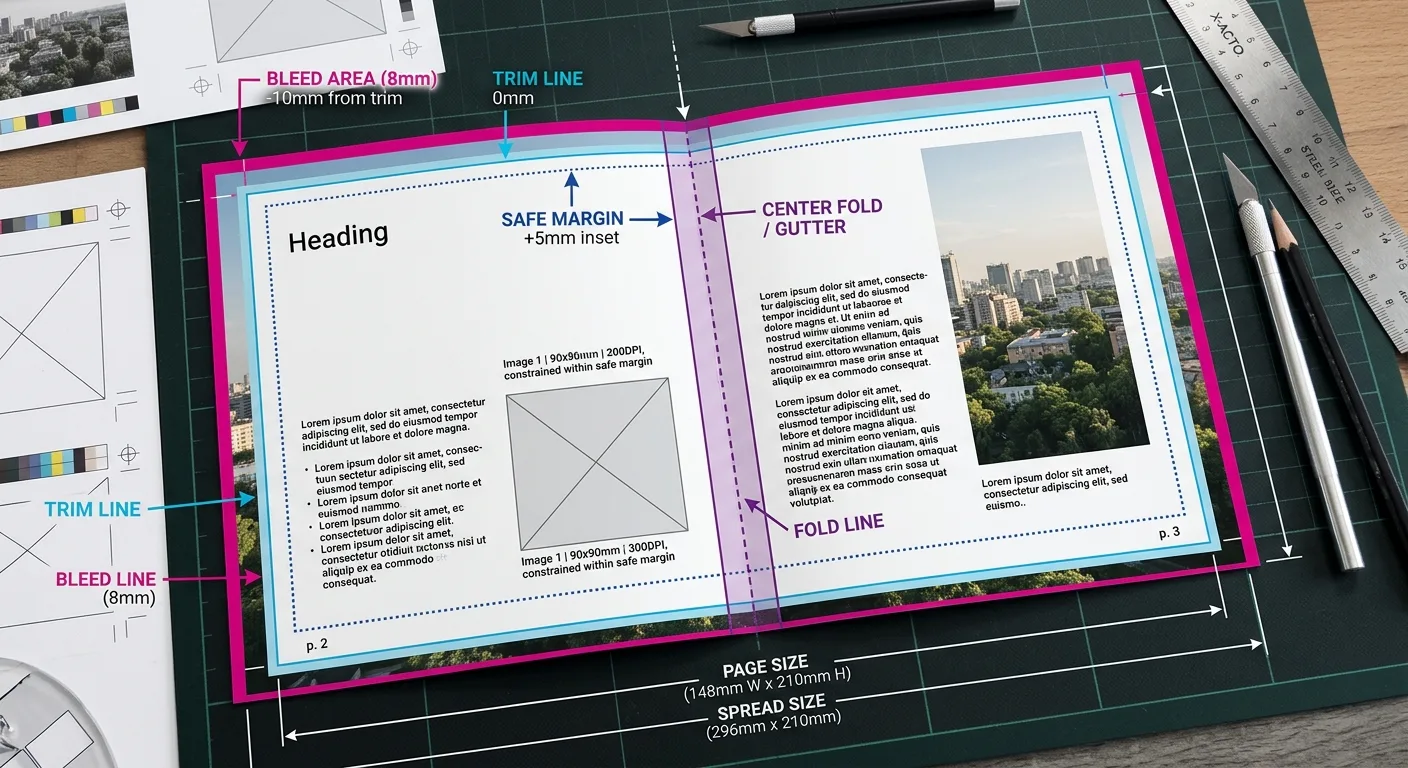
Bleed extends artwork beyond the trim edge so that minor cutting movement does not leave a white sliver along the page edge. Extend backgrounds, photographs and other edge-to-edge elements through the bleed area on every edge where they reach the trim.
Do not place logos, body text, page numbers or other essential content in the bleed. Instead, keep them inside a safe area. A practical starting point is to keep important content at least 3 to 5 mm inside the trim, while allowing extra space near the centre fold when the design includes small or delicate elements. The required safe area depends on the printer, format and finishing tolerance.
Check the outside and inside edges
- Full-page backgrounds should extend through the bleed.
- Images that stop before the edge should not accidentally enter the trim or safe area.
- Text boxes should not touch the trim line.
- Small details should not sit on the saddle fold.
- Objects that cross a spread should be checked at the fold and after trimming.
Use guides for trim, bleed and safe margins, but remember that guides are not printed. In the exported PDF, verify that the page dimensions include the bleed and that the artwork actually reaches the bleed boundary.
These settings are often the source of booklet PDF errors. If the printer provides an InDesign, Illustrator or PDF template, use its trim and bleed guides instead of rebuilding them from memory.
Prepare Colour, Images and Fonts
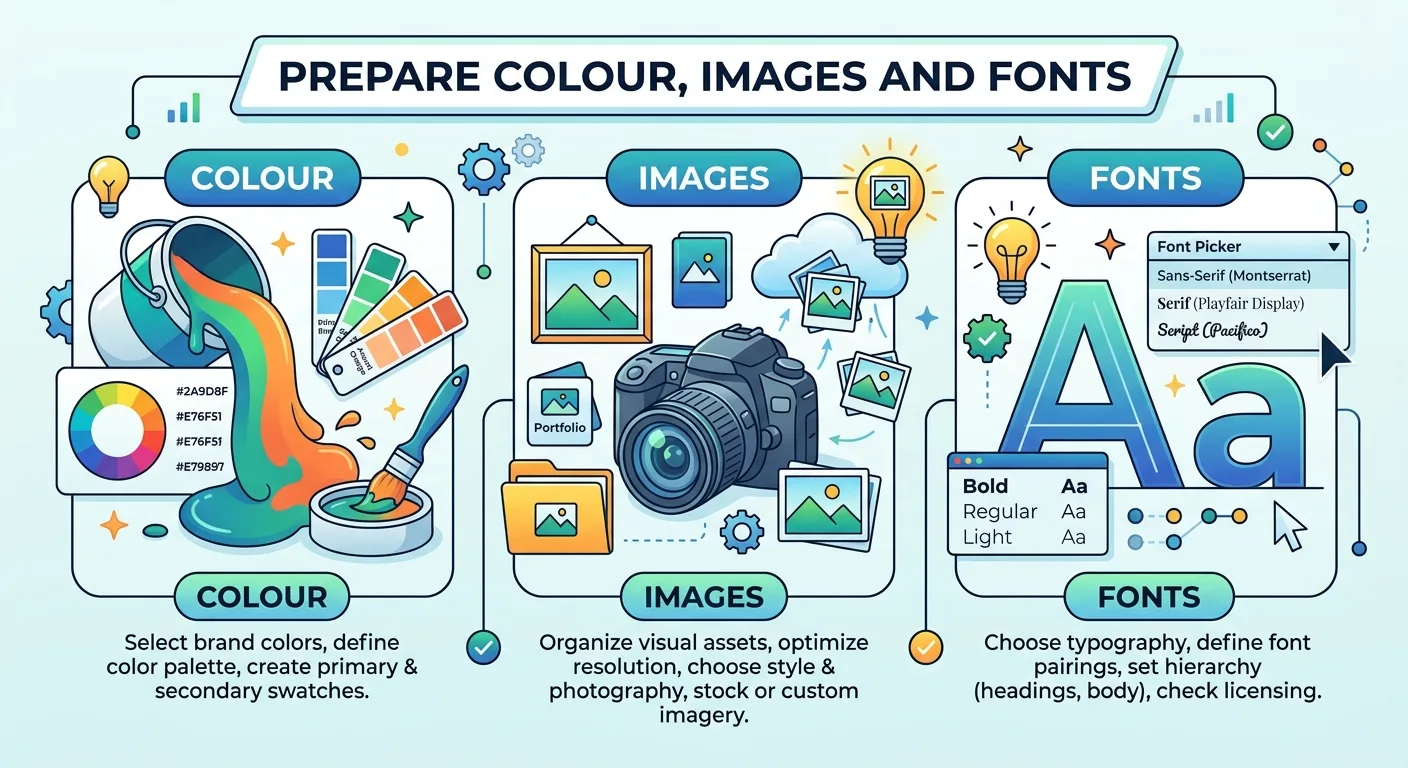
Technical preparation helps the printed booklet match the approved artwork more closely. Before export, review the following elements.
Colour
Prepare artwork in the CMYK colour space or in the colour profile requested by the printer. RGB images may display correctly on screen but can change when converted for print. If a brand colour must be controlled closely, ask whether a spot colour is suitable and how it should be named. Avoid using registration colour for normal text or graphics.
For small black text, a single-channel 100% K black is generally easier to register than a rich-black mixture. Large black areas may use a printer-approved rich black, but the formula should come from the printer rather than being guessed.
Images
Use sharp, original images at an effective resolution appropriate for their final size. Around 300 ppi at placed size is a common working target for photographic images, but line art and very small graphics may require different treatment. Check images after scaling; a high-resolution source can become low resolution if enlarged substantially.
Fonts and transparency
Embed fonts in the PDF or convert display type to outlines when appropriate. Keep an editable source file for revisions, because outlined type is harder to edit. Check overprint settings, transparency effects and thin rules in the exported PDF. The selected PDF standard, such as PDF/X-1a or PDF/X-4, should match the printer’s workflow.
Export and Preflight the Booklet PDF
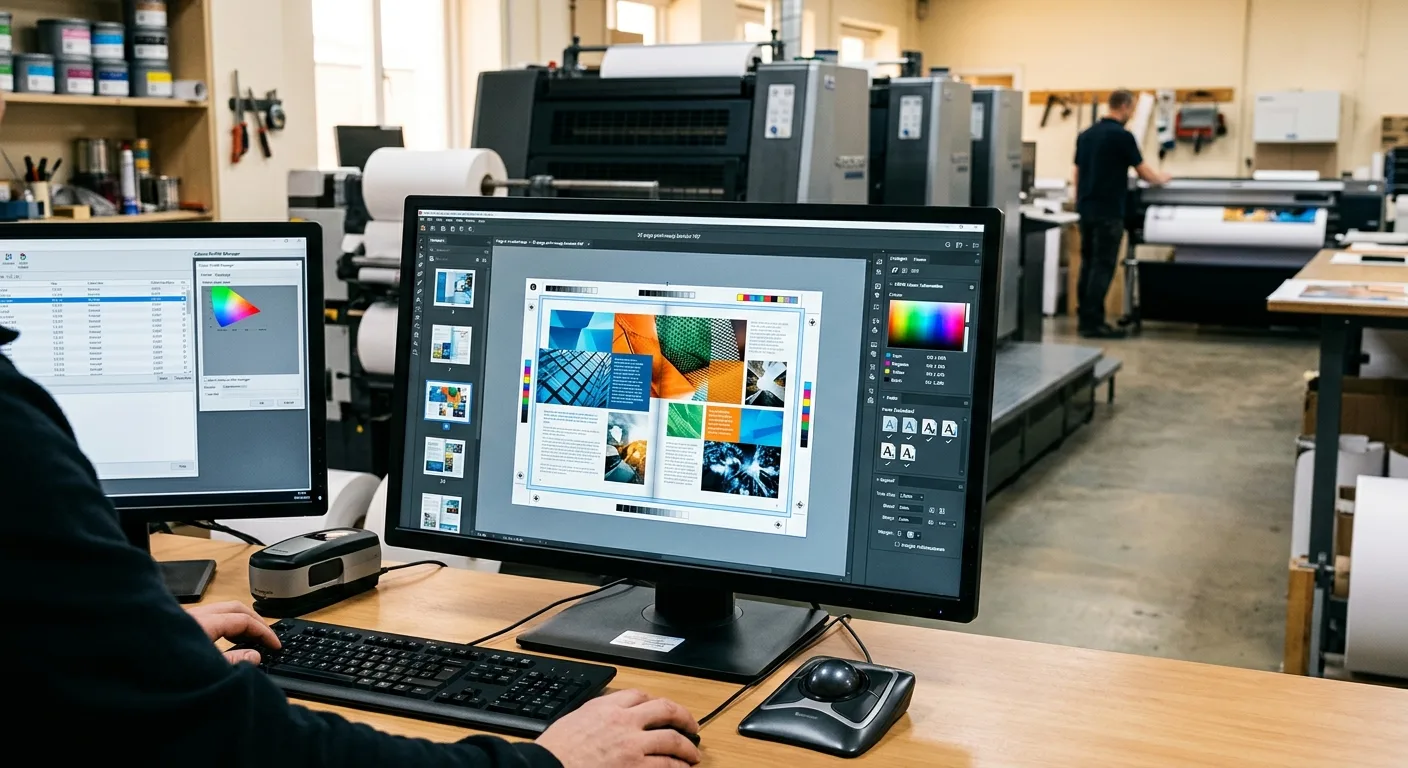
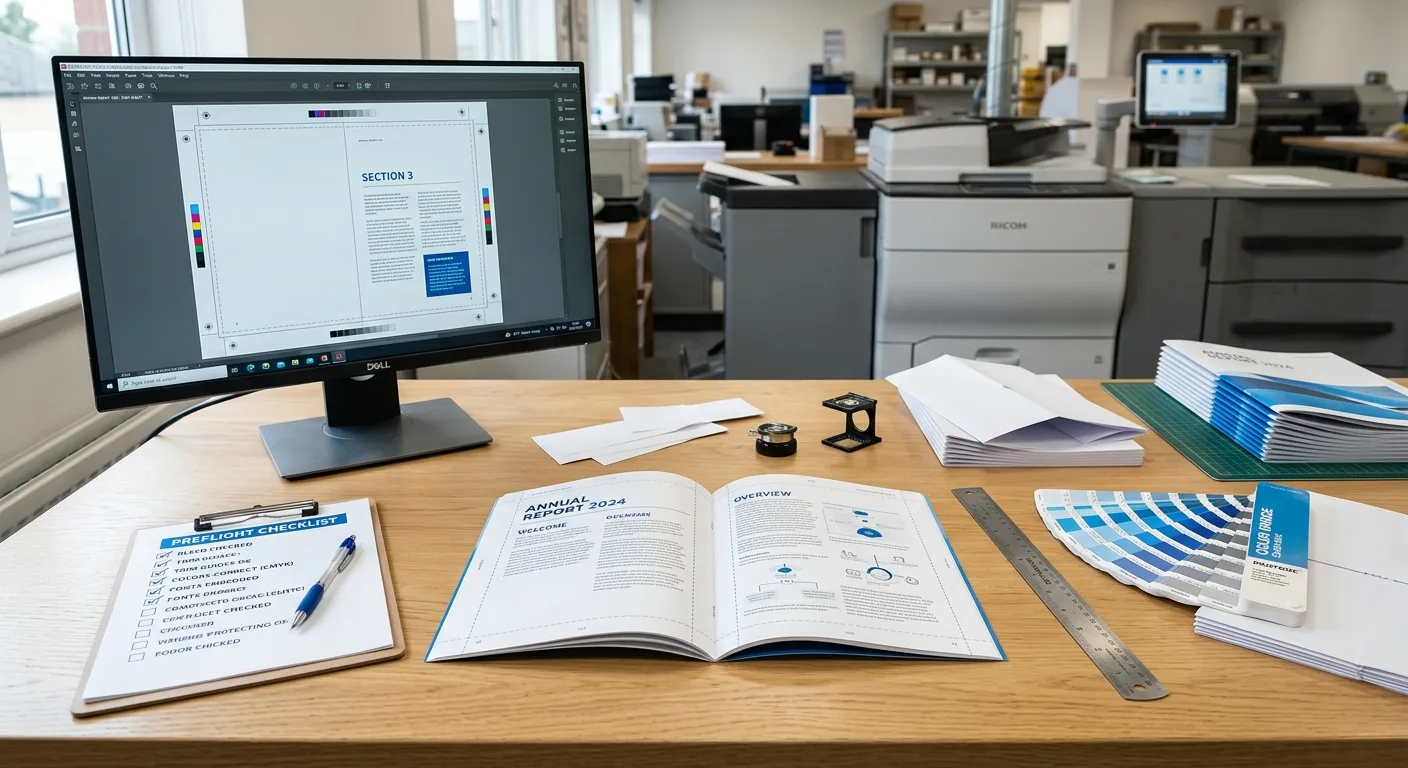
Export using the application’s professional print PDF preset or the preset supplied by your printer. Do not rely only on the visual appearance of the source document. Open the exported PDF in a preflight tool and inspect the actual output file.
Booklet PDF printing requirements checklist
- Confirm the PDF opens without missing pages, warnings or damaged resources.
- Check the total page count and verify that it follows the required multiple-of-four structure.
- Confirm that pages are in reading order and that intentional blank pages are present.
- Check each page’s trim and media box dimensions.
- Verify that bleed is present on all required edges.
- Inspect page numbers, running headers, folios and repeated elements.
- Confirm that fonts are embedded or correctly outlined.
- Review image resolution, colour space, spot colours and overprint behaviour.
- Check that no crop marks, registration marks or printer notes appear unless requested.
- Make sure the cover artwork uses the correct front, back and inside-cover arrangement.
View the PDF at 100% and at a larger magnification. Then use a page-thumbnail view to check the sequence. If you are supplying a cover file separately, use clear names such as ProjectName_Cover.pdf y ProjectName_Interior.pdf.
File preparation is one part of production planning. If you are comparing ways to control total project cost, this guide to reducing printing costs without sacrificing quality explains how format, materials, quantity and finishing can affect the quotation.
Proof the File Before You Submit It
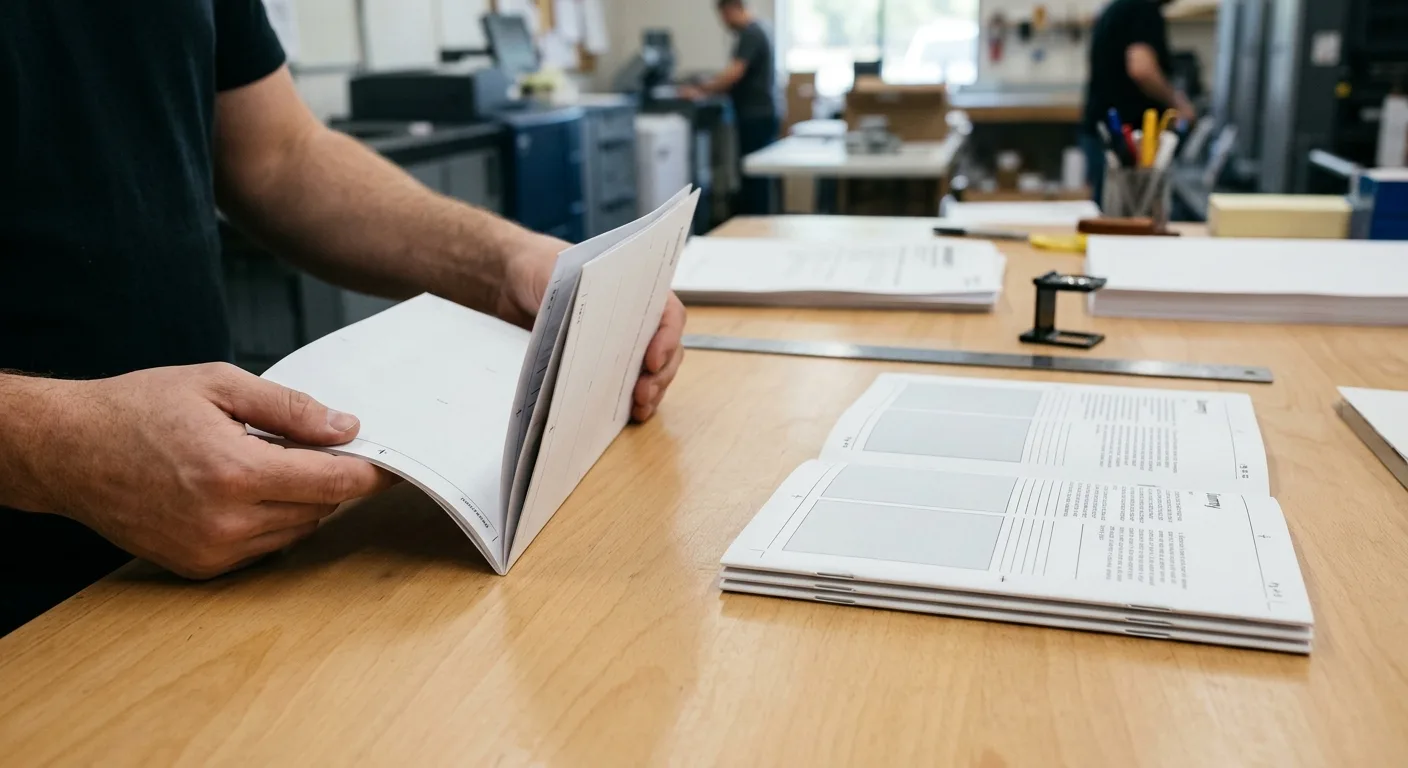
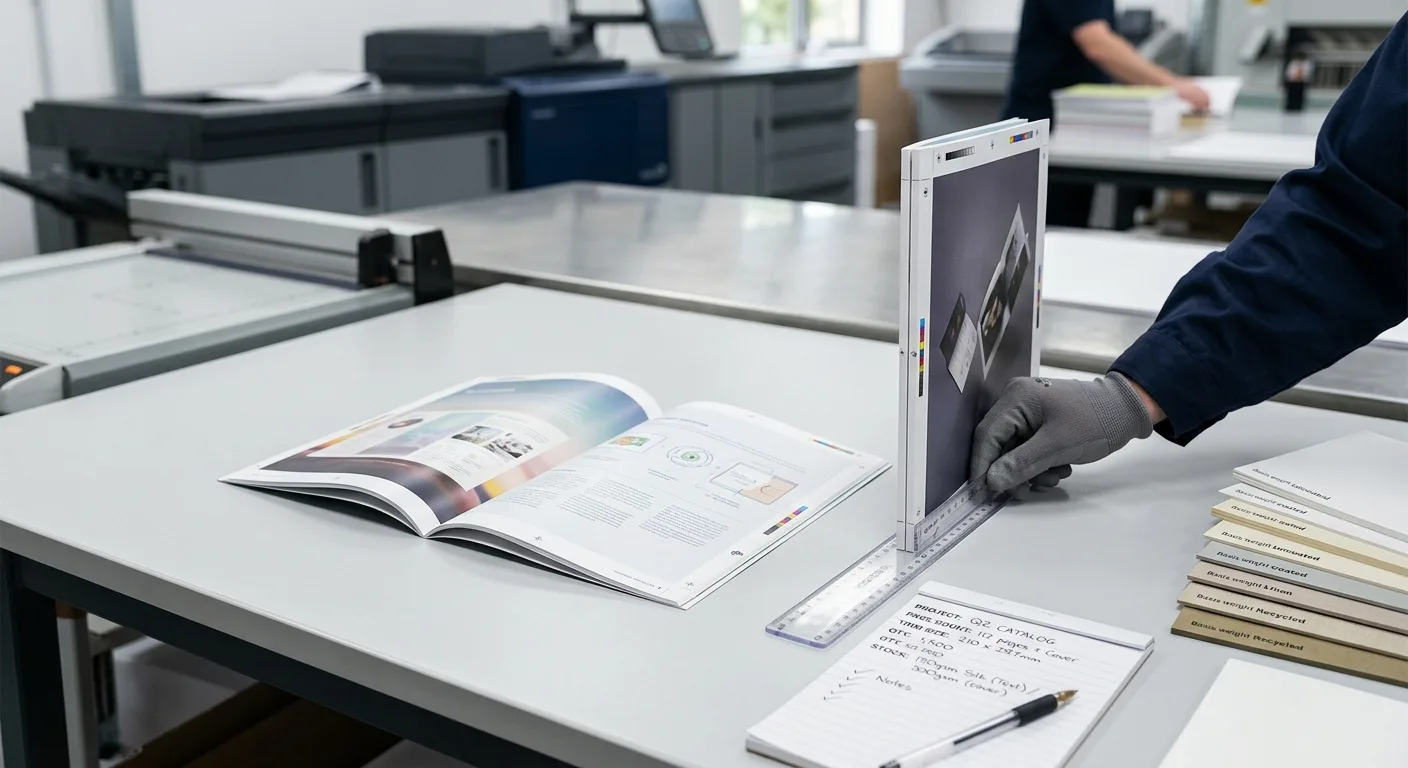
A proof is especially useful for a saddle stitch booklet because page order, fold position and cover orientation can be difficult to judge on screen. Print a low-cost mock-up on ordinary paper, scale it to the finished size, fold it and place the pages in sequence. This will reveal reversed pages, missing blanks, incorrect covers and content that sits too close to the fold.
A digital proof can help you review text, colour separations, images and finishing notes, but it does not fully reproduce the feel of the paper or the physical fold. If colour matching, fine type or a high-value print run is important, ask the printer which proofing option is appropriate.
Before sending the final file, freeze the approved version and record the file name, revision number, date and any production notes. Tell the printer about intentional blanks, unusual page transitions, cross-page artwork, spot colours and any elements that require special attention.
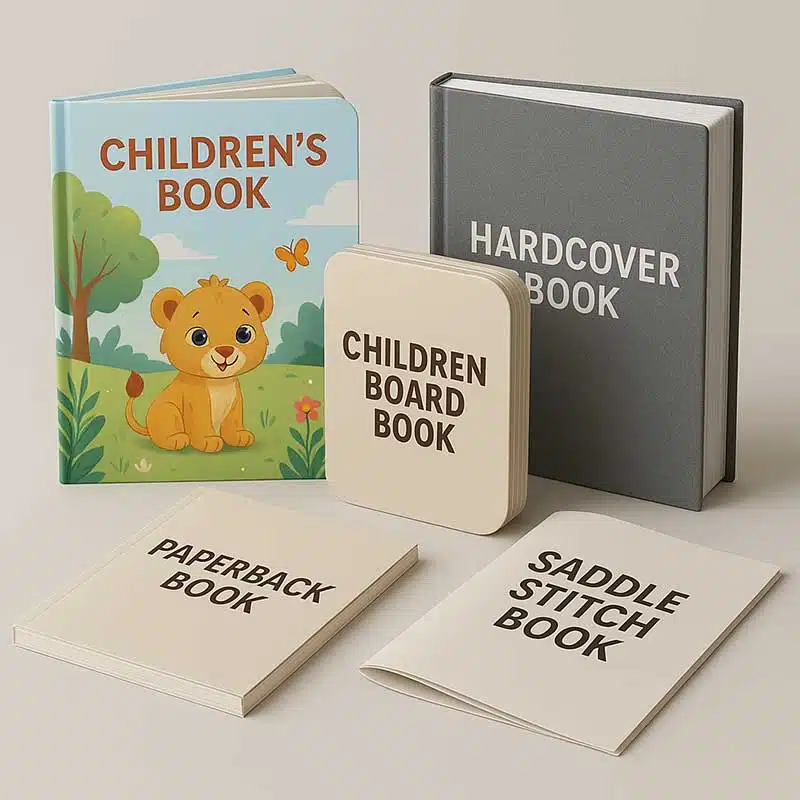
Saddle stitching is usually suited to relatively compact booklets, brochures, programmes, manuals and marketing literature. If the project needs a more durable cover or a thicker book block, review how other binding methods differ in this guide to case binding and perfect binding.
Once the file passes both technical preflight and a physical sequence check, it is ready for quotation review and production approval.
Discuss Your Saddle Stitch Booklet Project
YBJ Printing can review your booklet specifications and help clarify the file requirements before production. For an accurate quotation, provide the product type, trim size, page count, quantity, paper or binding preference, finish, file status and destination country.