
Table des matières
- What is a board game punchboard?
- Plan tokens and component counts first
- Design tokens for readability and easy removal
- Set up token dielines and artwork
- Manage double-sided token alignment
- Compare common punchboard layouts
- Preflight checklist before sending files
- Make punchboard production easier to verify
A practical guide to planning board game punchboard sheets, from token shapes and cut-line clearance to double-sided alignment and component-count checks.
What is a board game punchboard?
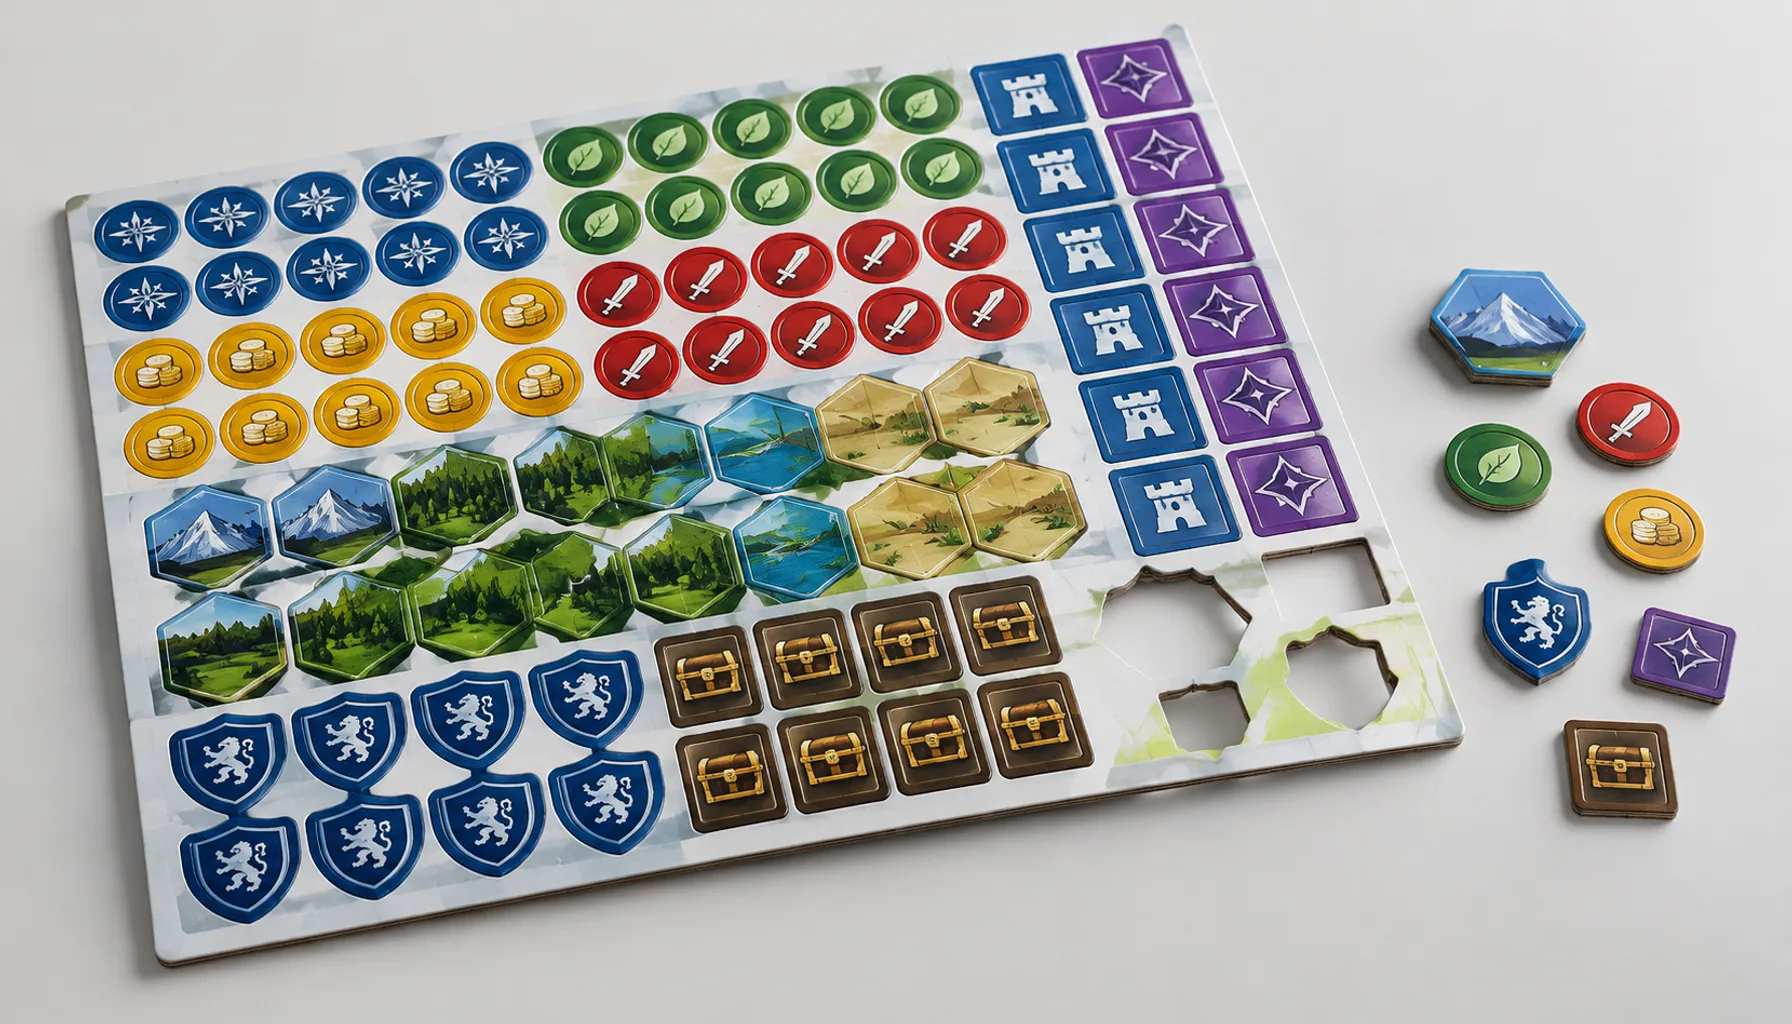
A board game punchboard is a printed, usually laminated sheet of rigid board with die-cut shapes that players press out to make tokens, counters, tiles or other game components. A production-ready file needs more than attractive graphics: it must define component quantities, cut geometry, artwork clearances and, when both faces are printed, front-to-back registration expectations.
Plan the sheet around how players identify and remove each piece, then coordinate the artwork and cutting information with the printer before final export. Board thickness, sheet size, cut complexity, print coverage, finish and order quantity can all affect the production approach and quotation. Confirm these details with your supplier rather than assuming a standard specification.
Definition: Punchboard artwork is the print-ready design for a sheet of die-cut game components, including the printed faces and the placement information needed to align the cuts with the artwork.
Plan tokens and component counts first
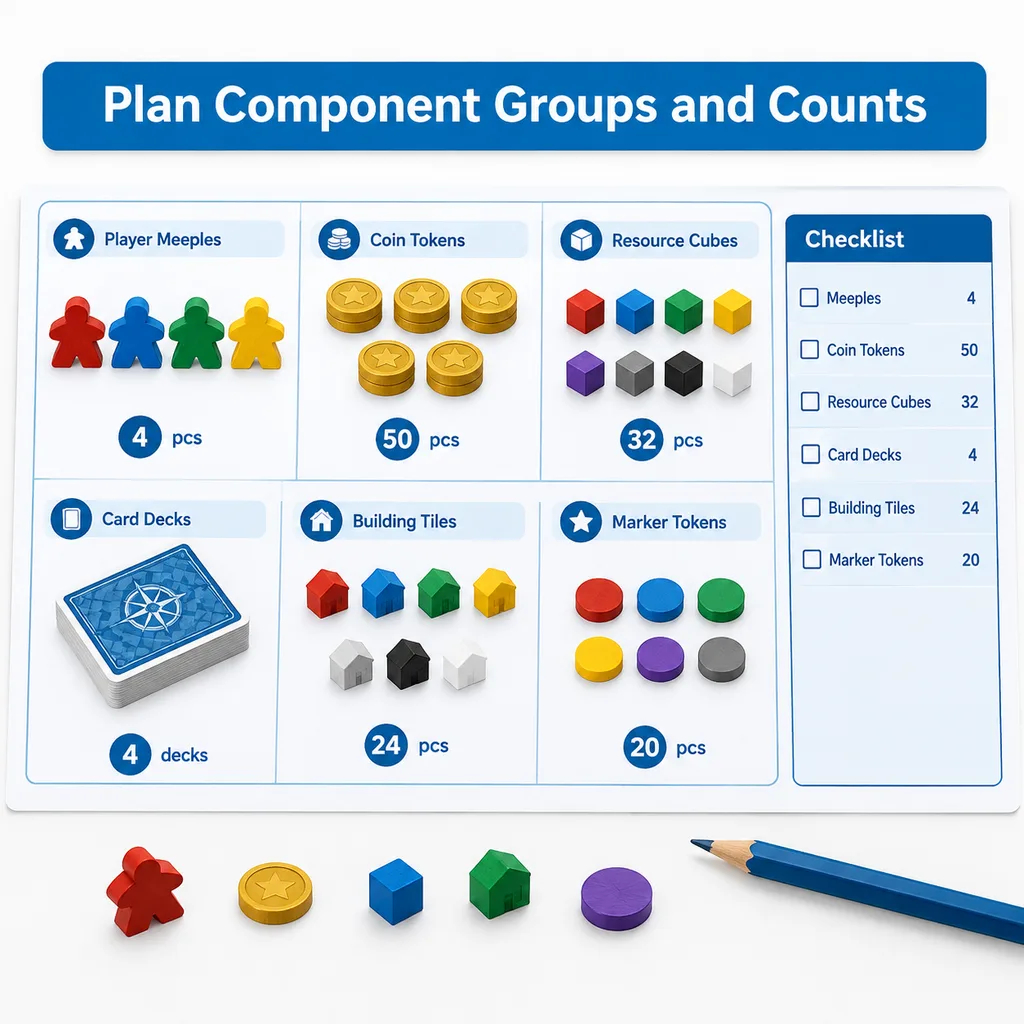
Start with a component inventory, not a sheet layout. List every punch-out piece, its finished shape and size, the number required per game, and what information players need to see on each face. This prevents late-stage artwork changes when a rulebook, prototype or manufacturing estimate reveals a missing counter or an incorrect quantity.
Separate pieces into groups that share a shape, face design or role. For example, player markers may be identical apart from color, while currency counters may use several denominations and quantities. Give each group a clear name or code that appears in your working files and component schedule. Keep the schedule as the source of truth when revising artwork.
Example component schedule
| Component group | Shape or size | Quantity per game | Face information to confirm |
|---|---|---|---|
| Player markers | Round, one size | 4 | Color or player symbol |
| Resource counters | Small square | 20 | Resource icon; identical or varied faces |
| Event tiles | Rectangle, one size | 12 | Title, icon, number and back design |
| First-player marker | Custom shape | 1 | Distinctive symbol and orientation |
This is a planning example, not a production specification. Your actual count, finished dimensions and artwork depend on the game. Distinguish the number of pieces per copy from the number of repeated pieces on a sheet or production run. The manufacturer needs both the game-level quantities and the planned sheet arrangement to check completeness.
Before artwork begins, confirm whether pieces are printed on one or both sides, if any shapes require different board thickness, and whether the punchboard must fit a particular box or insert. If the game also includes cards, consider how those files will be prepared and proofed alongside the tokens. Our guide to print-ready PDF export and preflight explains useful file-checking principles that also apply to print production artwork.
Design tokens for readability and easy removal
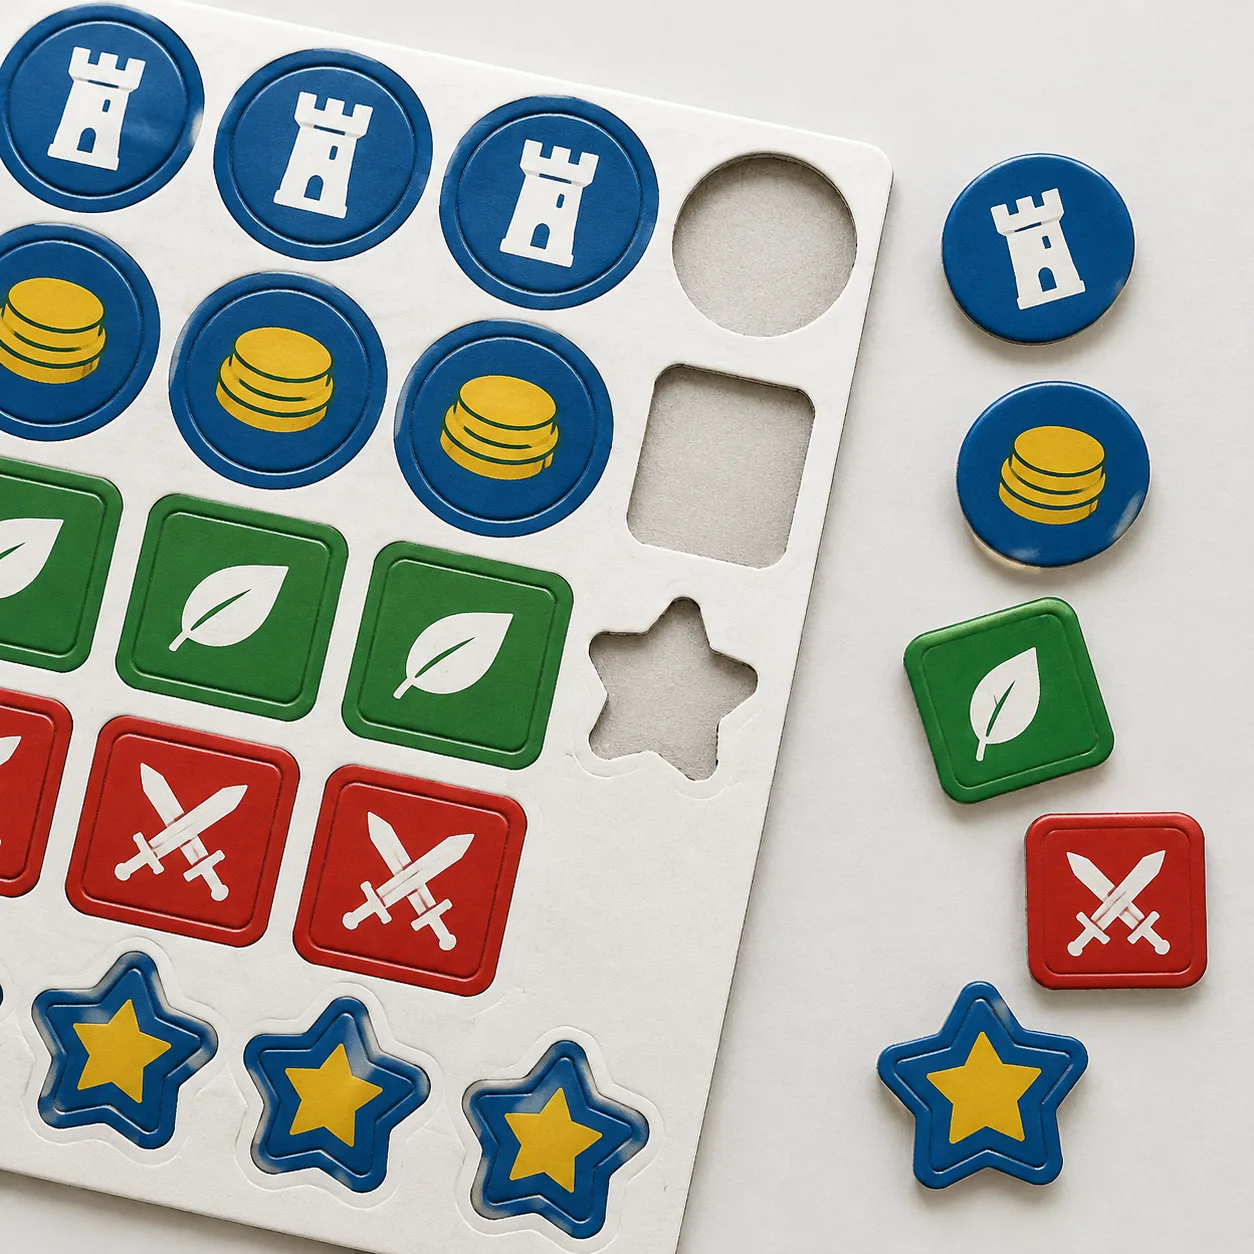
Good token design balances recognition, legibility and practical removal. A piece should read clearly at its finished size, and its shape should remain usable after cutting. Check every token at actual size, not only enlarged on a monitor. Fine text, narrow outlines and small symbols can lose clarity when reduced or placed close to a cut edge.
Keep critical details away from the cut
Ask the printer for the intended die-line and artwork clearance before positioning key information. Keep numbers, labels, faces and essential symbols comfortably inside the finished shape. Artwork that runs to the edge needs bleed beyond the cut line so small cutting variation is less likely to reveal an unprinted sliver. The exact bleed and safe-area values depend on the production setup; do not apply a generic measurement without supplier confirmation.
Use strong contrast between a token’s background and its most important information. If color alone distinguishes pieces, consider whether a symbol, letter or other visual cue can help players identify them. Avoid placing a tiny identifier close to a corner, narrow neck or irregular projection, where it may be harder to read or more affected by cutting tolerance.
Consider how players punch pieces out
Die-cut game tokens are separated by cuts that pass through the printed sheet and board. The printer and die maker determine the cutting method and practical limits based on the material, die and layout. Very narrow connections, tight clusters and intricate outlines may affect tool design, removal behavior or layout efficiency. Discuss unusual shapes early, especially if a token has thin extensions, internal openings or a small fragile area.
For a component with a preferred orientation, make that orientation obvious in the art and in the component schedule. If tokens are reversible, verify that both faces remain understandable when turned over. If the game uses many similar pieces, a consistent visual system for icons, colors and labels makes setup and play easier, but always test legibility at final size.
Shaped printed products also benefit from early coordination between cut lines and artwork. The principles in our guide to preparing die-cut artwork and dielines can help teams understand why the cutting template and visual design need to be reviewed together.
Set up token dielines and artwork
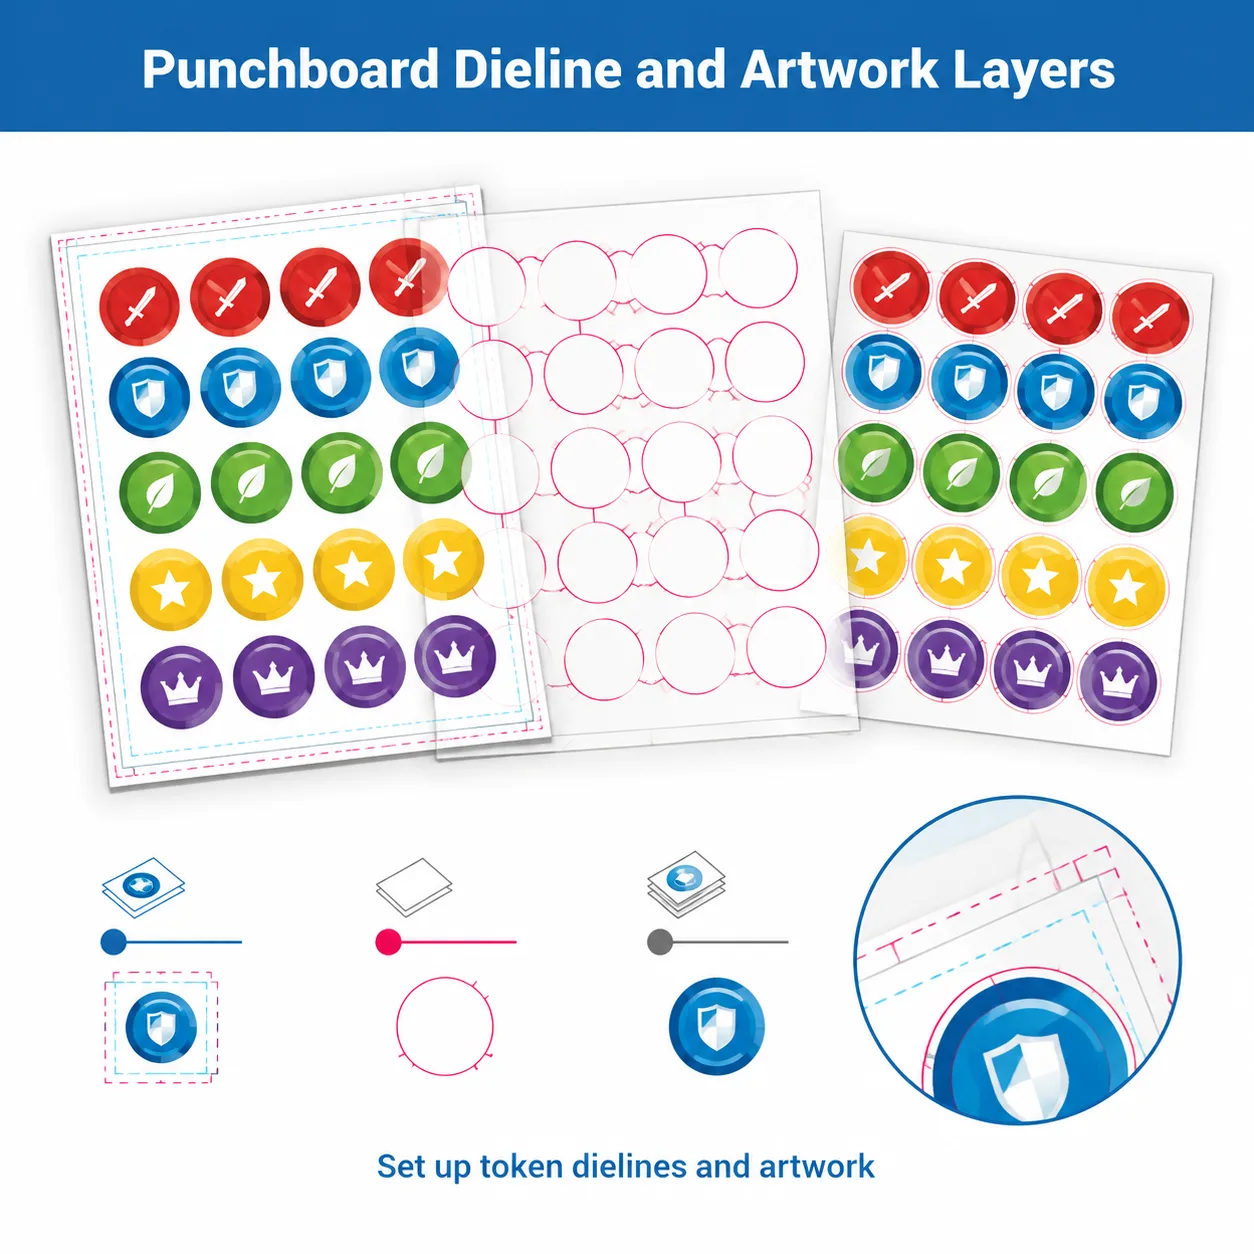
A token dieline defines the intended cut shapes and positions. In a working file, separate the cut information from the printed artwork so each can be reviewed without confusion. Follow the printer’s requested format, layer names, spot-color convention and export settings; these are production-specific and should be agreed before final delivery.
- Obtain the production template. Confirm finished sheet dimensions, board construction, printable area, bleed, safe area and any required registration marks. Ask whether the manufacturer will create or supply the final cutting layout.
- Place cut paths on a separate, clearly named layer. Use vector paths where requested. Keep cut lines out of the visible print artwork unless the printer asks for a proofing overlay.
- Build artwork around the approved paths. Extend background colors and images past cut boundaries as specified, while keeping essential details within the safe area.
- Label groups and versions. Use consistent names for token families and identify the revision. Do not rely on color alone to explain which file is current.
- Export and inspect a proof file. Check page size, orientation, image links, fonts, overprints and visible layers. Open the exported PDF separately to confirm that it matches the intended design.
Do not scale, rotate or reposition a supplied die-line without approval. Even a visually minor adjustment can change cut placement relative to the artwork. If you need a layout change to fit more components on a sheet, ask the printer to review it before revising the file. A sample, prototype or digital proof can reveal issues that are difficult to spot in a flat layout, but the proof type and what it verifies should be agreed in advance.
For unusual shapes, ask whether a physical sample or cutting review is appropriate. If a custom outline changes production tooling, that can influence cost and schedule; the effect depends on the design, quantity and existing tooling. For broader planning factors, see how custom die-cut complexity can affect a printed project.
Manage double-sided token alignment
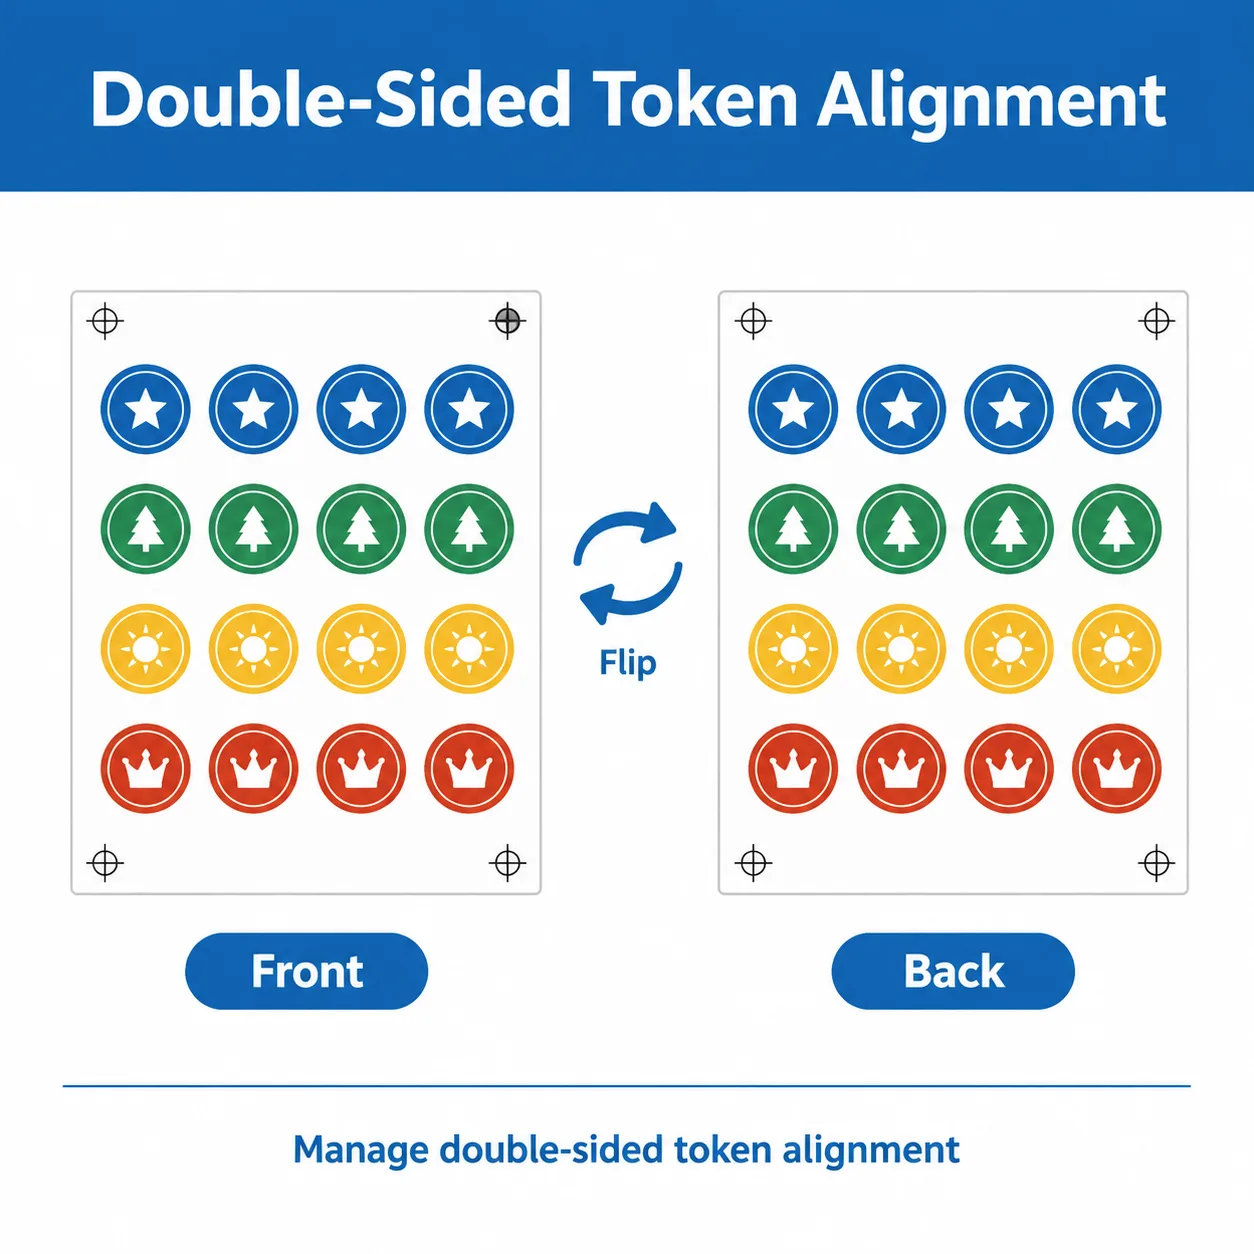
When tokens are printed on both faces, the front and back artwork must correspond to the same cut shapes and orientation. The printer will confirm how files should be supplied and how the sheet is turned or registered during production. Do not assume that placing back designs in the same visual positions as the fronts will produce the intended result.
Make an alignment map that pairs every front-side component with its reverse. Record whether the reverse is identical, mirrored, rotated or a different design. Include orientation marks or labels in a non-printing guide layer if the supplier permits them. Clearly identify the top edge of each side, and confirm the file naming and page sequence. These simple controls reduce ambiguity during imposition and proof review.
Check alignment in a way that reflects how the finished token will be viewed. A back graphic intended to appear upright when the token is flipped left-to-right may need a different orientation from one flipped top-to-bottom. Confirm the required flip direction with the printer. Review a two-sided proof or sample when available, paying attention to artwork close to edges, centered symbols and any border that could make small registration variation noticeable.
Exact registration tolerance depends on the material and production process. Keep important text and thin borders away from cut edges, and avoid relying on perfect coincidence between a printed line and the die-cut edge. If front and back designs have directional details, flag them in writing rather than leaving the interpretation to the file alone.
Compare common punchboard layouts
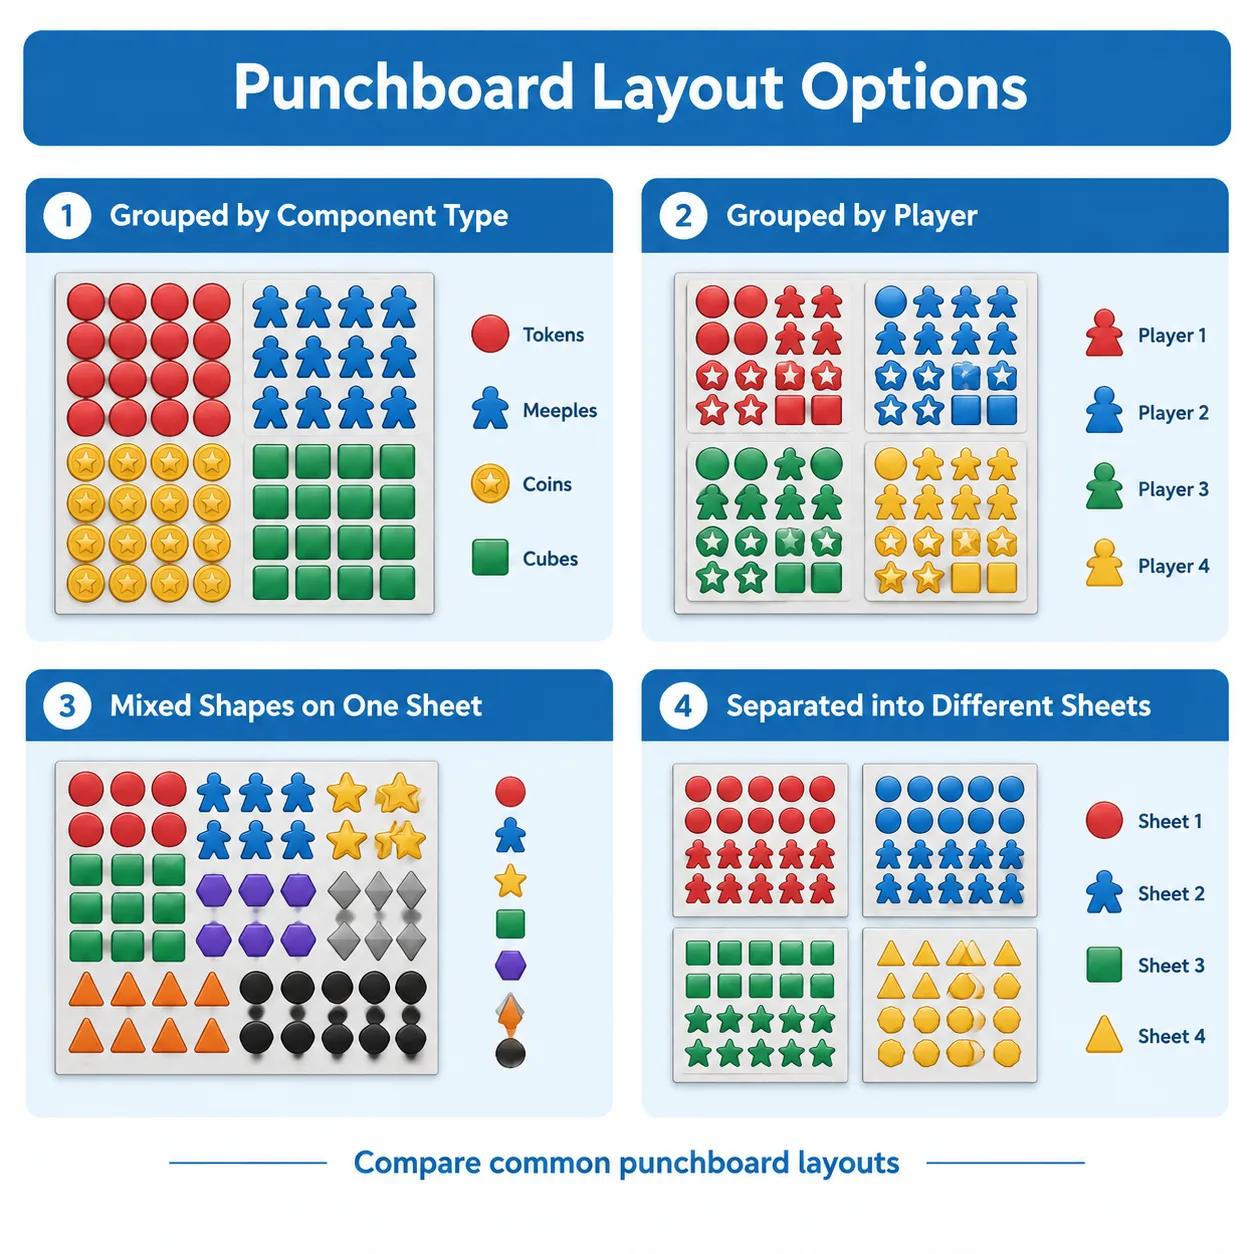
Layout choice depends on how many component shapes are needed, whether pieces are double-sided and how the sheet will fit the game box. The options below are planning patterns, not a substitute for a supplier-approved imposition.
| Layout approach | Utile lorsque | Planning consideration |
|---|---|---|
| Grouped by component type | Players need to find and count similar pieces quickly | Keep similar shapes together and make the groups easy to distinguish. |
| Grouped by player or faction | Each player receives a set of different counters or markers | Check that each group has the correct complete set and remains easy to separate. |
| Mixed, space-efficient sheet | Components vary in size and shape | Ask the printer to review spacing, edge clearance, removal and sheet yield together. |
| Separate sheets by thickness or function | Components have different material or handling requirements | Confirm packaging, identification and assembly requirements for each sheet. |
For a first layout review, map every component group onto a simple sheet diagram. Show the finished sheet boundary, each cut outline, component ID and front/back pairing. The printer can then advise whether the layout is practical for the chosen board and production method. A design that maximizes the number of pieces per sheet is not automatically the best choice if it makes tokens difficult to remove, sort or verify.
Preflight checklist before sending files
Use this checklist for the artwork handoff. Specifications such as board thickness, sheet size, bleed, cut path settings and color requirements must be confirmed with the manufacturer for the specific project.
- Components: The inventory lists every piece, shape, finished size and quantity per game.
- Œuvre d'art : Text, icons and critical details remain legible at actual size and inside the agreed safe area.
- Cutting: The approved dieline is on the requested layer, and its version matches the artwork.
- Bleed and clearance: Backgrounds extend as specified; important details do not sit too close to cut edges.
- Two-sided printing: Fronts and backs are paired, orientations are labeled and the intended flip direction is confirmed.
- File integrity: Page dimensions, fonts, linked images, layers and exported PDF have been checked.
- Épreuve : The requested proof or sample will verify the features that matter, including cut placement and two-sided alignment where applicable.
- Production brief: Quantity, board preference, finish, packing needs and destination country are stated for quotation and shipping coordination.
For products involving several printed parts, keep a single controlled revision list. Mark each change with a date or version identifier and state which files replace earlier submissions. This avoids production teams comparing artwork against an outdated component schedule.
Make punchboard production easier to verify
A dependable punchboard file starts with a complete component list and a shared understanding of the finished pieces. Build artwork around an approved dieline, protect important details from cut edges, and document how every reverse side aligns. Confirm board, finish, proofing and file requirements with the printer because these choices affect production planning, cost and print quality. With clear files and a verifiable component schedule, game creators and manufacturers can review the same design with fewer assumptions.
FAQ
What should a board game punchboard file include?
It should include print artwork, approved cut paths or dielines in the supplier’s requested format, clear component identification, and any required front-to-back alignment information. Confirm bleed, safe areas, sheet dimensions and export settings with the printer.
How much space should I leave between tokens?
There is no universal clearance that suits every material, die and production setup. Ask your manufacturer for the required spacing and edge clearance before laying out tokens, especially for irregular or tightly packed shapes.
How do I avoid misaligned double-sided tokens?
Pair every front with its reverse, label the top edge and orientation of both sides, and confirm the intended flip direction and file sequence with the printer. Review a suitable two-sided proof or sample if alignment is critical.
Should I draw the token cut lines in my artwork?
Use the printer’s approved dieline and file instructions. A supplier may provide the template or ask for vector cut paths on a separate layer. Do not create, scale or modify production cut lines without agreement.
What affects the cost of custom punchboard components?
Quotation factors can include sheet size, board specification, print coverage, number and complexity of cuts, finishing, quantity, proofing needs and shipping destination. Share these details with the supplier for a project-specific estimate.
Prêt à planifier votre projet d'impression sur mesure ?
Tell YBJ Printing about your board game punchboard project, including product type, finished sheet or token size, component count, quantity, board or paper preference, finish requirements, file status and delivery destination. Our team can discuss practical production options and prepare a factory-direct quotation. Specifications and timing depend on the confirmed project requirements.