
Table of Contents
- What Notebook Paper Testing Measures
- Feathering, Bleed-Through and Ghosting Compared
- Choose Pens That Match Your Notebook Buyers
- Prepare Comparable Paper Samples
- A Repeatable Notebook Paper Testing Process
- Record Results and Set Acceptance Criteria
- Balance Paper Weight, Surface and Drying Time
- Check the Printed and Bound Notebook
- Buyer Checklist and Key Takeaways
- Notebook Paper Testing FAQ
- Approve Paper Against Its Intended Use
Compare notebook paper with a repeatable writing test that separates ink penetration from optical show-through. Learn which pens to test, how to record results and what to approve before production.
What Notebook Paper Testing Measures
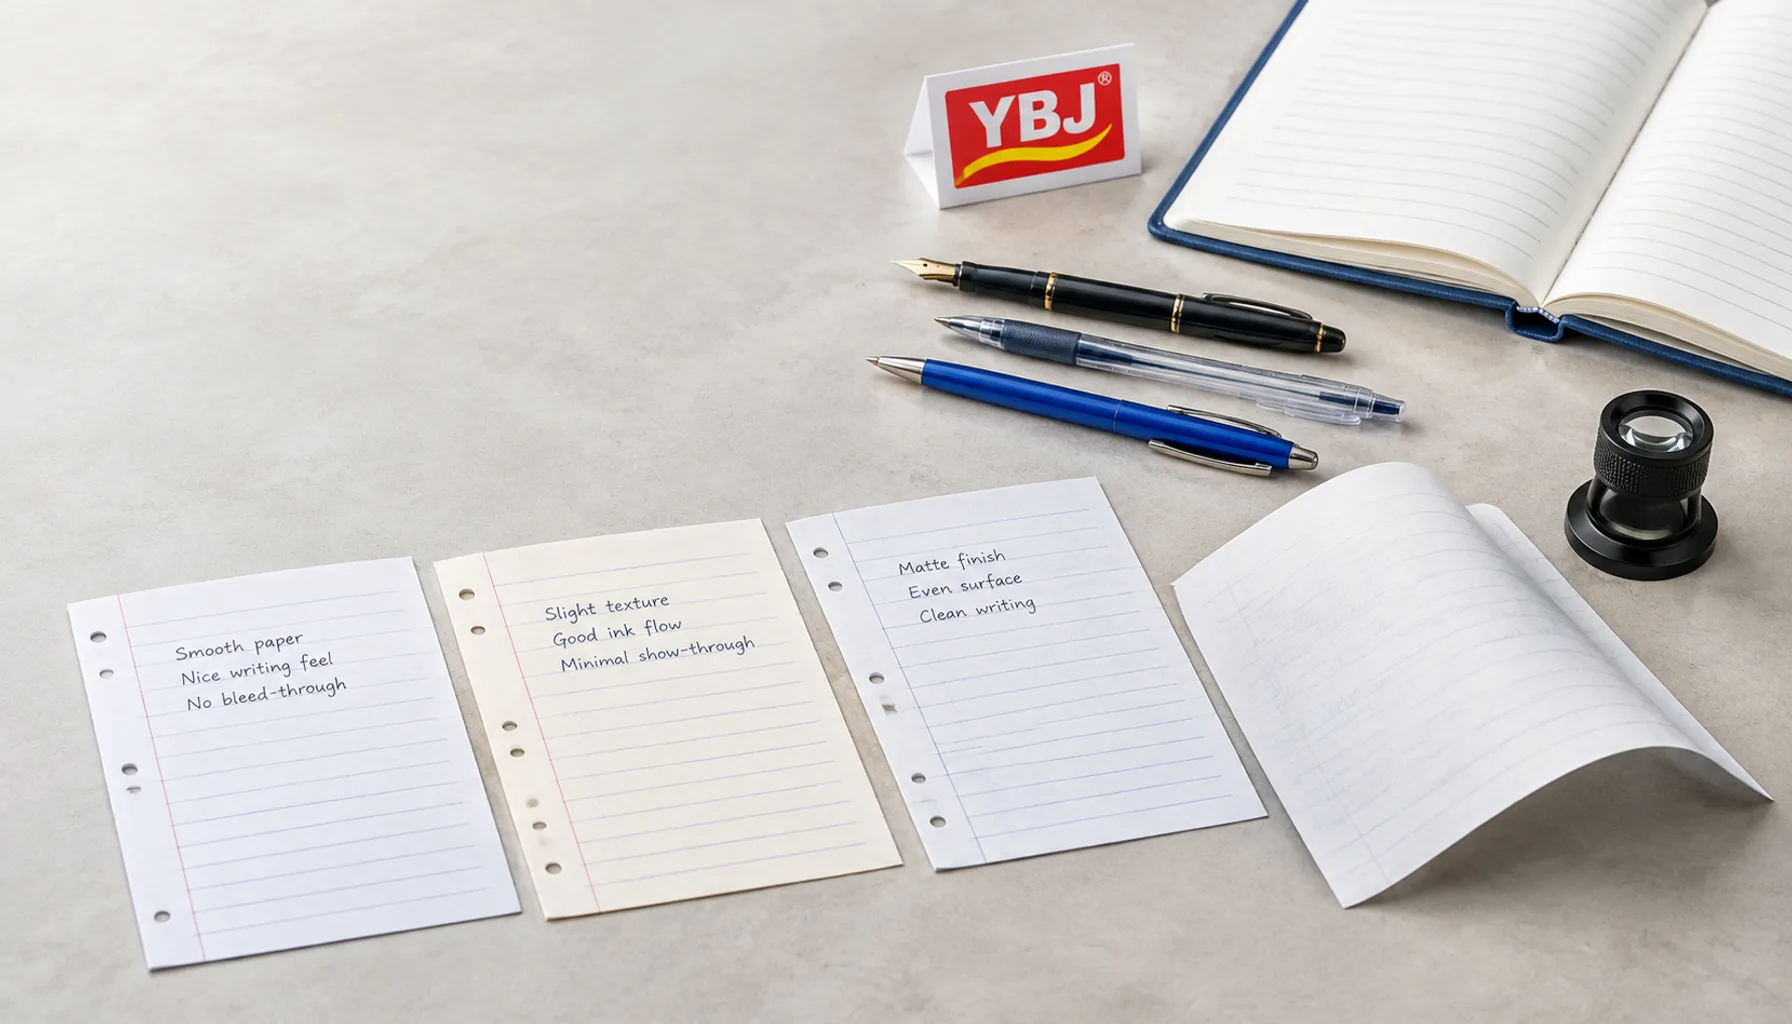
Notebook paper testing means writing on candidate paper with representative pens, then comparing line quality, ink penetration, reverse-side visibility and drying time under consistent conditions. For a custom notebook, the best paper is the stock that meets your customers’ writing needs within the agreed budget, thickness and binding specification.
A repeatable test helps buyers avoid choosing paper by weight or appearance alone. Two sheets with the same grammage can behave differently because their fiber composition, sizing, surface treatment and opacity differ.
Working definition: Bleed-through is ink penetrating through the sheet. Show-through, often called notebook ghosting, is writing visible through the sheet without necessarily penetrating it. These are separate results and should receive separate acceptance limits.
The process below is a practical purchasing comparison, not a standardized laboratory certification. Results apply to the paper, pens, inks and conditions tested; they do not establish compatibility with every writing tool.
Feathering, Bleed-Through and Ghosting Compared
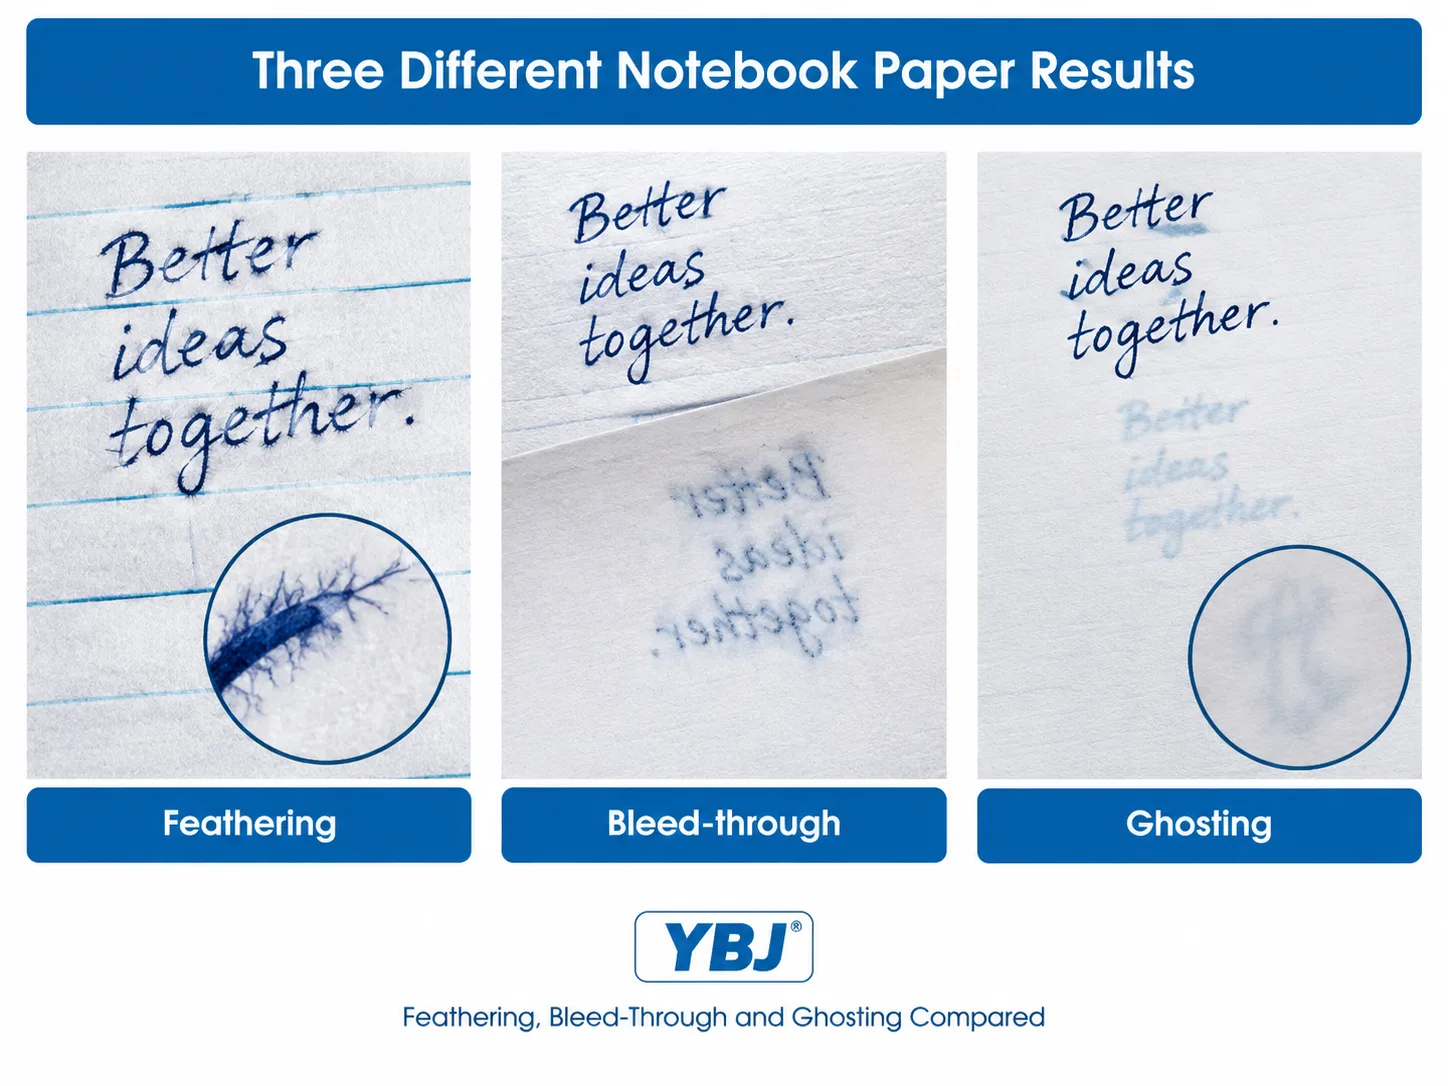
Identify the defect before changing the paper specification. A darker reverse side does not automatically mean ink has passed through the sheet.
| Result | What you see | How to check | Buyer implication |
|---|---|---|---|
| Paper feathering | Fine branches or fuzzy edges extending from a written line | Inspect the writing face with a loupe or close photograph | Small handwriting and fine lines lose definition |
| Bleed-through | Localized ink spots or lines reaching the reverse surface | Inspect the reverse and a clean sheet placed beneath the sample | Writing on the back may be compromised; severe penetration can mark the next sheet |
| Show-through or ghosting | A shadow of writing visible through the sheet | View the reverse on a consistent white backing in reflected light | Two-sided writing may look busy even without penetration |
| Smearing | Ink spreads when touched or rubbed before sufficiently dry | Run a timed transfer or rub test | Fast note-taking and page turning may leave marks |
| Offset transfer | Ink appears on the facing page after closing | Close a test spread after a recorded interval | Users may need a longer wait before closing the notebook |
Notebook ink bleed-through often produces distinct reverse-side spots, while ghosting usually appears as a softer shadow. The two can coexist. Transfer to the sheet underneath confirms substantial penetration, but its absence does not prove the reverse surface is free of ink. Use magnification when the distinction is unclear.
Choose Pens That Match Your Notebook Buyers
Build your test kit around the writing products your customers actually use. Record the exact pen model, tip or nib size and ink; a generic label such as “gel pen” is insufficient for a repeatable comparison.
| Writing product | Purpose in the test | What to record |
|---|---|---|
| Ballpoint pen | Everyday office and promotional notebook use | Tip size, pressure, line continuity and reverse-side indentation |
| Gel pen | Common journaling and school use | Tip size, smearing, drying interval and penetration |
| Rollerball pen | Liquid-ink writing under ordinary use | Ink identity, feathering and bleed-through |
| Fountain pen | Assessing fountain pen notebook paper | Nib width, ink identity, line spread, feathering and drying |
| Highlighter | Highlighting notes after writing | Number of passes, underlying ink age and ink dragging |
| Pencil | Writing feel and erasing performance | Lead grade, pressure, eraser type and surface damage |
Include a wetter or broader pen if it represents expected use. Treat permanent markers and repeated heavy strokes as separate stress tests unless they are part of the product brief. Passing a ballpoint test does not establish fountain pen suitability.
Prepare Comparable Paper Samples
Compare identifiable samples under the same conditions. Ask for the proposed stock description, grammage in g/m², shade, surface finish and thickness when available. Give each candidate a code so photographs and results cannot become mixed.
Keep samples together in the test room before testing so they experience similar conditions. Record temperature and humidity if you can, and avoid comparing a damp shipment sample with paper stored in a dry office.
- Use the same pens, inks, writer and writing sequence on every candidate.
- Test both paper faces; their surface behavior may differ.
- Use a consistent backing stack for writing and a white backing for reverse-side inspection.
- Include your current approved notebook paper as a control, if available.
- Repeat on several sheets; three sheets per candidate is a practical starting point, not a statistical guarantee.
These controls make writing paper sample tests more useful than isolated swatches. Keep an untouched sheet from each candidate alongside the written samples for later reference.
A Repeatable Notebook Paper Testing Process
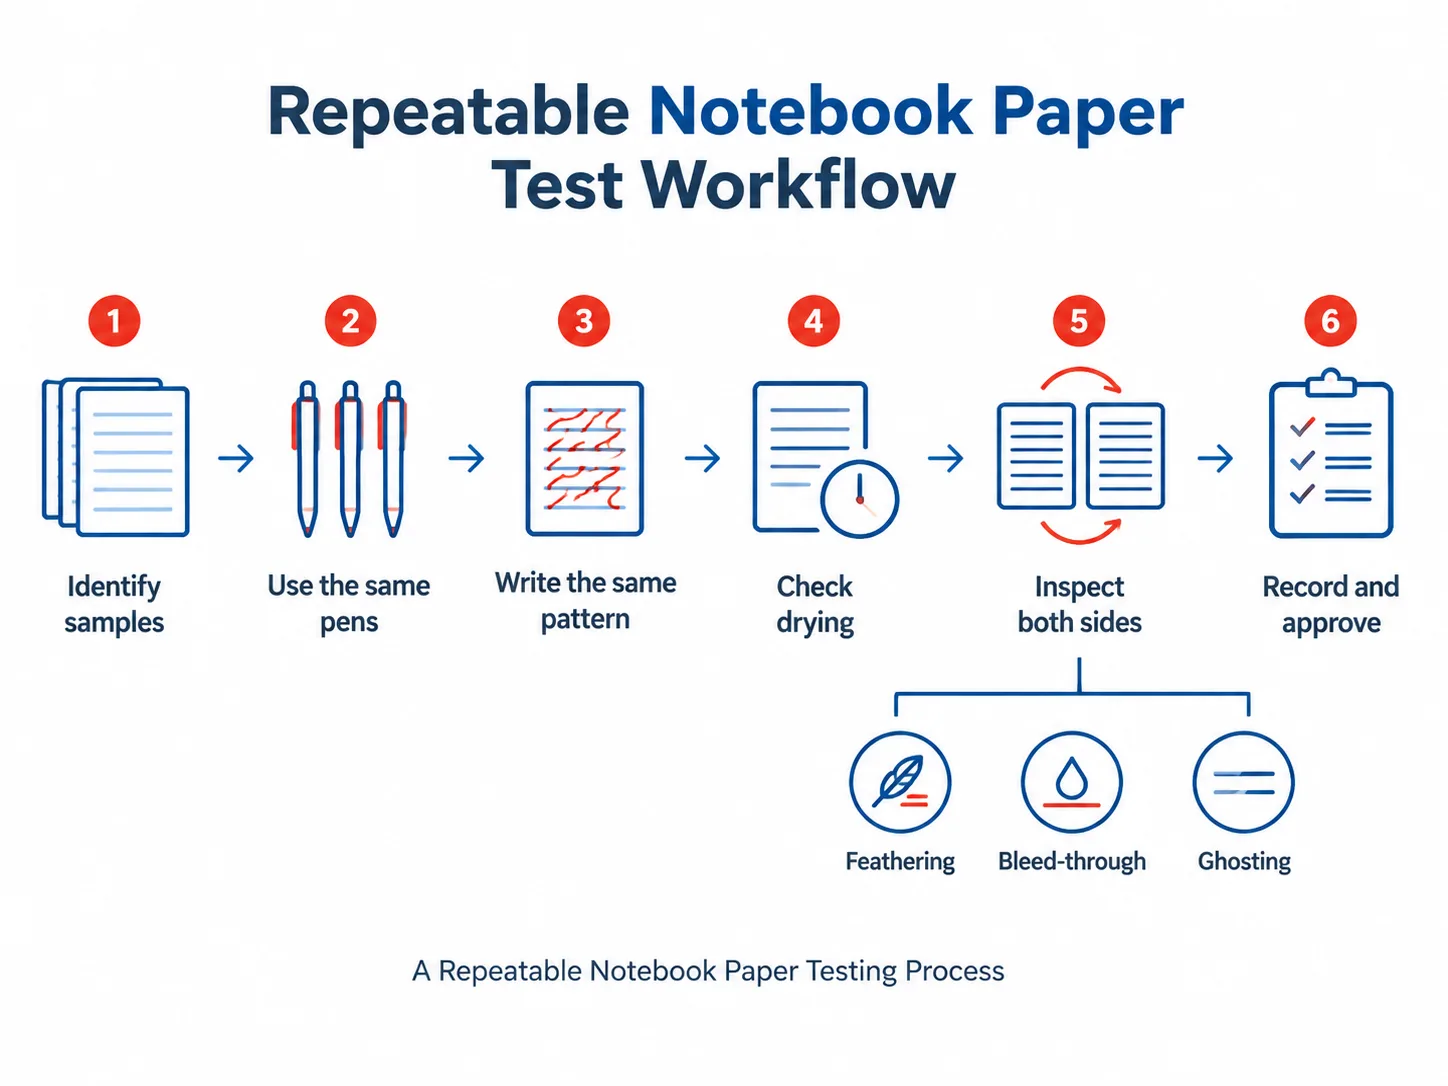
Use one fixed layout and sequence for every candidate. Separate normal writing from deliberate stress marks so the buying decision reflects the intended notebook use.
- Label the sheet. Record sample code, paper face, date, pen model, nib or tip size and ink. Keep labels outside the inspection area.
- Write ordinary text. Write the same sentence and numbers at your normal speed and pressure. Add small handwriting to check fine-line definition.
- Add controlled marks. Draw straight lines, loops and a small hatch pattern. Place any repeated strokes or saturated patches in a clearly marked stress area.
- Check drying separately. Make identical fresh marks for each interval. For example, check at 5, 10, 20 and 30 seconds using a fresh piece of clean paper and consistent light contact. These intervals are a suggested comparison schedule, not a universal pass standard.
- Inspect the writing face. After drying, check feathering, line spread, skipping and surface damage. Photograph at a consistent distance and exposure.
- Inspect the reverse. View it on the same white backing under the same light. Record ghosting separately from visible ink penetration. Inspect the underlying sheet for transferred ink.
- Write on the reverse. Add ordinary notes to determine whether two-sided use remains comfortable. This catches cases where ghosting is distracting despite acceptable bleed resistance.
- Check page closing. In a folded sample or bound prototype, close the spread after a defined delay and inspect the facing page. Record the delay and pressure.
For highlighters, let the underlying writing dry for a recorded period before highlighting. Test a single pass first, then any repeated passes expected in use. For pencils, erase a separate area and check for roughening or tearing.
Record Results and Set Acceptance Criteria
Score each result separately and agree on acceptance before choosing a stock. A single overall “good paper” rating can hide a drying problem or unusable reverse side.
A practical internal scale is 0 for none observed, 1 for slight, 2 for clearly visible and 3 for disruptive. Define those descriptions using photographs of your control sample. This is a buyer-created scale, not an industry standard.
Minimum test record: Sample code; paper specification; face tested; pen and ink; writing pattern; feathering score; bleed-through score; ghosting score; earliest tested interval with no visible transfer; closing-test result; photograph reference; approval decision.
For a notebook intended for two-sided fountain pen use, you might require no visible bleed-through during ordinary writing with the named test combinations, limited feathering and acceptable reverse-side legibility. Set the permitted ghosting level by reviewing the actual sample.
Keep stress-test results separate. Repeat any unexpected failure on a fresh sheet with the same pen before rejecting a candidate. A damaged nib or inconsistent writing pressure can distort the comparison.
Balance Paper Weight, Surface and Drying Time
Higher grammage alone does not guarantee better writing performance. Ink resistance depends partly on sizing and surface treatment, while reverse-side visibility also depends on opacity and sheet structure.
Paper that holds liquid ink near the surface may preserve sharp lines but take longer to dry. More absorbent paper may dry quickly yet allow line spread or penetration. Smoothness affects writing feel, but a smooth sheet is not automatically suitable for every ink.
For technical reference, ISO 2471 covers paper opacity measurement, while ISO 536 covers grammage determination. These measurements describe paper properties; neither replaces testing the intended pens.
Compare total notebook thickness and weight as well as writing results. A heavier or thicker stock may affect the spine, binding and shipping weight. Price and lead time also depend on stock availability, quantity, printed coverage and sample requirements. Ask for alternatives against the same specification rather than assuming the heaviest option is best.
Check the Printed and Bound Notebook
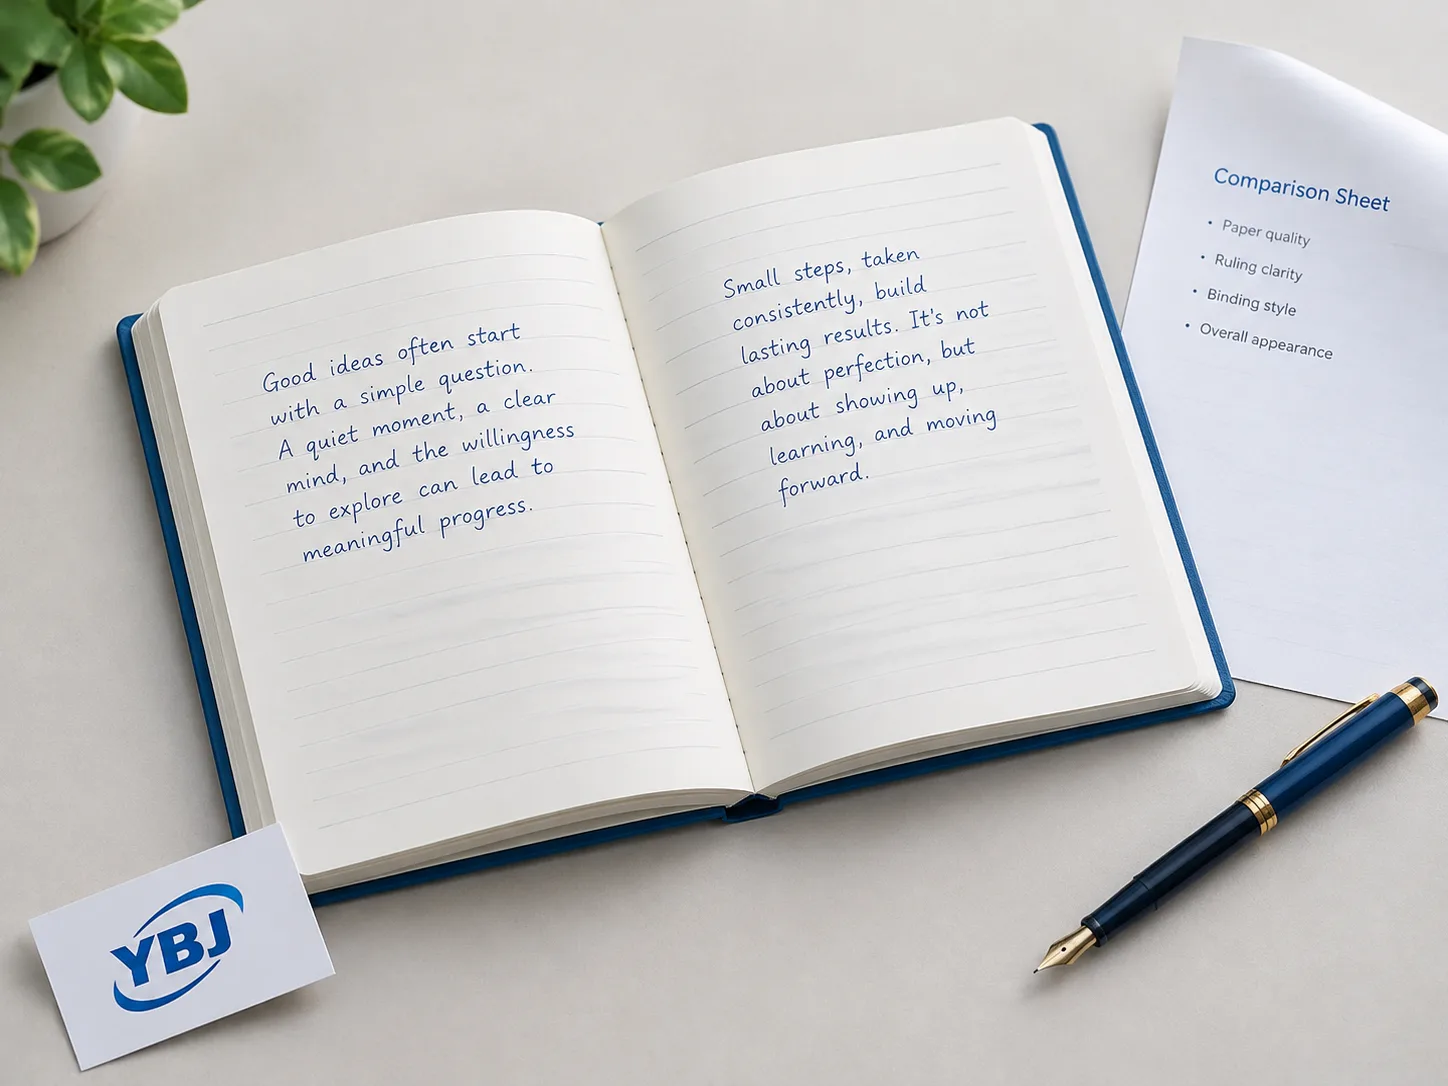
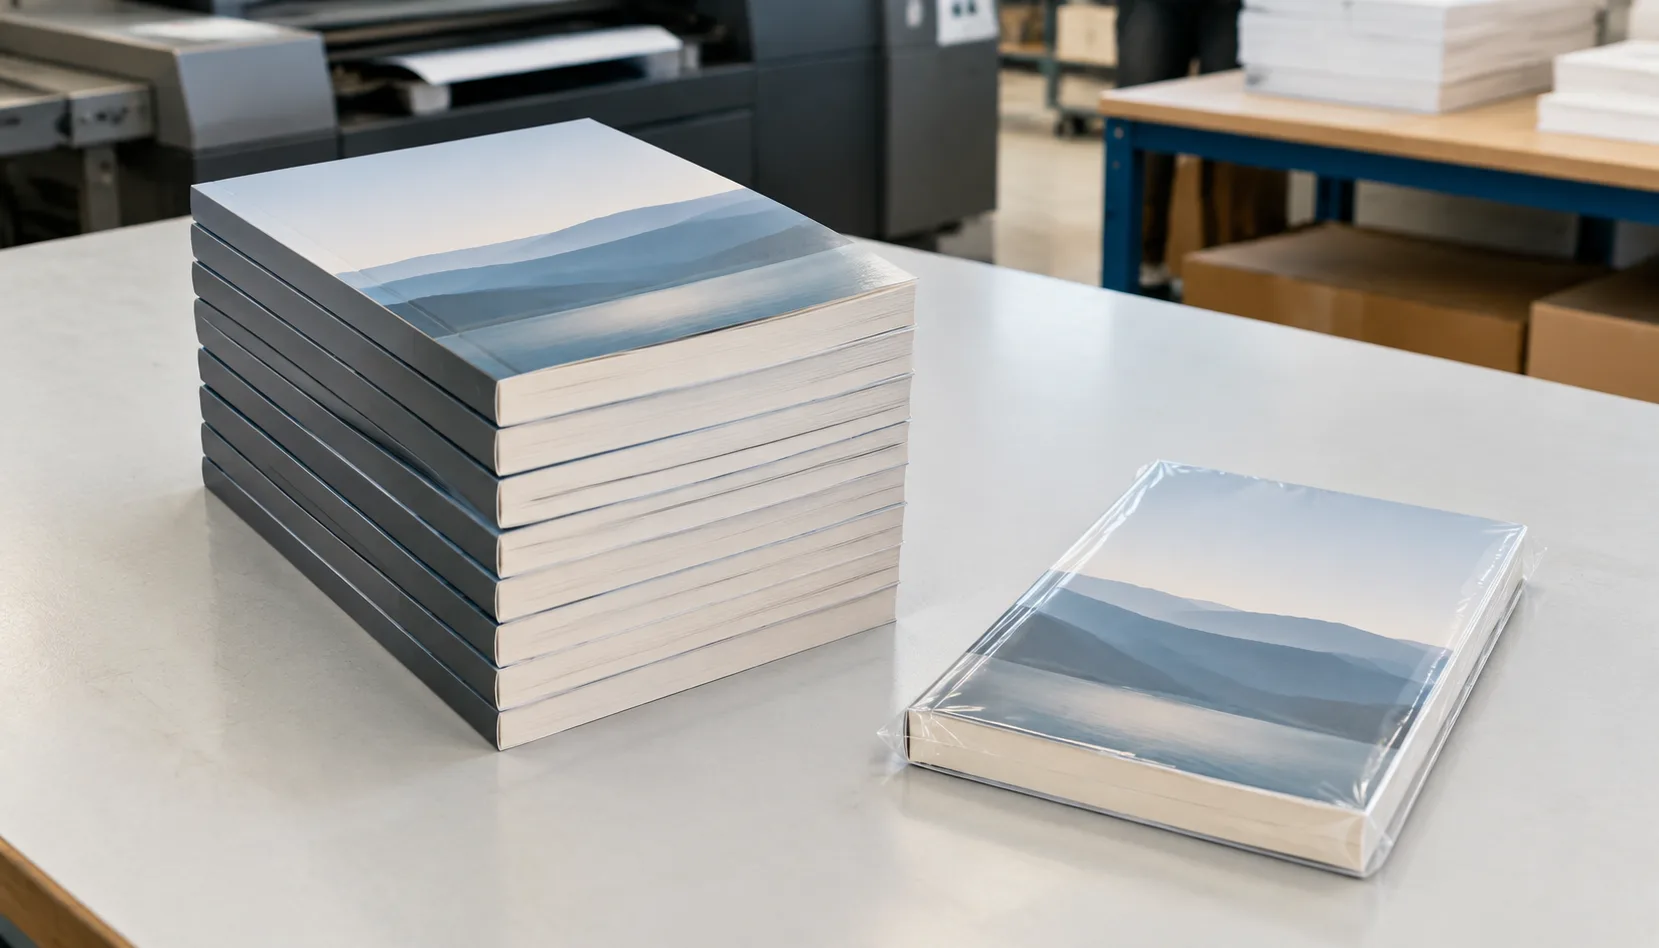
Confirm the selected paper in a representative printed and bound sample before approving the complete notebook specification. Blank stock tests establish a baseline, but finished pages introduce ruling, tint areas, page-opening behavior and writing near the gutter.
Test both unprinted areas and areas carrying the intended lines, dots or background tint. Check whether the printed design remains readable behind handwriting and whether writing behaves differently over printed areas. Review artwork using a print-ready PDF and preflight workflow so the sample reflects the approved layout.
Write near the inner margin and test a page on the left and right of the spread. Binding resistance and uneven backing can change writing comfort. If the notebook has pockets, elastic closures or other additions, consider them during the final usability review; the planner and journal accessories guide explains relevant specification choices.
For a casebound notebook, coordinate the interior thickness with the hardcover case material specification. Retain the approved paper and finished sample, and document that any proposed stock substitution requires review. Ask which sample components represent production materials and processes.
Buyer Checklist and Key Takeaways
Approve a documented paper-and-use combination. Before placing an order, confirm:
- The intended users and named writing tools.
- The candidate stock identity, grammage, shade and surface.
- Results from both faces and repeated sheets.
- Separate limits for feathering, penetration, ghosting and drying.
- A two-sided writing check on the printed layout.
- The approved binding, page count and finished thickness.
- A retained reference sample and agreed substitution procedure.
Key takeaways: Match the test to customer behavior. Keep conditions consistent. Distinguish optical show-through from ink penetration. Assess drying and page closing separately. Approve the finished notebook as well as the loose paper.
Notebook Paper Testing FAQ
These answers clarify common paper approval questions. Use the FAQ entries supplied with this article to display the individual questions and answers.
Approve Paper Against Its Intended Use
Choose notebook paper by demonstrated writing performance, then confirm the finished construction. A consistent test sheet, named pens and separate defect records give buyers a clearer basis for approval than paper weight alone. Keep the accepted sample and specification together so future production discussions have a concrete reference.
FAQ
What is the difference between notebook ghosting and bleed-through?
Ghosting is writing visible through the sheet because of its optical properties. Bleed-through is ink penetrating to the reverse surface. They can occur together, so inspect the reverse and the sheet underneath and record each result separately.
Does heavier notebook paper always prevent ink bleed-through?
No. Grammage alone does not determine ink resistance. Sizing, surface treatment, fiber structure and the pen-and-ink combination also matter. Compare physical samples rather than approving paper solely by its g/m² value.
How should I test fountain pen notebook paper?
Use the nib widths and inks your customers are likely to use. Write ordinary text, inspect feathering and reverse-side penetration, measure transfer at fixed drying intervals and test two-sided writing. Include a wetter combination if it represents expected use.
Is a heavy marker test necessary for every notebook?
No. Include markers in the acceptance test when customers are expected to use them. Otherwise, record marker results as a separate stress test. A notebook suitable for ordinary pens may still allow alcohol-based marker ink to penetrate.
Can a digital proof confirm notebook writing performance?
No. A digital proof can help check layout, ruling and page content, but it cannot establish paper absorption, feathering, ghosting or drying behavior. Use physical paper samples and confirm the approved stock in a representative printed and bound sample.
Ready to Plan Your Custom Printing Project?
Tell YBJ Printing about your notebook product type, trim size, page count, quantity, paper or binding preferences, finish requirements, file status and destination country. Share the pens your customers use and any writing-test results. Our team can discuss practical options and prepare a factory-direct quotation based on your specification.