
Table of Contents
- What a Board Book Printing Template Should Include
- How to Set Up Board Book Pages and Spreads
- How to Apply Board Book Bleed and Safe Areas
- Cover, Endpaper, and Special Page Considerations
- Exporting a Print-Ready Board Book PDF
- Board Book Print File Preflight Checklist
- What to Confirm Before Production
A board book printing template helps you prepare artwork at the correct trim size, page order, bleed and safe margins. This guide explains how to set up board book files for accurate prepress review and production.
What a Board Book Printing Template Should Include
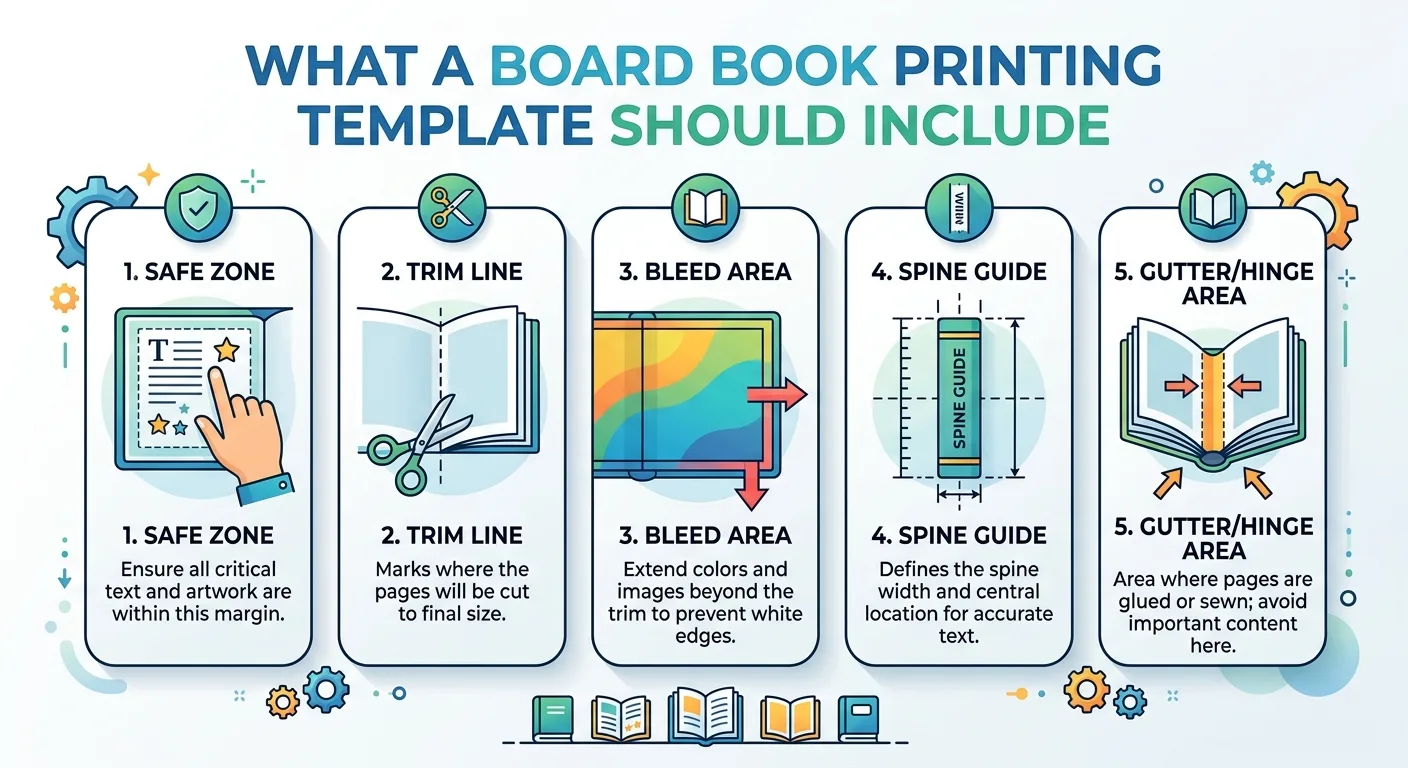
A board book printing template is a production guide that shows the finished trim size, page order, bleed, safe areas and file boundaries required for printing. Use the printer’s approved template whenever possible rather than creating dimensions from assumptions.
A board book is made from thick printed board pages, so its file setup is different from a standard paperback or thin-page picture book. The printer must account for the board thickness, folding or binding construction, rounded corners if required, and how artwork is positioned across each spread.
Before designing, confirm these specifications with your manufacturer:
- Finished trim size, such as 200 × 200 mm or another agreed format.
- Total number of board pages or leaves, including how the printer counts them.
- Whether the artwork should be supplied as single pages or reader-facing spreads.
- Required bleed and minimum safe margin.
- Cover construction, board thickness and whether the cover uses the same file format as the inside pages.
- Colour profile, image resolution, PDF standard and font requirements.
These details affect the working document and may vary by product construction. For examples of finished formats, review YBJ Printing’s kids toddler baby board book printing options before requesting a template.
How to Set Up Board Book Pages and Spreads
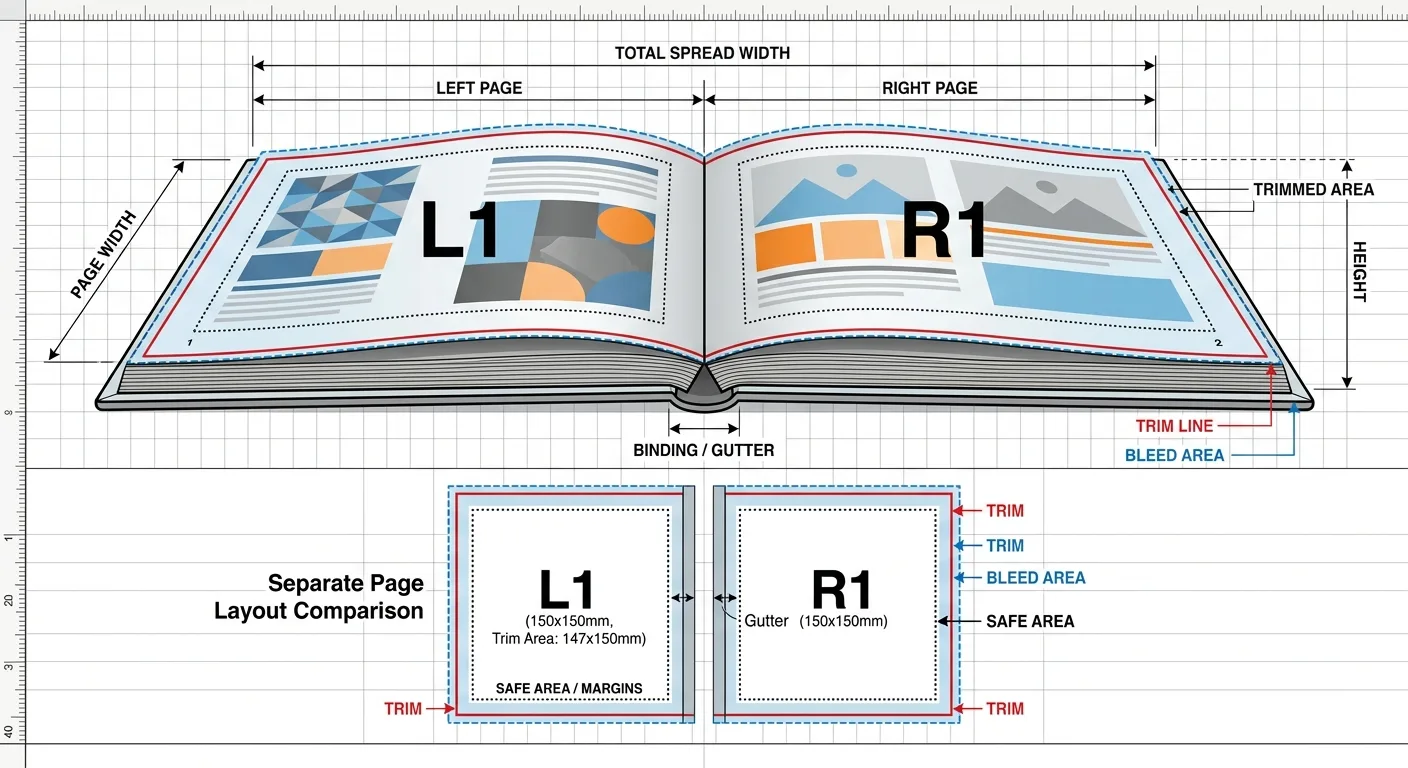
The correct page arrangement depends on the printer’s imposition and binding process. In most cases, the safest workflow is to design in normal reading order and let the printer handle production imposition. Do not rearrange pages into printer sheets unless the manufacturer specifically requests it.
Single-page files
With a single-page file, each PDF page represents one finished board page. This approach makes page numbering and revisions easier to check. Artwork that continues across the centre of a spread must be aligned carefully between the two separate PDF pages.
Two-page spreads
With a spread file, the left and right pages are supplied together as one wide artwork area. This can be useful for illustrations that cross the gutter, but the working document must reflect two finished pages plus bleed. Keep important faces, text and small objects away from the centre fold or binding area.
Ask the printer whether the first and last interior pages are treated differently. Some board book constructions have specific inside-cover, endpaper or hinge requirements. Also confirm whether a page count refers to individual printed sides, board leaves or reader-visible pages. For books with activities or interactive content, consult the specifications for children’s board activity book printing before finalising the pagination.
How to Apply Board Book Bleed and Safe Areas
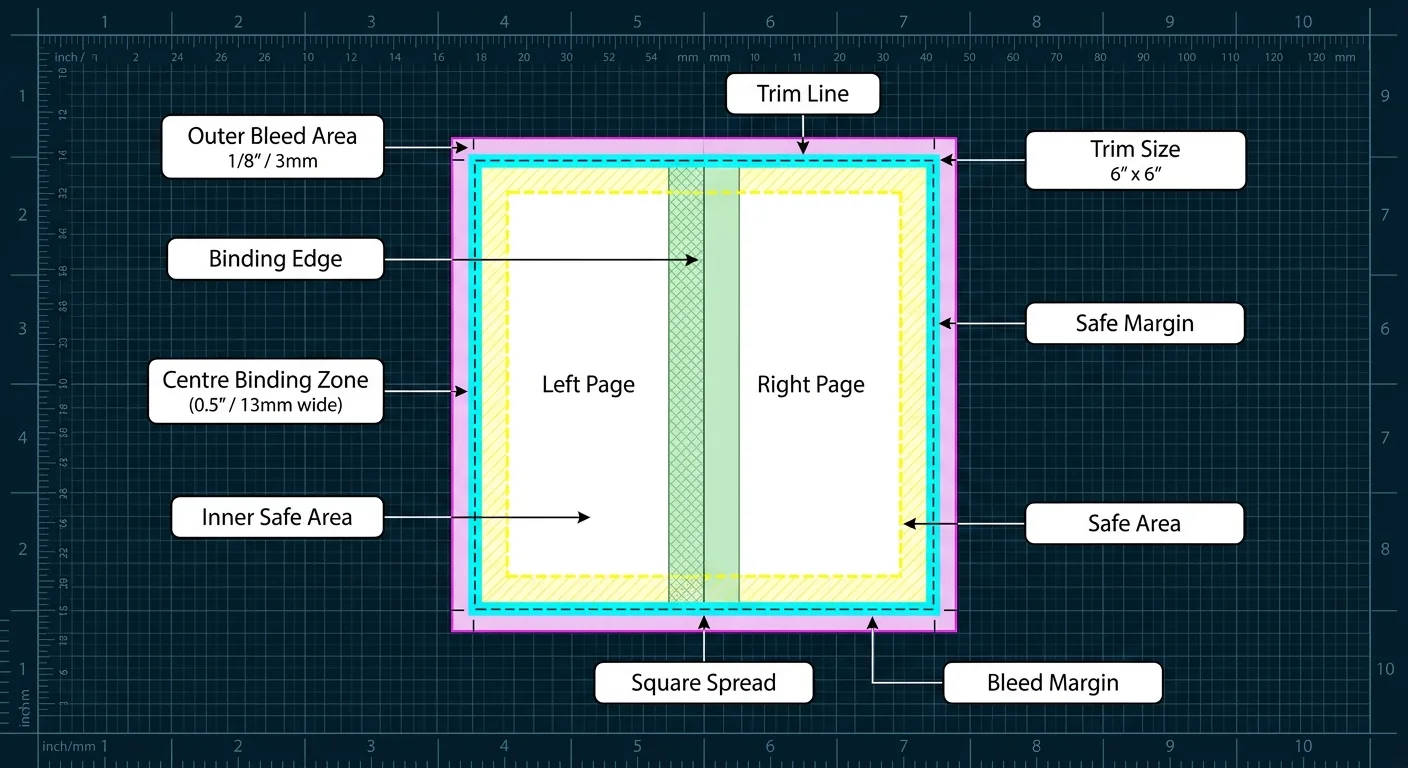
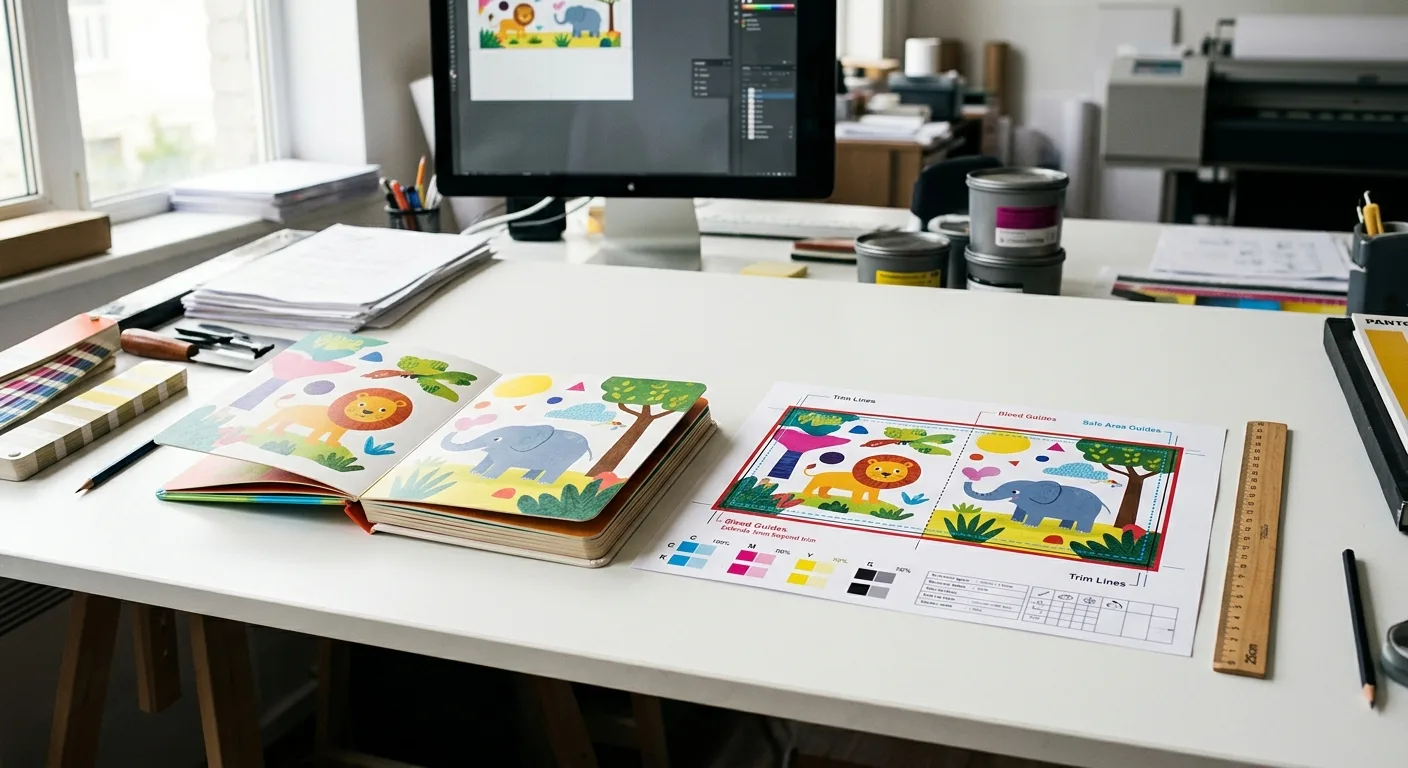
Board book bleed is the extra artwork that extends beyond the trim line. It allows for small cutting or finishing variations so that no unprinted edge appears on the final page. The required amount must come from the printer’s template; do not assume that every board book uses the same value.
For example, if the finished page is 200 × 200 mm and the requested bleed is 3 mm on every side, the artwork area would be 206 × 206 mm. This is only an example. The printer’s supplied dimensions always take priority.
Extend backgrounds and illustrations
Extend full-bleed backgrounds, colour blocks and illustrations through the bleed area. Do not extend important text or character details into it, because the bleed will be trimmed away.
Protect the safe area
The safe area is the zone inside the trim where essential content should remain. Keep headlines, page numbers, logos, eyes, faces and small objects comfortably inside this boundary. Extra caution is needed near the centre of a spread, rounded corners and any area affected by binding or board construction.
Bleed does not replace a safe margin. A file can have sufficient bleed while still placing text too close to the trim. Use visible trim and safety guides while designing, then remove non-printing guides before exporting the final PDF.
Cover, Endpaper, and Special Page Considerations
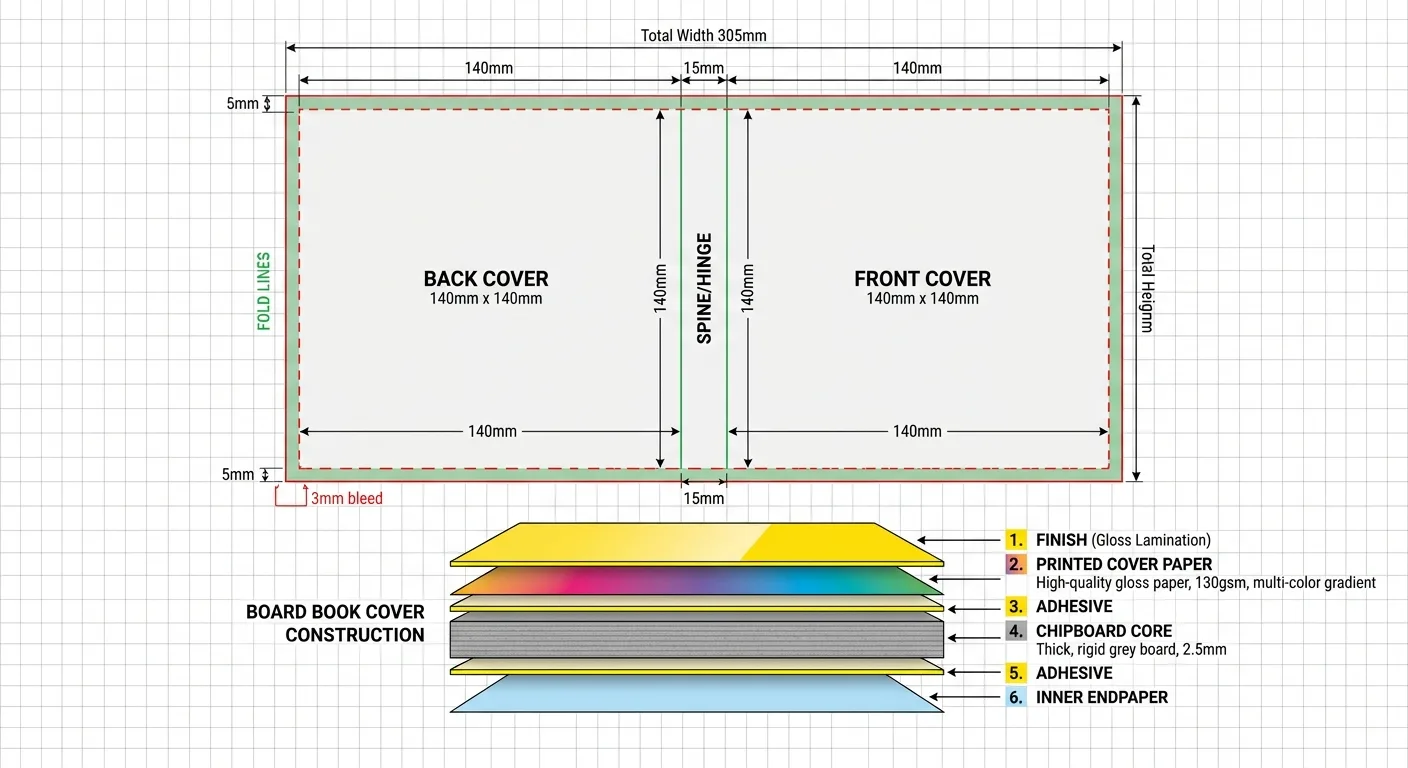
Do not automatically use an interior-page template for the cover. A board book cover may involve a different board thickness, wrap, hinge, turn-in or finishing arrangement. The cover file may therefore include front cover, back cover, spine or hinge zones that are not visible in the finished design.
Some board books use a separate cover artwork file, while others use a complete cover spread. Ask for the exact cover dieline or template and confirm which lines are trim, fold, glue, hinge or non-printing construction marks. Never place important artwork across a fold or glue area without approval.
Endpapers, title pages and inside-cover artwork can also require separate files. If your project includes die-cut windows, rounded corners, flaps, touch features or other interactive elements, request a production drawing before preparing final artwork. YBJ Printing’s information on printing board books and hardcover books can help you compare the general construction options, but your project template remains the controlling document.
Exporting a Print-Ready Board Book PDF
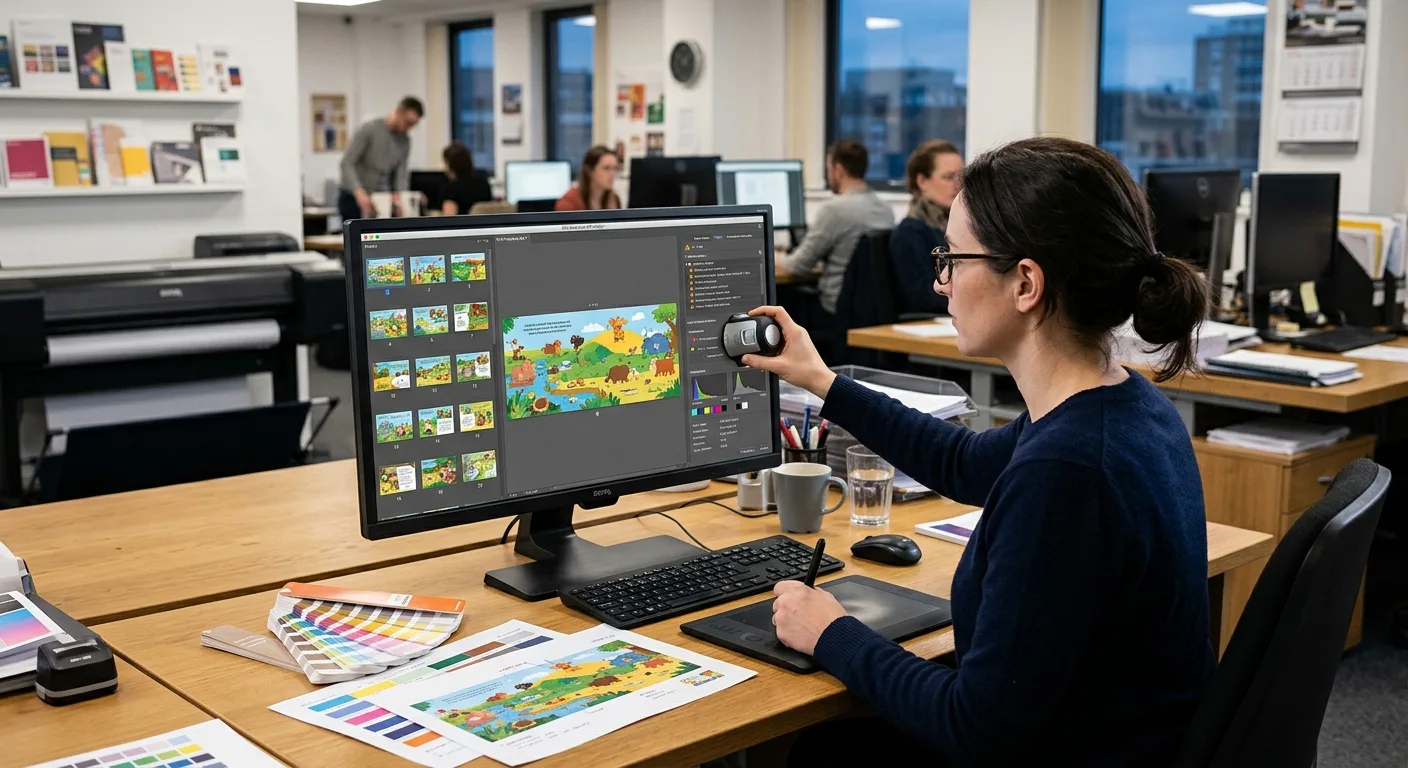
After the artwork is approved, export a press-ready PDF using the settings in the supplier’s file requirements. A typical board book print file setup includes the following checks:
- Use the correct finished trim size and approved bleed.
- Place pages in reading order unless the printer requests another arrangement.
- Use CMYK or another colour mode specified by the printer. Convert RGB images carefully because colours can change during conversion.
- Use high-resolution images suitable for the final reproduction size. Avoid enlarging small web images.
- Embed fonts or convert final display type to outlines when appropriate, while retaining an editable source file for revisions.
- Remove comments, hidden layers, crop marks and registration marks unless the printer requests them.
- Check that transparency, overprinting, spot colours and linked images have exported correctly.
- Export the cover and interior as separate files if required by the quotation or template.
Use a clear naming convention such as Title_Interior_v03.pdf and Title_Cover_v03.pdf. Keep the source files, linked images and fonts available in case prepress identifies an issue. YBJ Printing’s print-ready book file checklist provides additional guidance for general book artwork preparation.
Board Book Print File Preflight Checklist
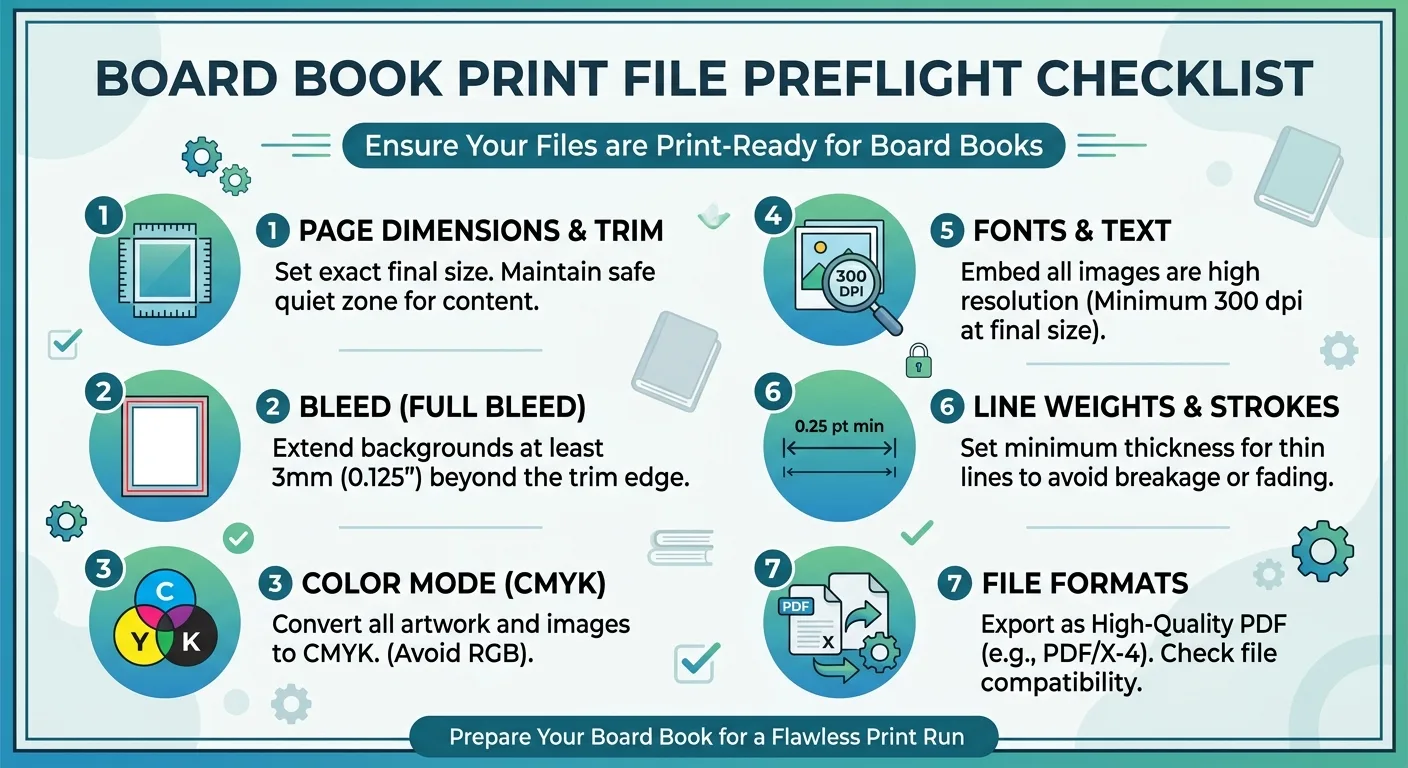
Before uploading a board book file template or final PDF, complete a visual and technical preflight. A practical checklist includes:
- Confirm the trim size matches the quotation and product specification.
- Verify the page count and check that every page is present and in the correct reading order.
- Open the PDF at high zoom to inspect thin white lines, missing images, hairlines and unexpected colour changes.
- Check that all full-bleed artwork extends to the bleed boundary.
- Review the safe area for text, faces, logos and details near the trim or centre.
- Compare the cover artwork with the approved cover dieline.
- Check left-to-right or right-to-left reading direction where relevant.
- Confirm that special features have separate technical layers or drawings if requested.
- Make sure the file name and version match the approval record.
For multilingual books, inspect punctuation, character support and line breaks in the final exported PDF rather than relying only on the design application. A digital proof can reveal layout problems, but a physical proof may be needed to assess colour, trimming, board construction and the relationship between facing pages.
What to Confirm Before Production
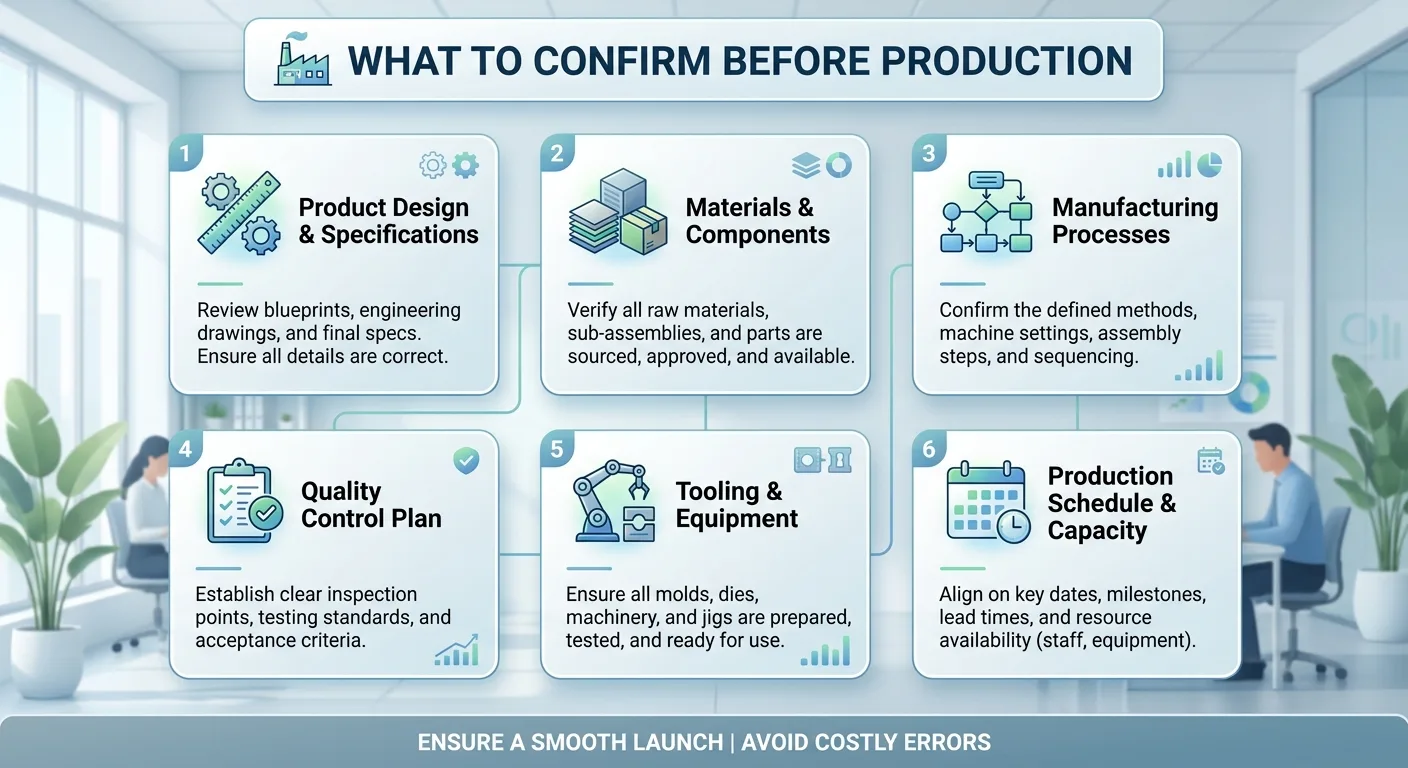
Send the completed file together with a short production note that identifies the trim size, page count, file order, bleed assumption, colour requirements, binding direction and any pages that need special attention. This helps the prepress team identify questions before production begins.
Ask the printer to confirm that the file has passed preflight and request clarification if the template and quotation appear to conflict. Do not make late changes to page dimensions, pagination or cover construction without checking the effect on the approved specification.
For publishers managing several board book titles, keep a master template and a title-specific copy. The master can store standard guides and export settings, while each title copy should contain only the artwork for that project. This reduces the risk of sending the wrong dimensions or an outdated version.
Discuss Your Board Book File Setup With YBJ Printing
If you need a board book printing template or want to confirm your artwork before production, contact YBJ Printing to discuss the project. For an accurate quotation, please provide the product type, trim size, page count, quantity, paper or board and binding preference, finish, file status and destination country.