
Table of Contents
- What Is a Print-Ready Book PDF?
- Confirm Book Specifications Before Designing
- Set Up Interior Pages Correctly
- Prepare the Cover as a Separate File
- Manage Colour, Images and Fonts
- Export a Production PDF
- Print-Ready Book PDF Checklist
- Common File Errors to Avoid
- Final Thoughts
A print-ready book PDF is a correctly sized, high-resolution PDF with the right page layout, bleed, colour settings and cover construction for production. Use this practical checklist to prepare files that can move through prepress with fewer avoidable revisions.
What Is a Print-Ready Book PDF?
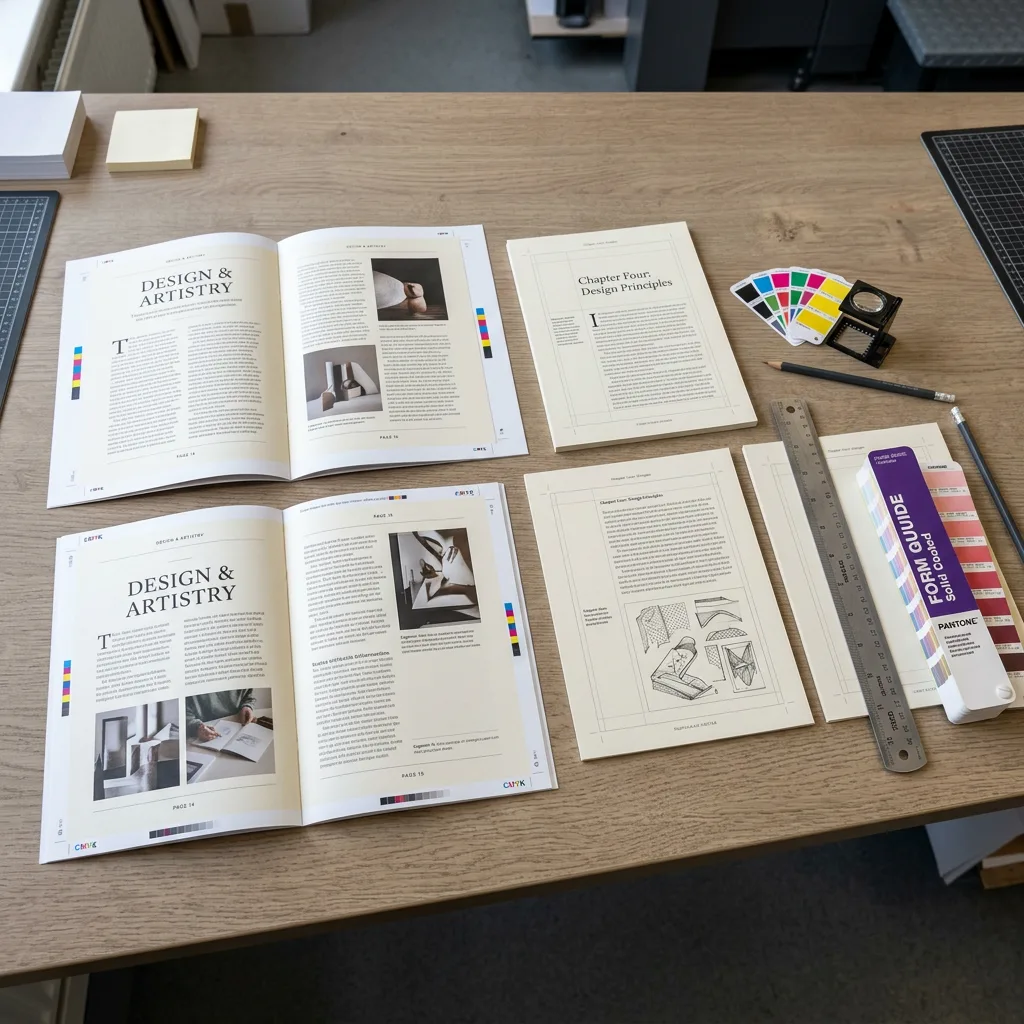
A print ready book PDF is a final production file that contains the complete book artwork at the approved size and in a format suitable for commercial printing. It should have correct page dimensions, sufficient bleed where artwork reaches an edge, high-resolution images, embedded fonts, and pages arranged in normal reading order unless your printer specifically requests imposed files.
A print-ready PDF is not simply a PDF that looks correct on screen. It must also account for physical production: trimming variation, binding margins, paper thickness, colour conversion and cover construction. The exact requirements depend on the finished product, especially its trim size, binding style, paper stock and whether it includes special elements such as foil, embossing or spot colours.
For most standard books, supply two files: one PDF for the interior text block and one PDF for the full cover spread. Always confirm the production specification before final export.
Confirm Book Specifications Before Designing
File preparation starts with the product specification, not the export button. Ask the printer to confirm the finished trim size, binding type, text paper, cover material, number of pages, colour requirement and delivery destination. These decisions affect file dimensions, safe margins, spine width, production method and quotation.
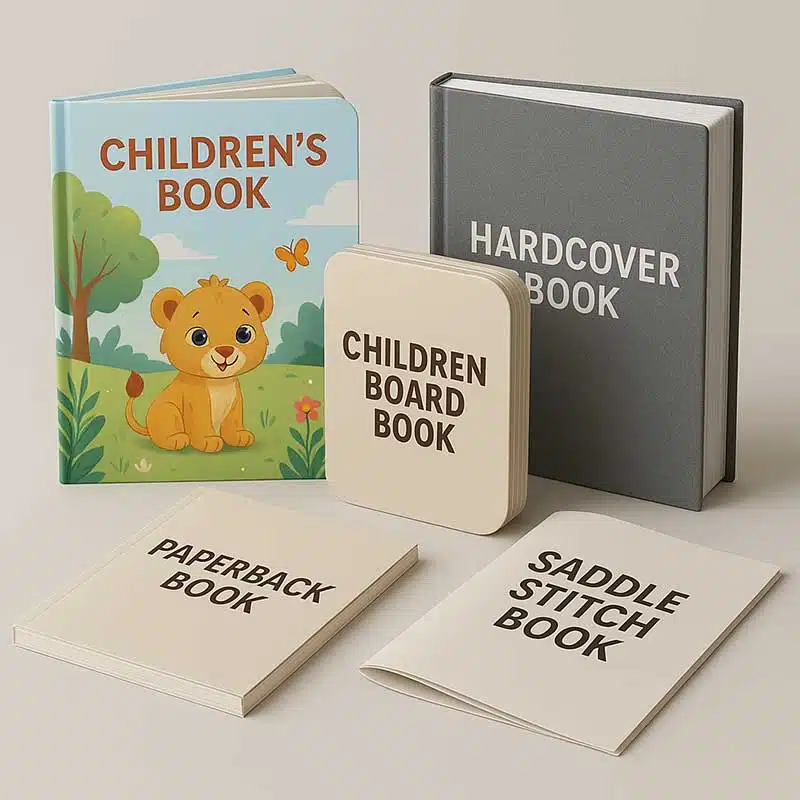
For example, a perfect-bound paperback needs a full cover spread with back cover, spine and front cover. A saddle-stitched booklet does not have a printable spine in the same way. A casebound hardcover may require a cover layout based on board size, hinge allowances, turn-ins and spine width, rather than the paperback cover dimensions.
Page count also matters. Many book formats need page counts that work with the selected binding and production process. Blank pages can be added when necessary, but they should be intentional and included in the final supplied file.
If you are choosing a production approach, review the practical differences in offset versus digital book printing. Run quantity, paper selection and colour expectations can all influence the most suitable process.
Set Up Interior Pages Correctly
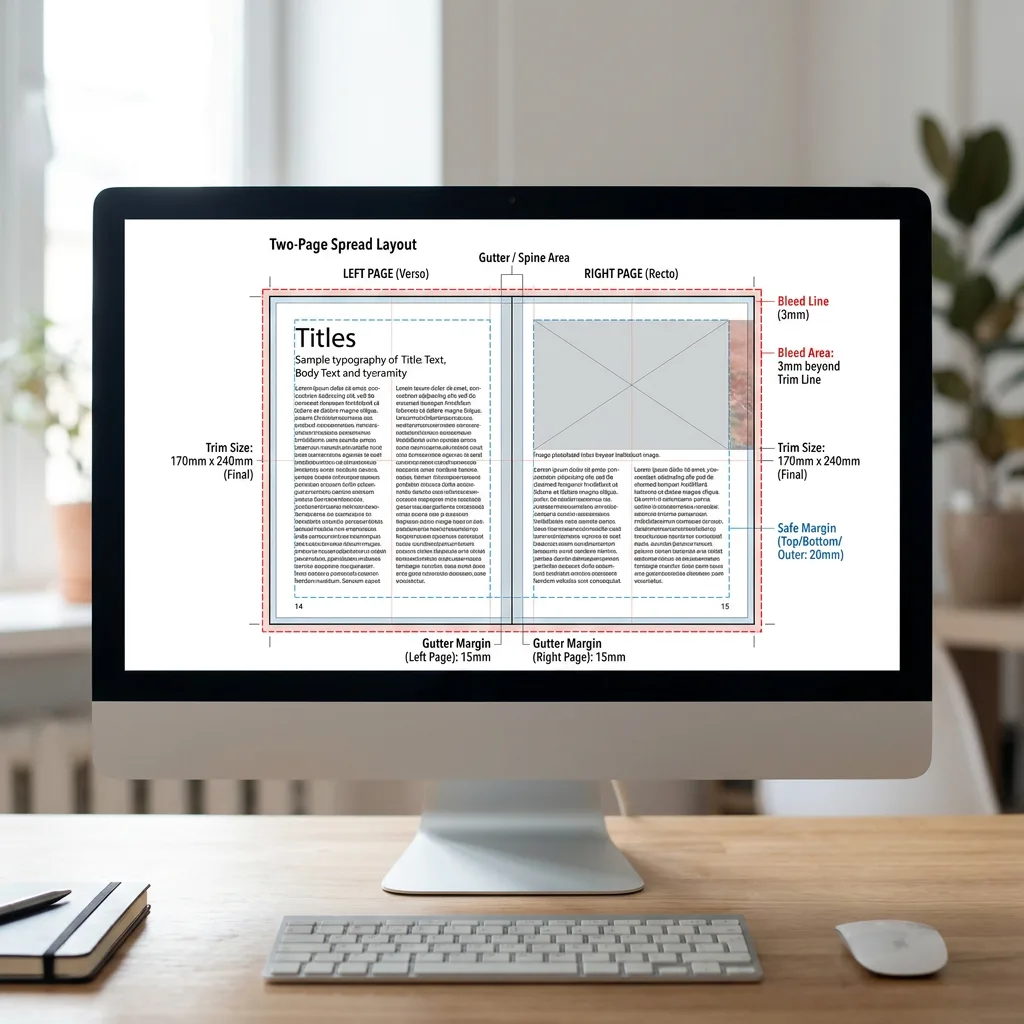
Build the interior as single pages at the final trim size. For a 210 × 297 mm book, each document page should normally be 210 × 297 mm before bleed is added. Do not create reader spreads unless the printer asks for them. A reader spread is two facing pages combined into one large page; it can complicate prepress because printers generally impose pages according to the binding method.
Use bleed for edge-to-edge artwork
Any photograph, background colour, rule or graphic that is intended to reach the cut edge must extend beyond the trim line. A common bleed allowance is 3 mm on each outside edge, but always use the printer’s requested value. Do not add bleed to the binding edge of individual interior pages unless instructed; export settings and page boxes should reflect the required workflow.
Keep essential content inside a safe area
Bleed protects artwork outside the trim, while a safe margin protects important content inside the page. Keep page numbers, captions, logos and text comfortably away from the trim edge. Increase the inside margin near the gutter, particularly for perfect binding or hardcover books, because binding can reduce how far a reader can open the page flat.
For colouring projects, notebooks and educational titles, paper choice can affect how artwork performs in use. See our guide to paper and binding options for custom colouring books for considerations around paper, binding and intended use.
Prepare the Cover as a Separate File
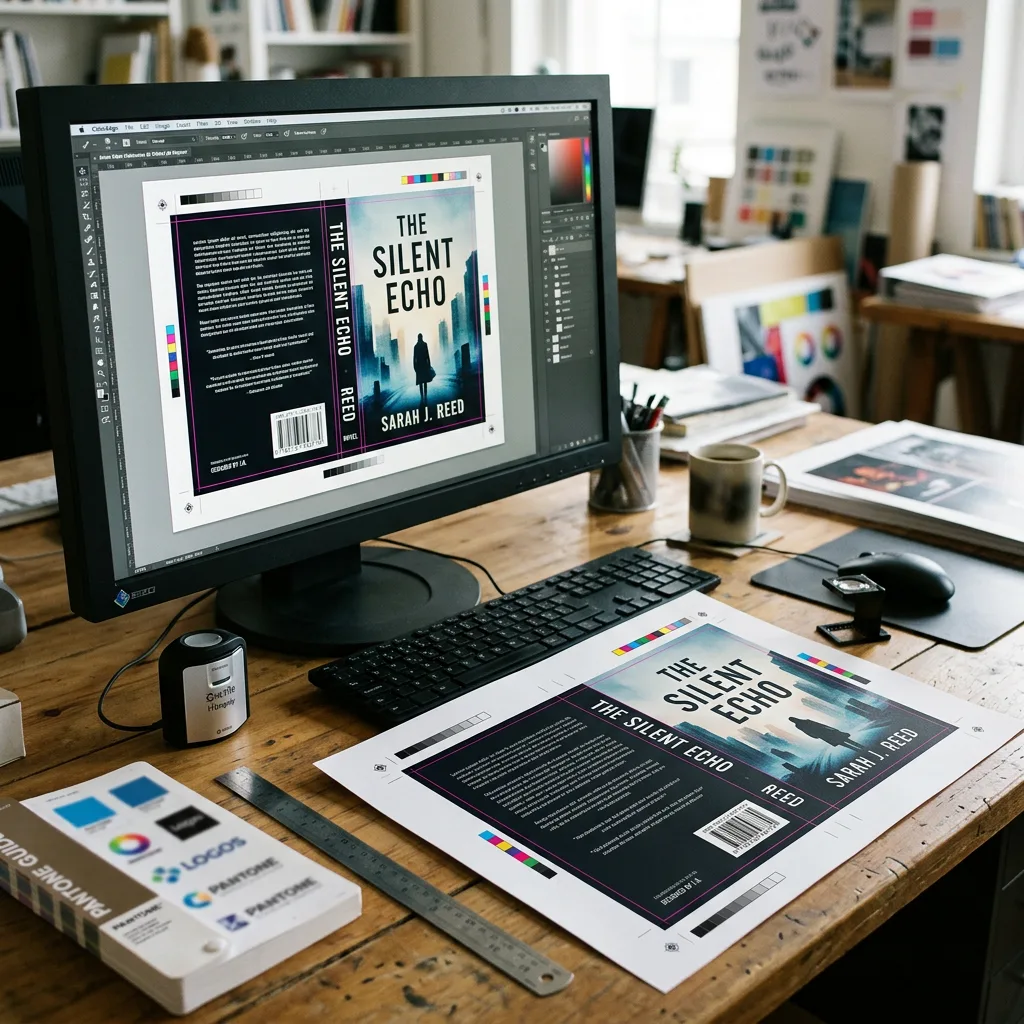
Prepare the cover separately from the interior. For a typical perfect-bound book, the cover PDF is one outside spread: back cover on the left, spine in the centre and front cover on the right. The file must include the correct spine width and bleed on all outer edges.
Never estimate the spine width from page count alone. It changes according to the number of pages, text paper caliper, cover material and binding construction. A minor measurement error can cause spine text or a central graphic to shift onto the front or back cover. Use the printer’s template where available, or obtain a confirmed spine measurement after paper and page count are final.
Read how to calculate book spine width for printing before creating the cover spread. For hardcover projects, also consider the visible endpapers and the relationship between the text block, boards and case. Our overview of printed and coloured endpapers for hardcovers can help when those details are part of the design.
Keep barcode placement, logos and essential copy within the safe area. If using foil stamping, embossing, debossing, spot UV or another separate finishing operation, ask whether an additional vector artwork file or clearly named spot-colour layer is needed.
Manage Colour, Images and Fonts
Commercial book printing normally uses CMYK process inks. RGB images and screen-based colours can look bright on a monitor but may change when converted for print. Convert or manage colour deliberately using the profile requested by the printer, rather than relying on an unknown automatic conversion at the last stage.
Use images with enough effective resolution at their placed size. As a practical benchmark, continuous-tone photographs are commonly prepared at 300 ppi at final output size. Enlarging a small web image in a layout program does not create missing detail. Check all linked images, especially those cropped or scaled heavily.
For black text, use 100% black where appropriate rather than a four-colour rich black build. Small reversed text and fine rules should also be designed carefully because multi-colour registration variation can reduce sharpness. Rich black may be suitable for large solid black areas, but its CMYK build should be agreed with the printer.
For a deeper explanation of these decisions, consult CMYK, RGB and Pantone for book printing. If a brand colour or special ink is required, identify it early because spot-colour workflows differ from standard CMYK printing.
Embed all fonts when exporting the PDF. If a font cannot be embedded because of licensing or technical restrictions, create outlined copy only after carefully checking the final PDF. Outlining makes text non-editable and may affect accessibility, so it is not normally the first choice.
Export a Production PDF
Export from the original layout application whenever possible, using a press-quality PDF preset that retains high-resolution images and embeds fonts. PDF/X standards are widely used for print exchange, but the appropriate version depends on the printer’s workflow. If no preferred PDF/X standard has been specified, ask before exporting rather than assuming.
Include bleed in the PDF export. Crop marks, registration marks and colour bars are not always required; some printers prefer files without them because their workflow applies its own marks and imposition. Do not reduce image quality for email convenience. Use a file-transfer link when the final PDF is large.
Name files clearly, for example: Title_Interior_v03.pdf and Title_Cover_v03.pdf. Avoid ambiguous names such as final-final-new.pdf. Version control is especially important when editorial and cover changes are occurring at the same time.
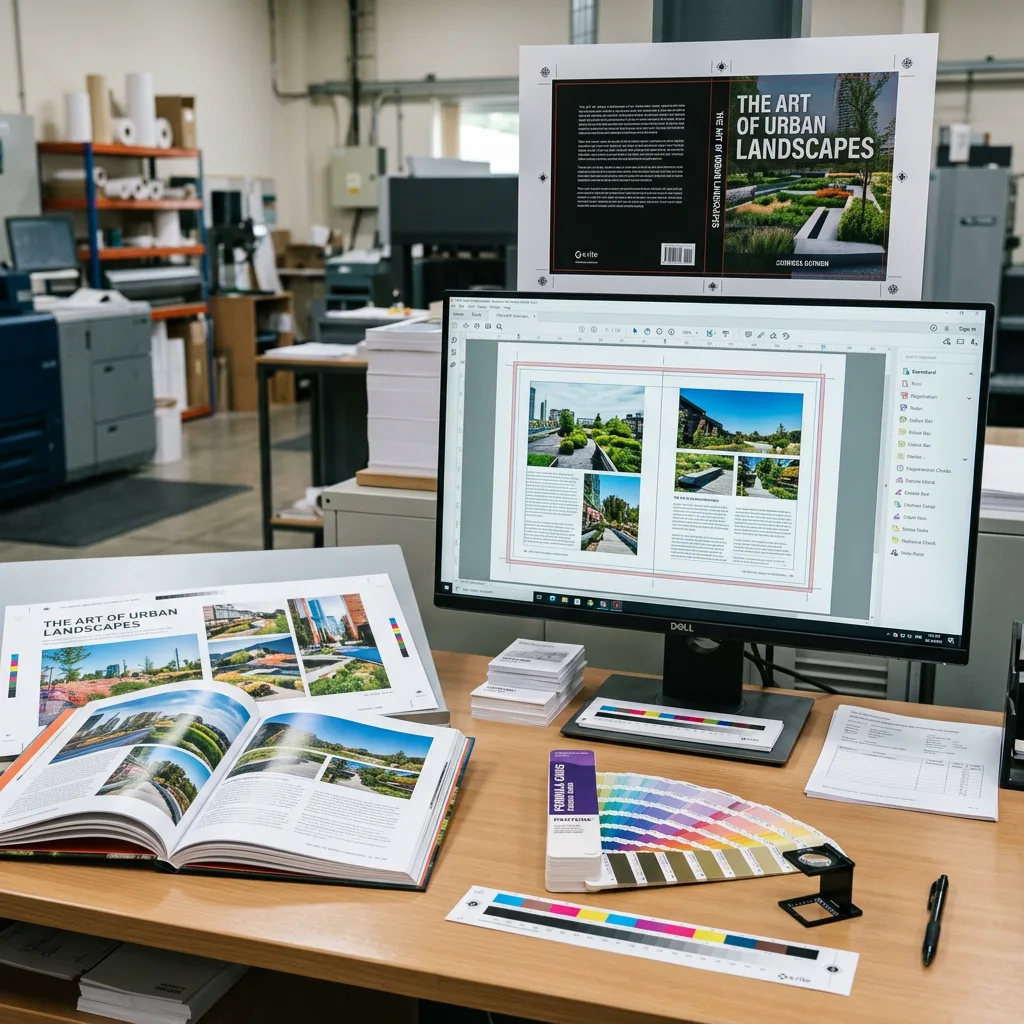
Before sending, open the exported PDF in a reliable PDF viewer. Check page count, page size, bleed, page sequence, blank pages, navigation, fonts and visual content. This final review should be made from the PDF, not only from the working layout file.
Print-Ready Book PDF Checklist
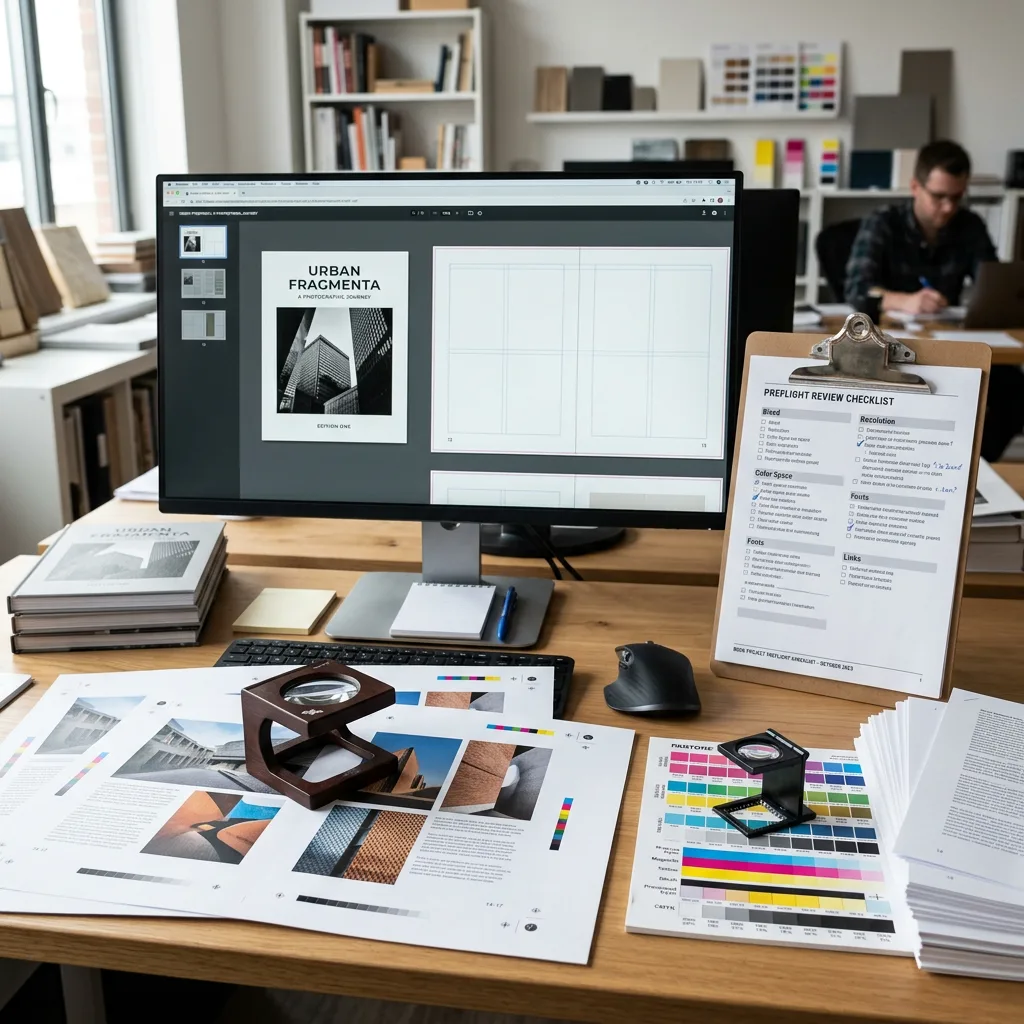
Use this buyer-focused preflight checklist before submitting a book file:
- Finished trim size matches the approved specification.
- Interior is supplied as single pages in normal reading order.
- Final page count matches the approved book plan.
- Bleed is present on every edge where artwork extends to trim.
- Important text and logos remain within safe margins.
- Cover is a separate full spread with the confirmed spine width.
- Images have suitable effective resolution at placed size.
- Colours are prepared for the agreed print process; any Pantone or finishing artwork is clearly identified.
- Fonts are embedded, and no missing-font substitution appears in the PDF.
- PDF pages are checked for unexpected blank pages, incorrect orientation, clipping, overprint issues and damaged links.
- File names identify the product, component and current revision.
- The printer has received the intended quantity, materials, binding and shipping destination.
These checks reduce avoidable prepress questions, but they do not replace a printer’s technical review. Price, lead time and final output quality still depend on the approved specification, supplied artwork condition, proofing requirements and the destination country.
Common File Errors to Avoid
The most frequent book PDF problems are straightforward but costly to correct late in production. Low-resolution images may print soft or pixelated. Artwork without bleed can leave unintended white edges after trimming. Text placed too close to the gutter can be hard to read after binding. An incorrect spine width can misalign the cover design.
Other common issues include supplying facing-page spreads instead of single pages, using RGB-only colour without review, forgetting intentionally blank pages, exporting at the wrong trim size and sending an old revision. Check whether automatic page numbering, running heads, contents pages and index references have updated before locking the PDF.
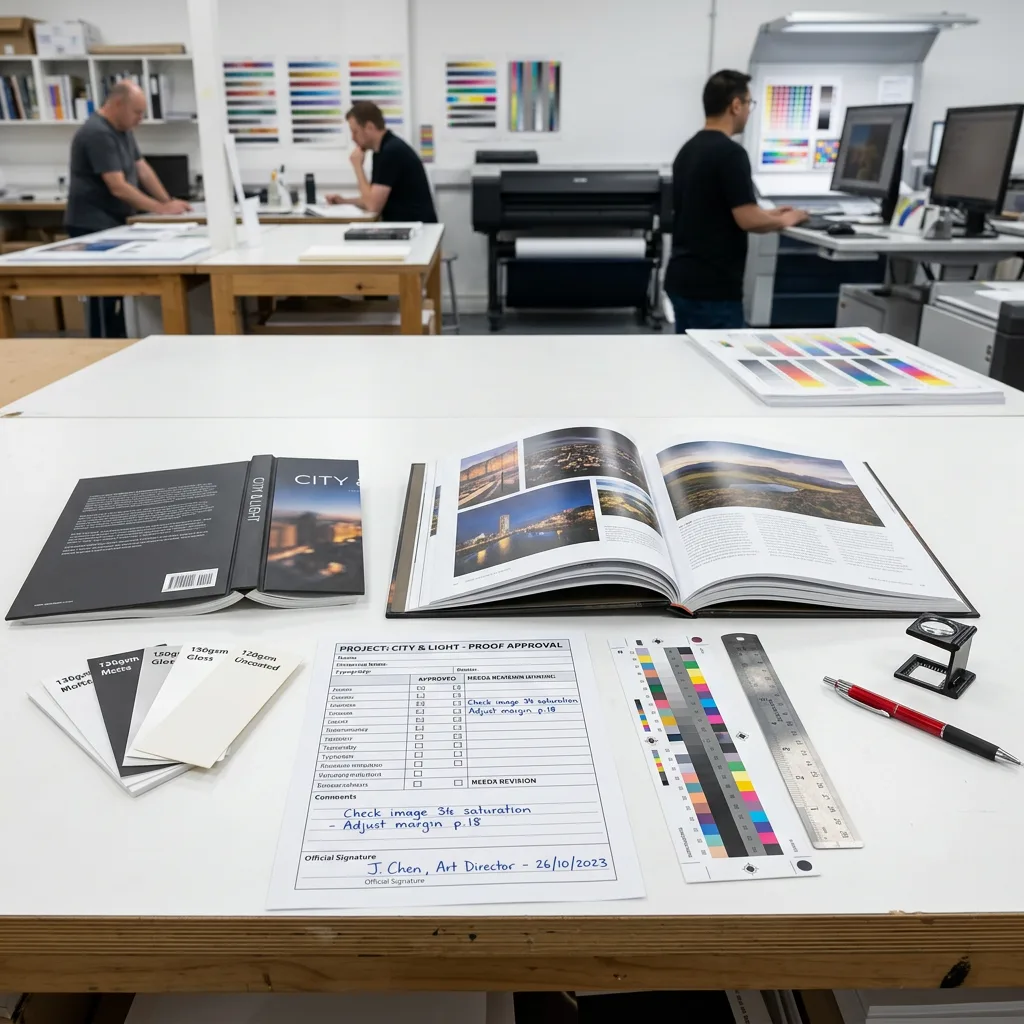
Do not use a screen proof as the only colour decision for a brand-critical project. Monitor settings, paper tone, coating and printing process all influence the perceived result. Discuss physical proofs or other proofing options with the printer when colour accuracy or material appearance is particularly important.
Final Thoughts
A print-ready book PDF is the result of aligning design files with real manufacturing requirements. Confirm the specification first, build the interior and cover correctly, manage colour and images carefully, then inspect the final exported PDFs before submission.
Early communication is particularly valuable for non-standard books, hardcovers, books with special finishes, or projects combining printed pages with components. Learn more about Guangzhou YBJ Printing Co., Ltd and contact the team when you need to clarify file requirements for a custom project.