
Table des matières
- What Is a Print-Ready Book File?
- Confirm Your Book Specifications First
- Book Interior File Checklist
- Book Cover File Checklist
- Check Colour, Images and Fonts
- Preflight and Proof Your Files
- Final Submission Checklist
- Information to Include in a Quote Request
Preparing a print-ready book file requires more than exporting a PDF. This checklist explains how to set up trim size, margins, bleed, colour, images, fonts, covers and proofing so your printer can review the project efficiently.
What Is a Print-Ready Book File?
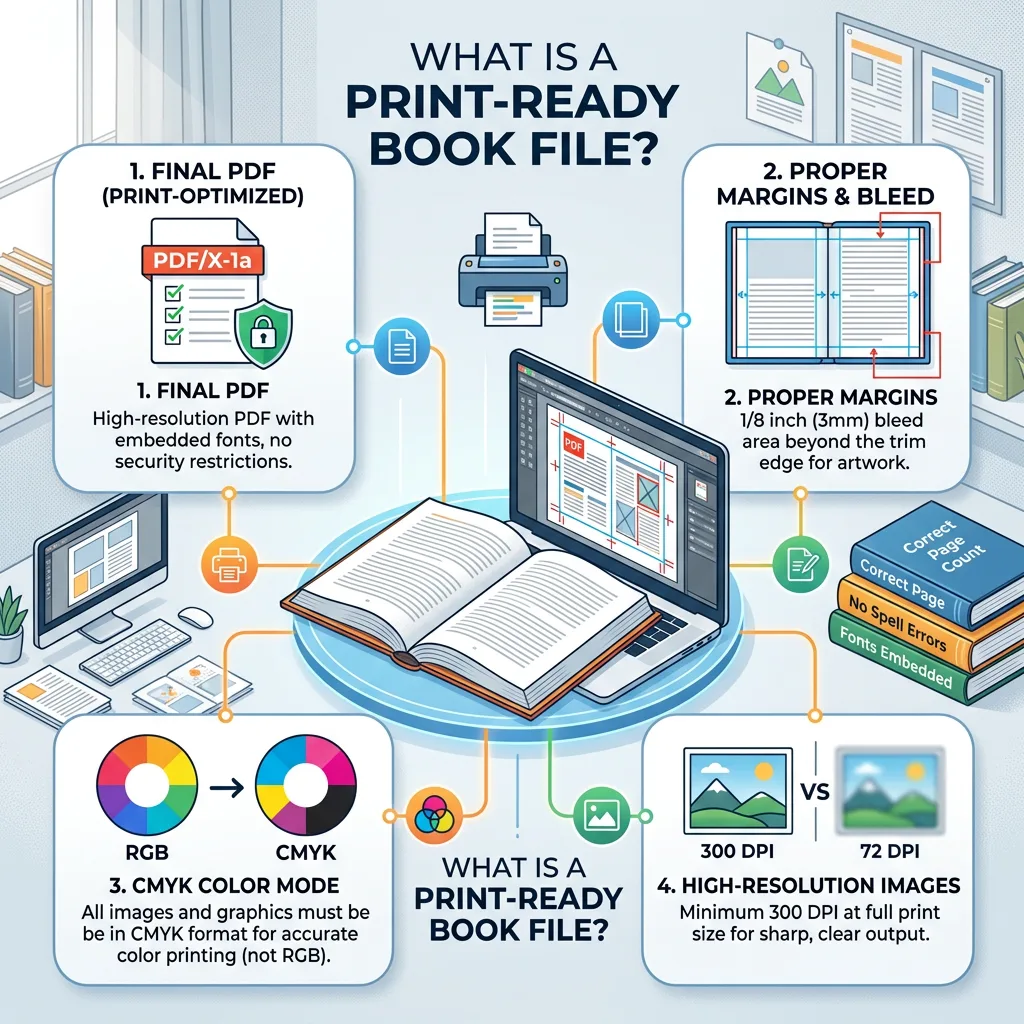
A print-ready book file is a final artwork file prepared to the printer’s physical, technical and production specifications. It normally includes a press-quality PDF for the interior pages and a separate full-cover PDF containing the back cover, spine and front cover when a paperback or casebound cover is required.
The file should match the agreed trim size, page count, binding method, paper plan, colour process and finishing requirements. It should also have correct bleed, safe margins, embedded or outlined fonts, suitable image resolution and no missing links or unintended marks.
Print-ready does not mean that every PDF exported from a design application is ready for production. A file can open correctly on screen and still contain RGB images, missing fonts, incorrect page dimensions or a spine that does not match the final text-block thickness.
Use the checklist below before sending artwork. The exact specifications can vary according to the printer, binding style, book format and production method, so confirm the final file requirements with your printing partner before export.
Confirm Your Book Specifications First
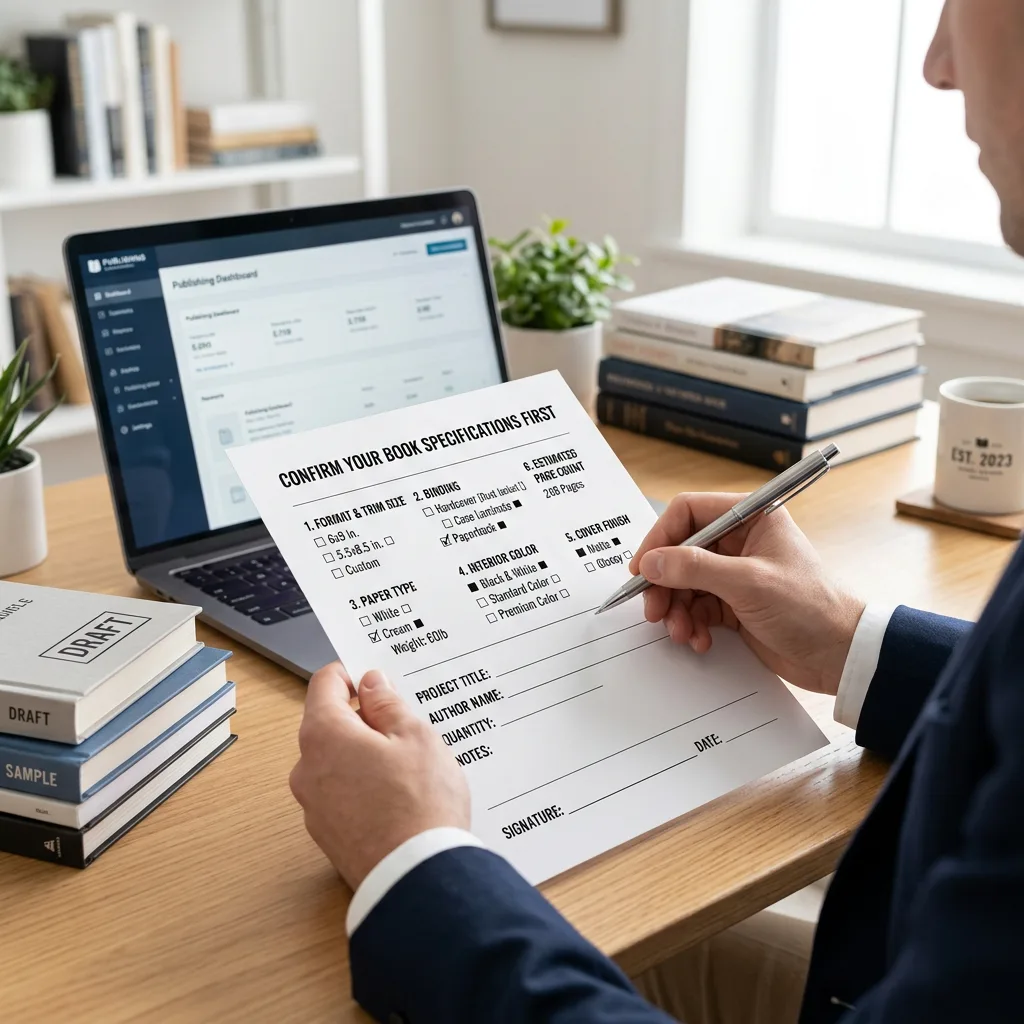
File preparation starts with the physical book, not the export menu. Before designing or finalising the artwork, write down the production specifications that determine the document setup.
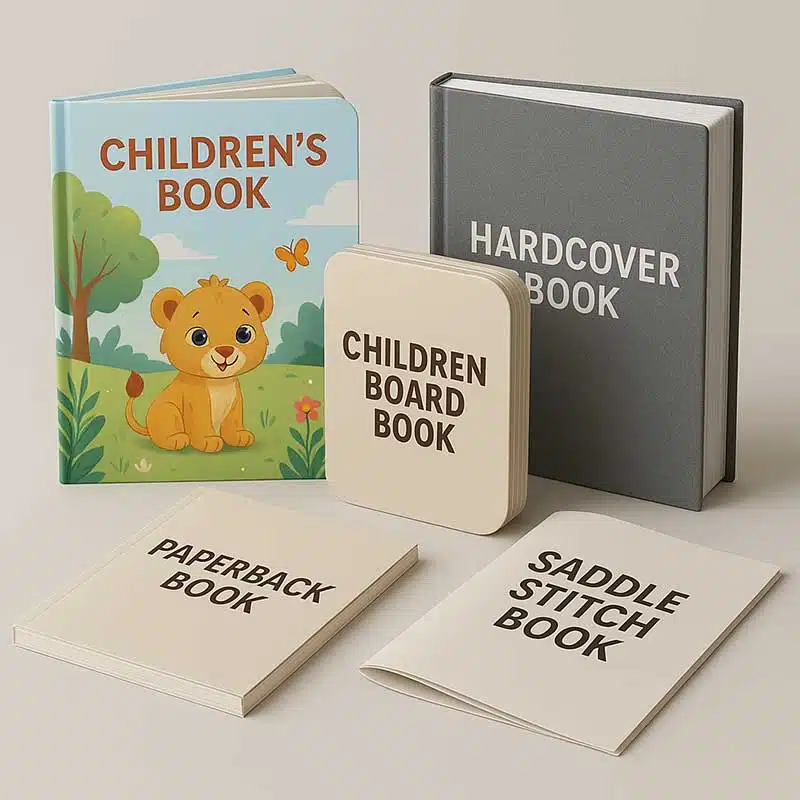
- Type de produit : paperback, hardcover, casebound book, board book, booklet, catalogue or another format.
- Format de coupe : the finished width and height of the closed book, stated in the printer’s preferred unit.
- Nombre de pages : the total number of interior pages, including blank pages where applicable. The count may need to suit the binding method or printing signature.
- Reliure : perfect binding, saddle stitching, sewn binding, wire-o, hardcover or another construction.
- Colour: black-and-white, full colour or a combination of colour and monochrome sections.
- Papier : text paper, coated paper, uncoated paper or a specified board, including paper weight where known.
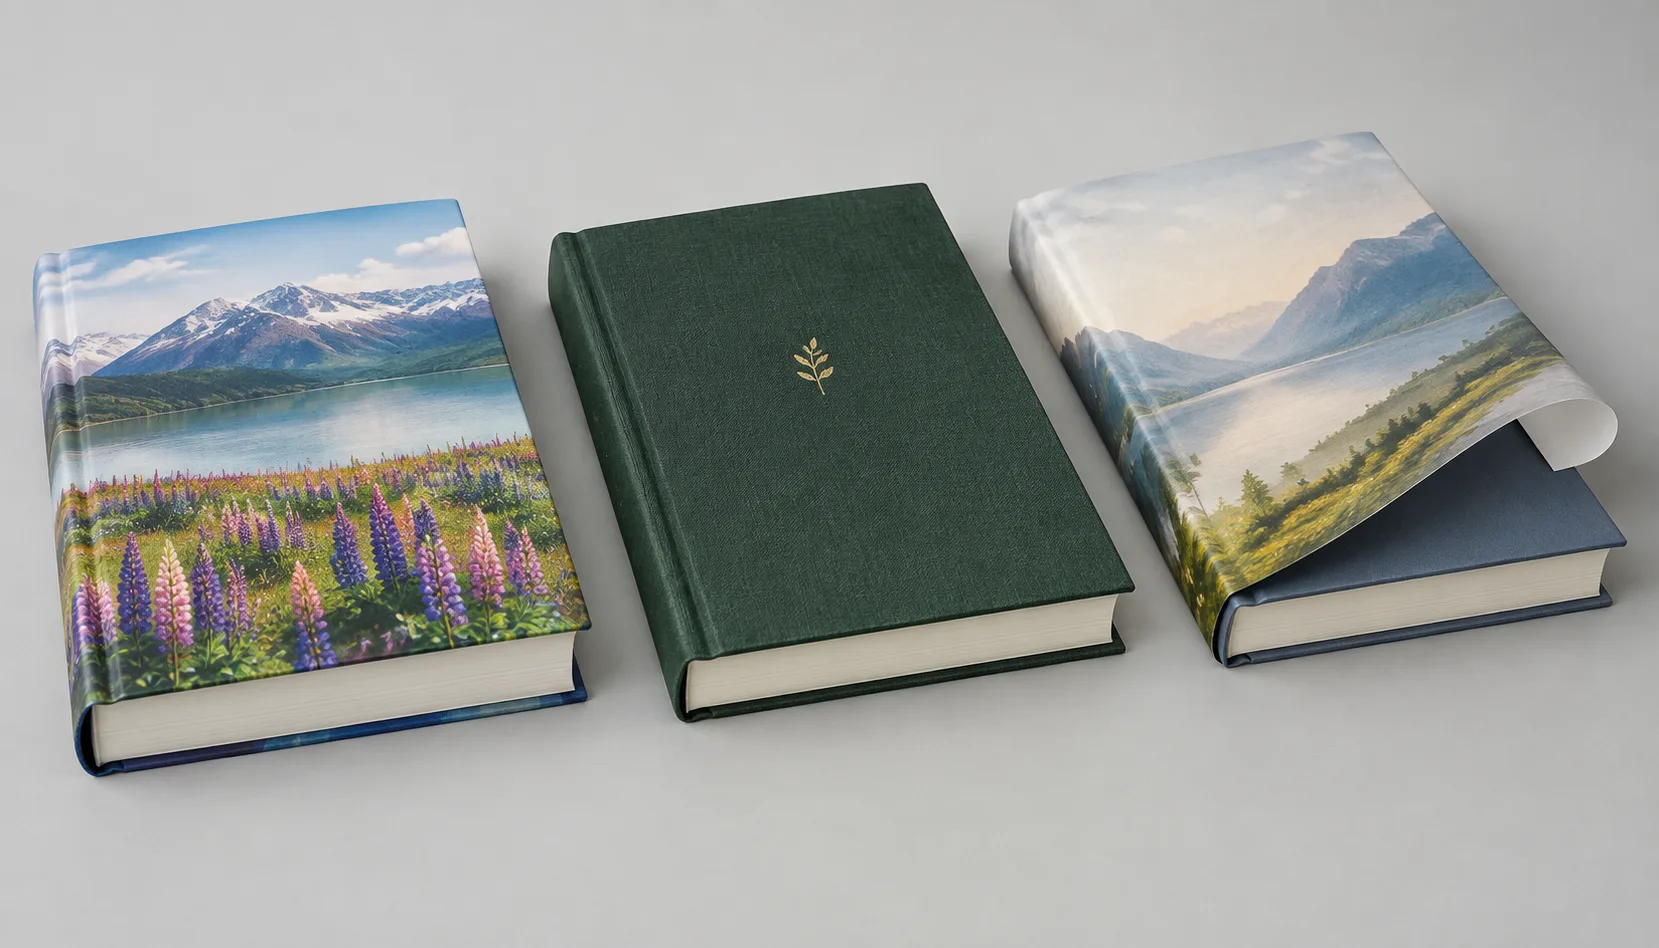
- Cover construction: flexible cover, laminated cover, dust jacket, printed case or other cover treatment.
- Finition : matte or gloss lamination, varnish, foil, embossing, debossing, spot coating or die cutting.
These decisions affect the correct templates, page dimensions, colour expectations and prepress checks. For example, a full cover file for a perfect-bound book needs a spine panel, while a saddle-stitched booklet may not. A board book may require different artwork allowances for wrapped board, rounded corners or interactive parts.
For unusual formats, confirm the structure before creating final artwork. The book spine width guide explains why spine size depends on the text block and selected materials. Do not estimate the spine from the cover design alone.
Book Interior File Checklist
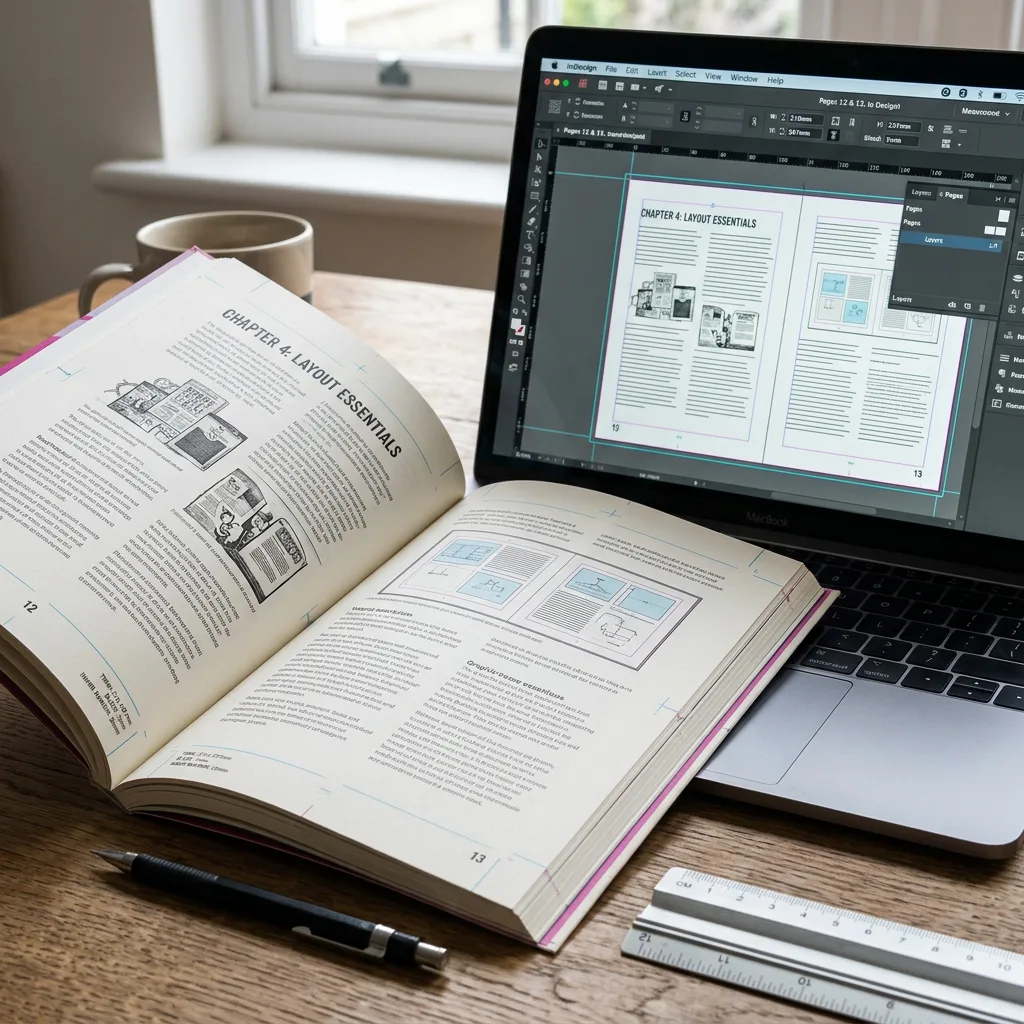
The interior PDF should represent the finished reading pages in the correct order. Unless your printer requests a different arrangement, provide single pages rather than printer spreads. The production team can impose the pages for the selected press and binding method.
Document size and page order
- Set every page to the approved trim size.
- Keep the page count consistent with the quotation and binding plan.
- Place pages in reading order, including copyright pages, title pages, blank pages and end pages.
- Check that left-hand and right-hand pages are positioned correctly.
- Use facing-page previews to inspect running heads, folios, margins and spreads.
Bleed and safe areas
Extend artwork that reaches the edge of the page beyond the trim line by the bleed amount requested by the printer. Bleed allows for small variations during trimming. Background colours, photographs, illustrations and decorative rules that touch the edge normally need bleed.
Keep important text, logos, page numbers and faces away from the trim edge. The required safe area depends on the product and printer, so use the supplied template or written specification. Extra allowance may also be needed near the binding edge, especially for thicker books or lay-flat structures.
Text and layout
- Check paragraph styles, line breaks, widows, orphans and hyphenation.
- Make sure no text is hidden behind trim, binding or fold areas.
- Confirm that page numbers are complete and sequential.
- Inspect tables, captions, footnotes, indexes and cross-references.
- Remove comments, tracked changes, hidden layers and unused objects unless requested.
Export the final interior as a high-quality PDF using the settings agreed with the printer. A PDF/X standard may be preferred for some workflows, but the correct preset depends on the production system. Ask whether crop marks, colour bars or other printer marks should be included. Do not add them automatically when they have not been requested.
Book Cover File Checklist
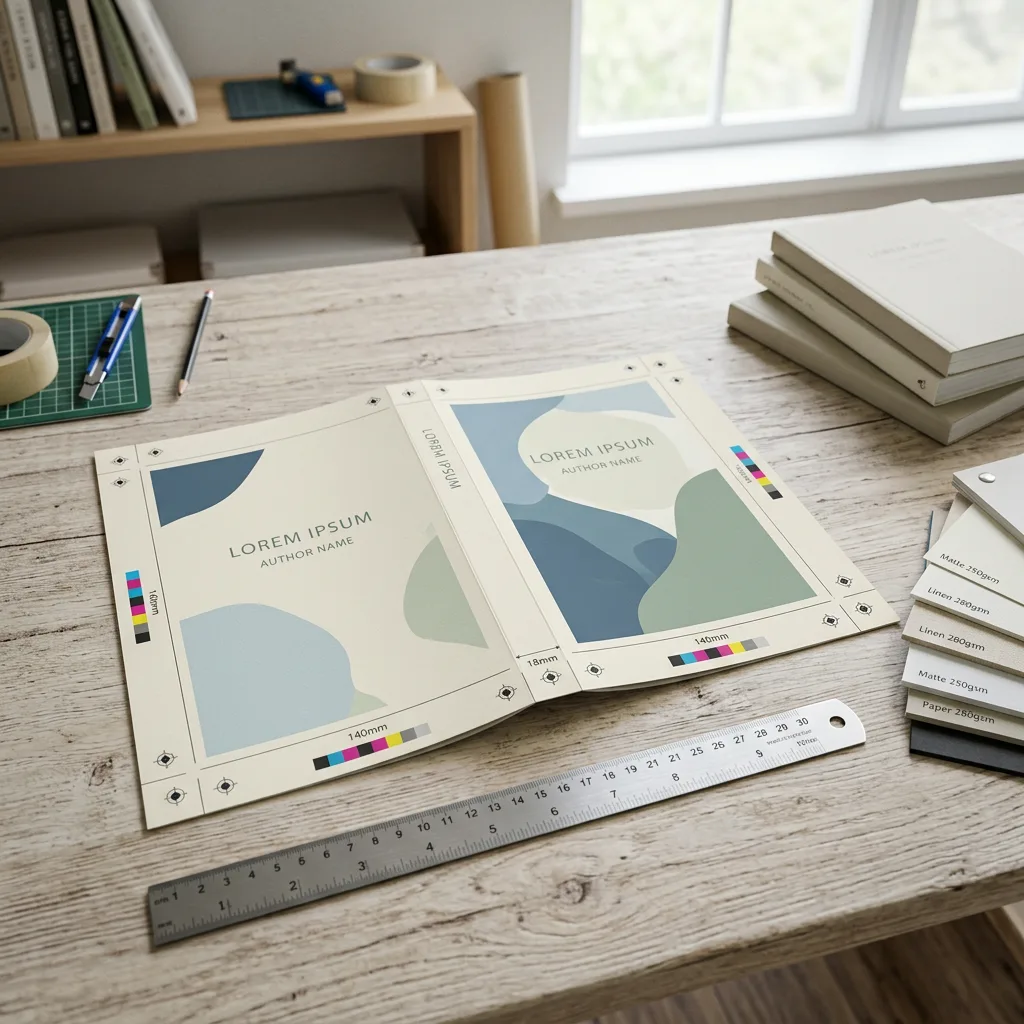
The cover is usually supplied as one spread showing the back cover, spine and front cover from left to right. The exact arrangement changes for different binding types, so use the printer’s cover template whenever possible.
Paperback and perfect-bound covers
- Use the confirmed trim size and spine width.
- Allow for front and back cover bleed according to the printer’s specification.
- Keep the title, author name, barcode and other key elements inside the safe area.
- Check that spine text is centred and has enough clearance from both folds.
- Confirm whether the barcode is supplied separately, placed by the printer or included in the artwork.
Hardcover and casebound covers
Hardcover production can involve separate files for the printed case, endpapers, dust jacket and interior. Board thickness, turn-in, hinge and wrap allowances affect the artwork dimensions. Do not reuse a paperback cover file for a casebound book without confirming the construction and template.
Finishing and special areas
Identify foil, embossing, debossing, spot UV, die cuts or other special effects on separate named layers or spot-colour channels if requested. Use the printer’s naming convention and provide a clear legend when the design contains multiple finishing areas. Avoid placing critical small details close to a die-cut line or fold.
Before export, hide template guides and delete construction notes unless the printer specifically needs them. Check that the spine background aligns with both cover panels and that the cover artwork does not expose an unintended white edge after trimming.
Check Colour, Images and Fonts
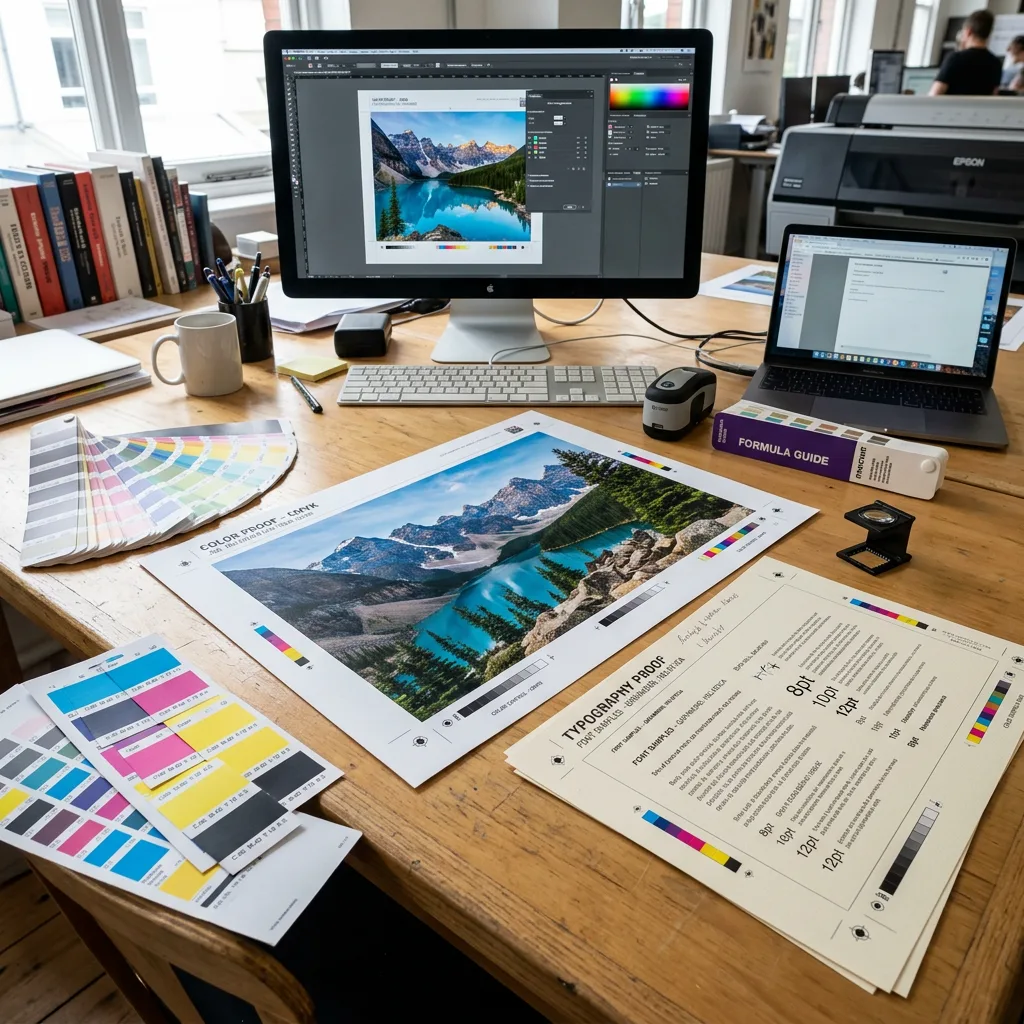
Colour and image preparation have a direct effect on how faithfully a printed book reproduces the approved design. Screen appearance is not a reliable substitute for a physical proof, particularly for dark colours, skin tones, fine gradients and large solid areas.
Colour mode
Confirm whether the project will use CMYK, black-only printing, spot colours or a combination. Most process-colour book printing uses CMYK, while RGB is primarily intended for screens. RGB artwork may be converted during prepress, and the result can differ from the original display. The guide to CMJN, RVB et Pantone pour l'impression de livres explains the practical differences and when a spot colour may be appropriate.
- Convert or prepare images according to the agreed colour workflow.
- Check rich black and small black text using the printer’s preferred settings.
- Do not use registration colour for ordinary text or artwork.
- Inspect transparency, overprint and knockout behaviour.
- Review colour-critical pages with a proof before approving production.
Image quality
Use original, high-quality images and check their effective resolution at the placed size. Enlarging a low-resolution image does not create additional detail. Inspect photographs at 100 percent and review line art, screenshots and scanned illustrations for jagged edges, blur or compression artefacts.
Fonts and linked assets
Embed fonts in the PDF or convert display text to outlines when appropriate and permitted by your licensing and workflow. Keep editable source files and linked images organised, even when the printer only needs the PDF. Confirm that special symbols, diacritics, ligatures and non-Latin characters display correctly after export.
Preflight and Proof Your Files
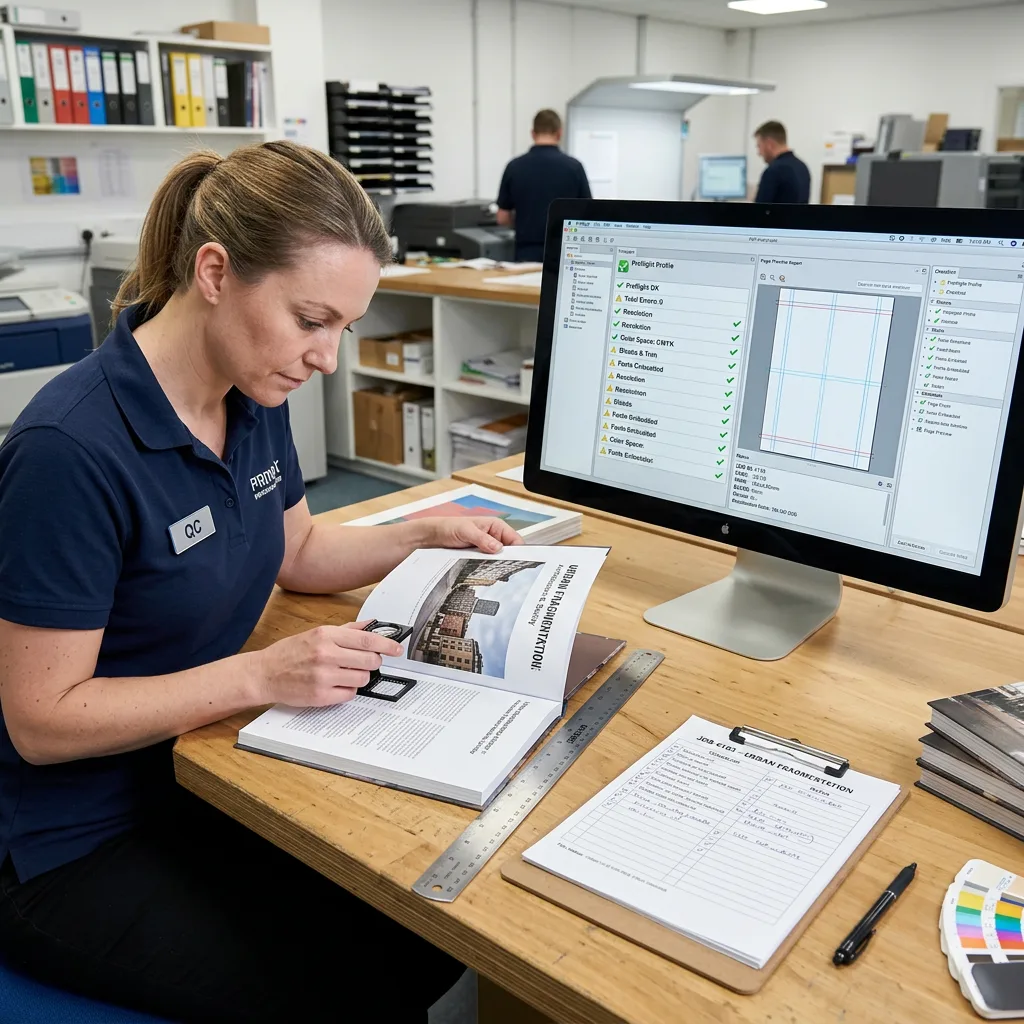
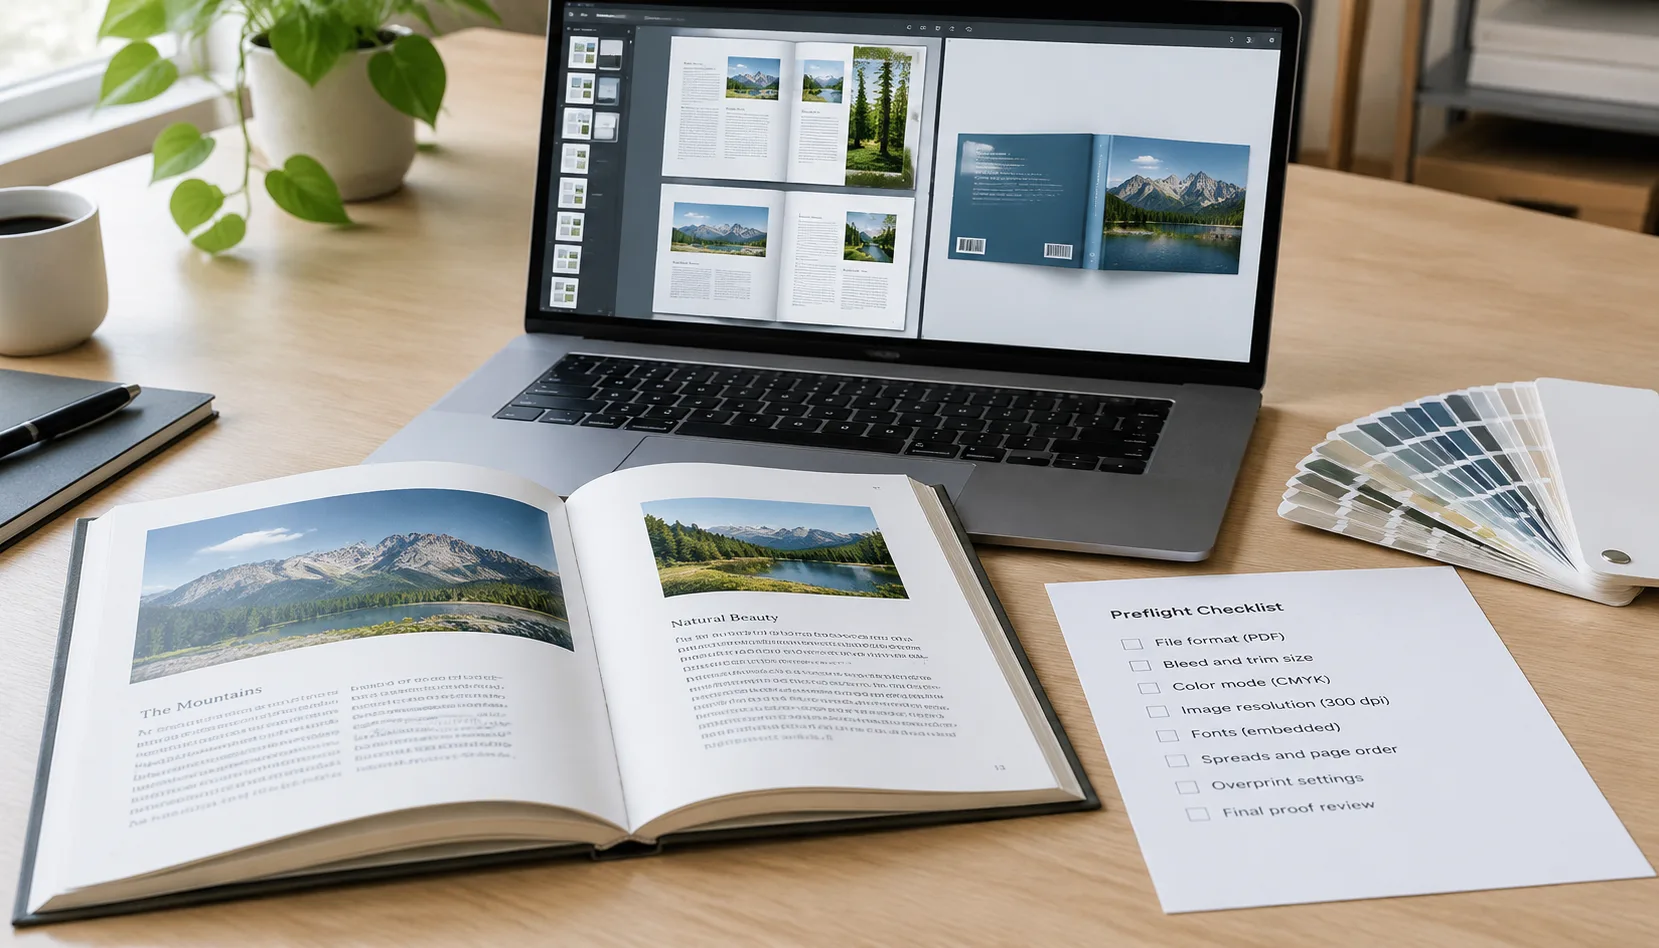
A structured preflight catches technical problems before production. Start with the design application’s preflight panel or a professional PDF preflight tool, then complete a visual review of the exported PDF.
Technical preflight
- Confirm the page dimensions and bleed on every page that needs it.
- Check the total page count and page sequence.
- Find missing fonts, substituted fonts, low-resolution images and broken links.
- Review colour spaces, spot colours, transparency and overprint settings.
- Check that the PDF contains no password restrictions or editing settings that prevent normal prepress handling.
- Make sure the cover dimensions include the correct spine and bleed.
Visual preflight
Open the PDF on different screens and inspect it at full size. Review the first and last pages, all section openings, full-page images, spreads, pages with heavy ink coverage and pages containing small text. Look for blank pages, missing artwork, accidental crop marks, clipped text, incorrect running heads and inconsistent margins.
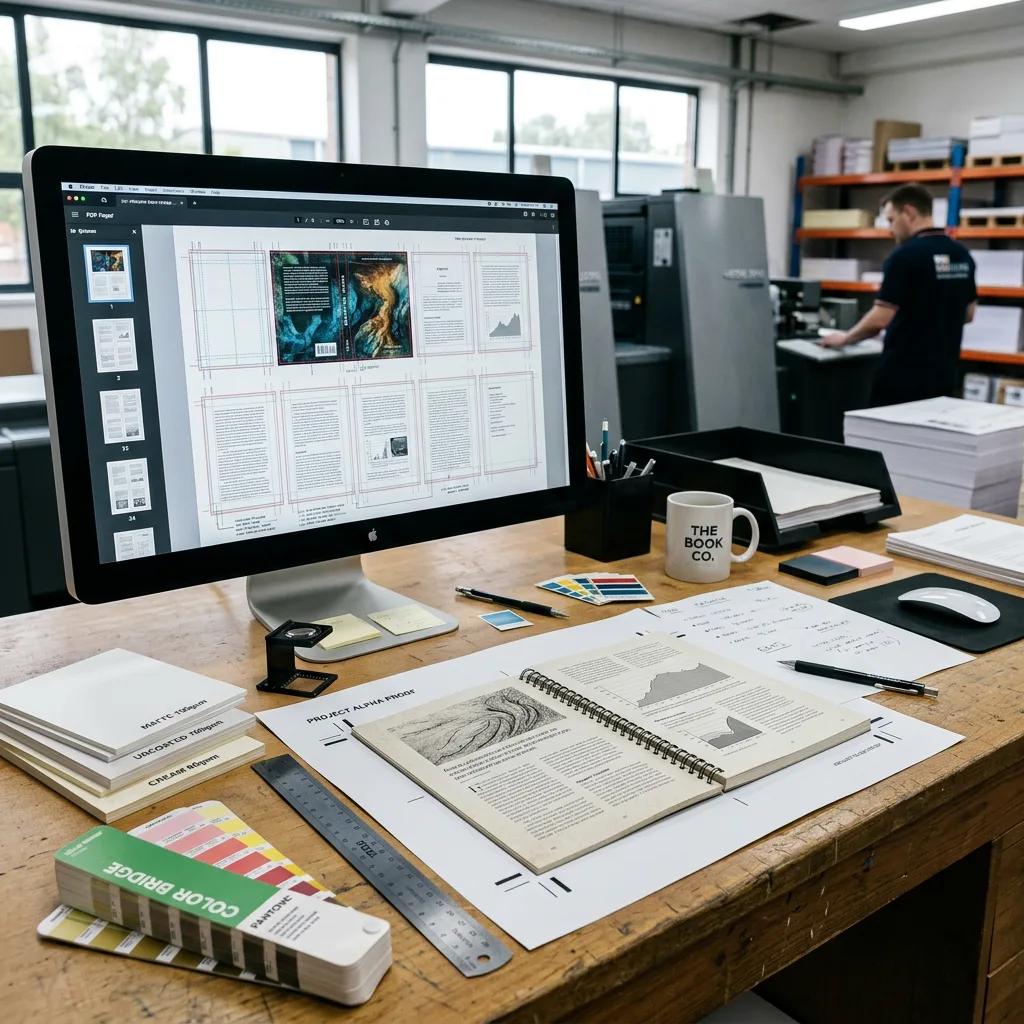
For a physical book, request a digital proof and, when colour or construction is important, consider a printed proof. A digital proof is useful for content, layout and pagination. A physical proof is more informative for paper feel, colour appearance, trim, binding, cover alignment and finishing. The appropriate proof depends on the risk and complexity of the project.
Keep a controlled final version. Use a clear filename containing the title, file type, trim size, page count and revision, such as Title_Interior_210x148mm_128pp_R03.pdf. Send only the approved production files and identify any remaining assumptions in writing.
Final Submission Checklist
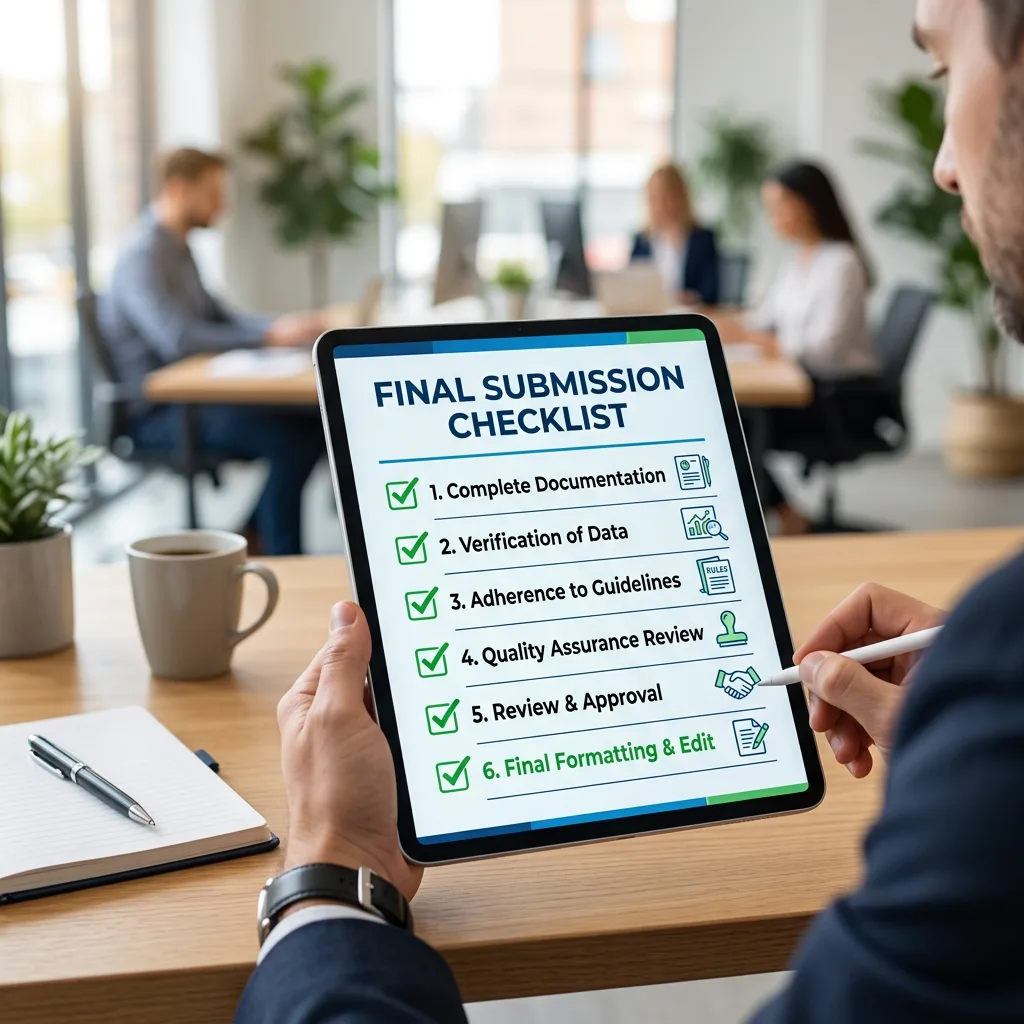
Use this short checklist immediately before uploading or sending the files:
- The product type, trim size, page count, binding and paper match the quotation.
- The interior PDF uses the correct page size and single-page or spread format requested by the printer.
- Bleed is present on all required edges, and important content is inside the safe area.
- The cover uses the approved template, including the correct spine width and bleed.
- Images have suitable effective resolution and the agreed colour profile or colour mode.
- Fonts are embedded or handled according to the agreed workflow.
- Special finishing areas are clearly separated and labelled.
- Page order, folios, blank pages, captions and cross-references have been checked.
- Crop marks and other printer marks are included only when requested.
- The PDF has been visually reviewed after export.
- The final file has a clear revision name, and older versions are separated from the approved file.
- Any colour, paper, binding or finishing assumptions are recorded for the printer.
If your book uses non-standard construction, interactive parts or child-focused board pages, allow extra time for template review. For example, artwork for a board book with die-cut or lift-the-flap features may need structural coordination beyond a conventional book PDF. Review the guidance on interactive board book printing artwork before finalising those files.
Information to Include in a Quote Request
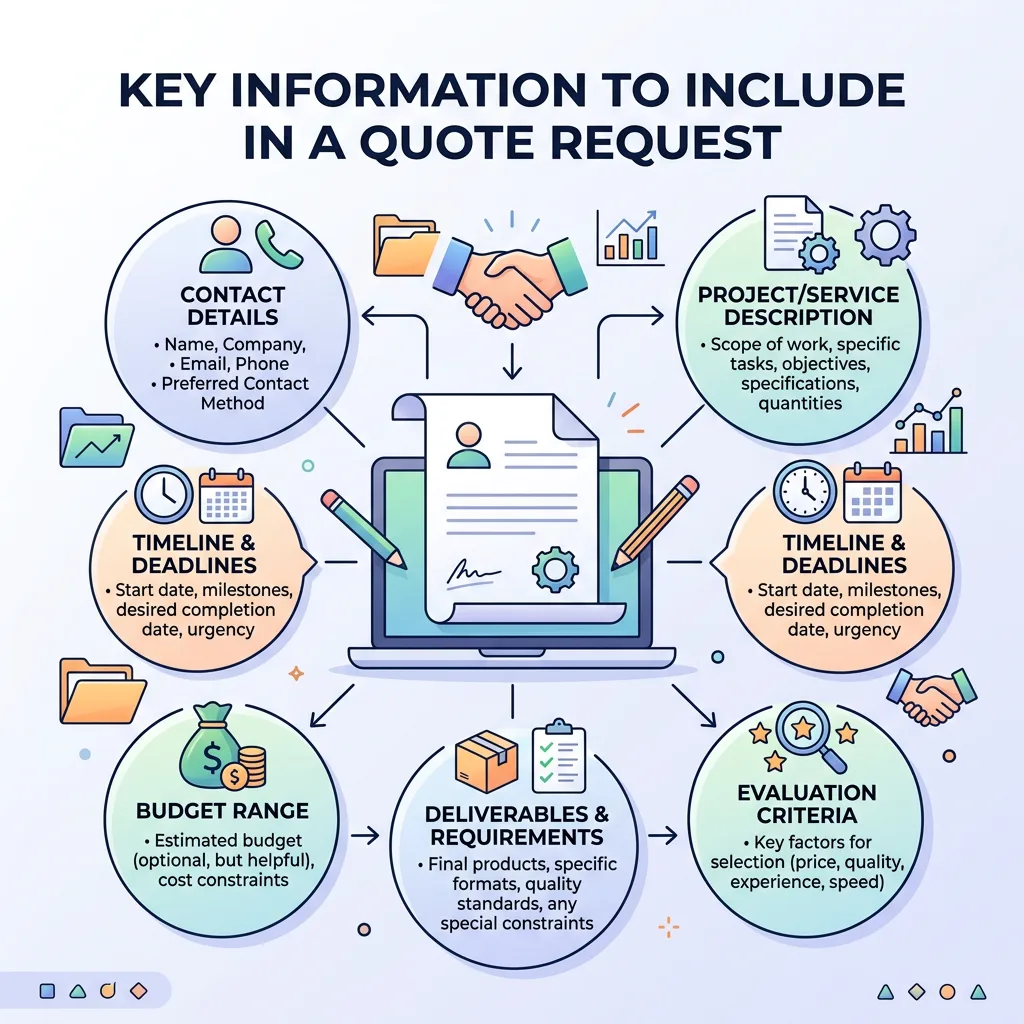
When requesting a quotation, provide enough information for the printer to evaluate materials, production steps and shipping requirements. At minimum, include:
- Product type and intended use
- Trim size and orientation
- Interior page count
- Estimated quantity or quantity breaks
- Paper preference and whether pages are colour or black and white
- Binding preference
- Cover material and finish
- Special processes such as foil, embossing, die cutting or inserted components
- File status, including whether artwork is final, in progress or needs prepress support
- Destination country and, where relevant, delivery postcode or port information
Price, production planning and delivery logistics depend on these variables. Quantity, page count, paper, binding, finishing, packaging, file readiness and destination all influence the quotation. A printer may need to review the artwork or specifications before confirming the production route.
For buyers comparing production methods, offset and digital book printing options can suit different order profiles. The right choice depends on run size, colour requirements, paper selection, binding and schedule.