
Table of Contents
- What Is Lift-the-Flap Board Book Printing?
- Plan the Interaction Before the Artwork
- Compare Common Flap Constructions
- Choose the Book Specifications
- Prepare Artwork and Flap Dielines
- Proofing and Production Checks
- Relevant Board Book Product Options
- Buyer Checklist
- Cost, Lead Time and Quality Assumptions
- Conclusion
Learn how to plan a durable lift-the-flap board book, from flap mechanisms and artwork dielines to material choices, prototypes, production checks and quotation requirements.
What Is Lift-the-Flap Board Book Printing?
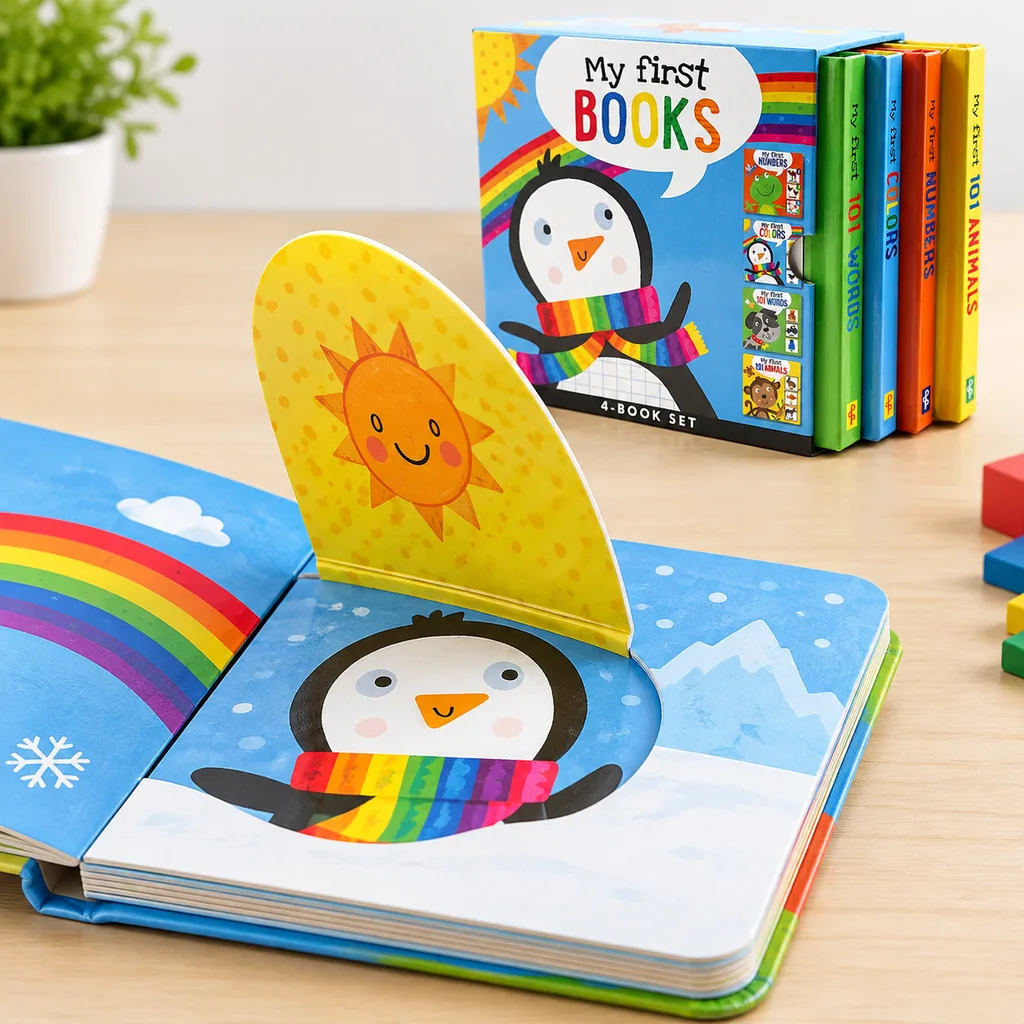
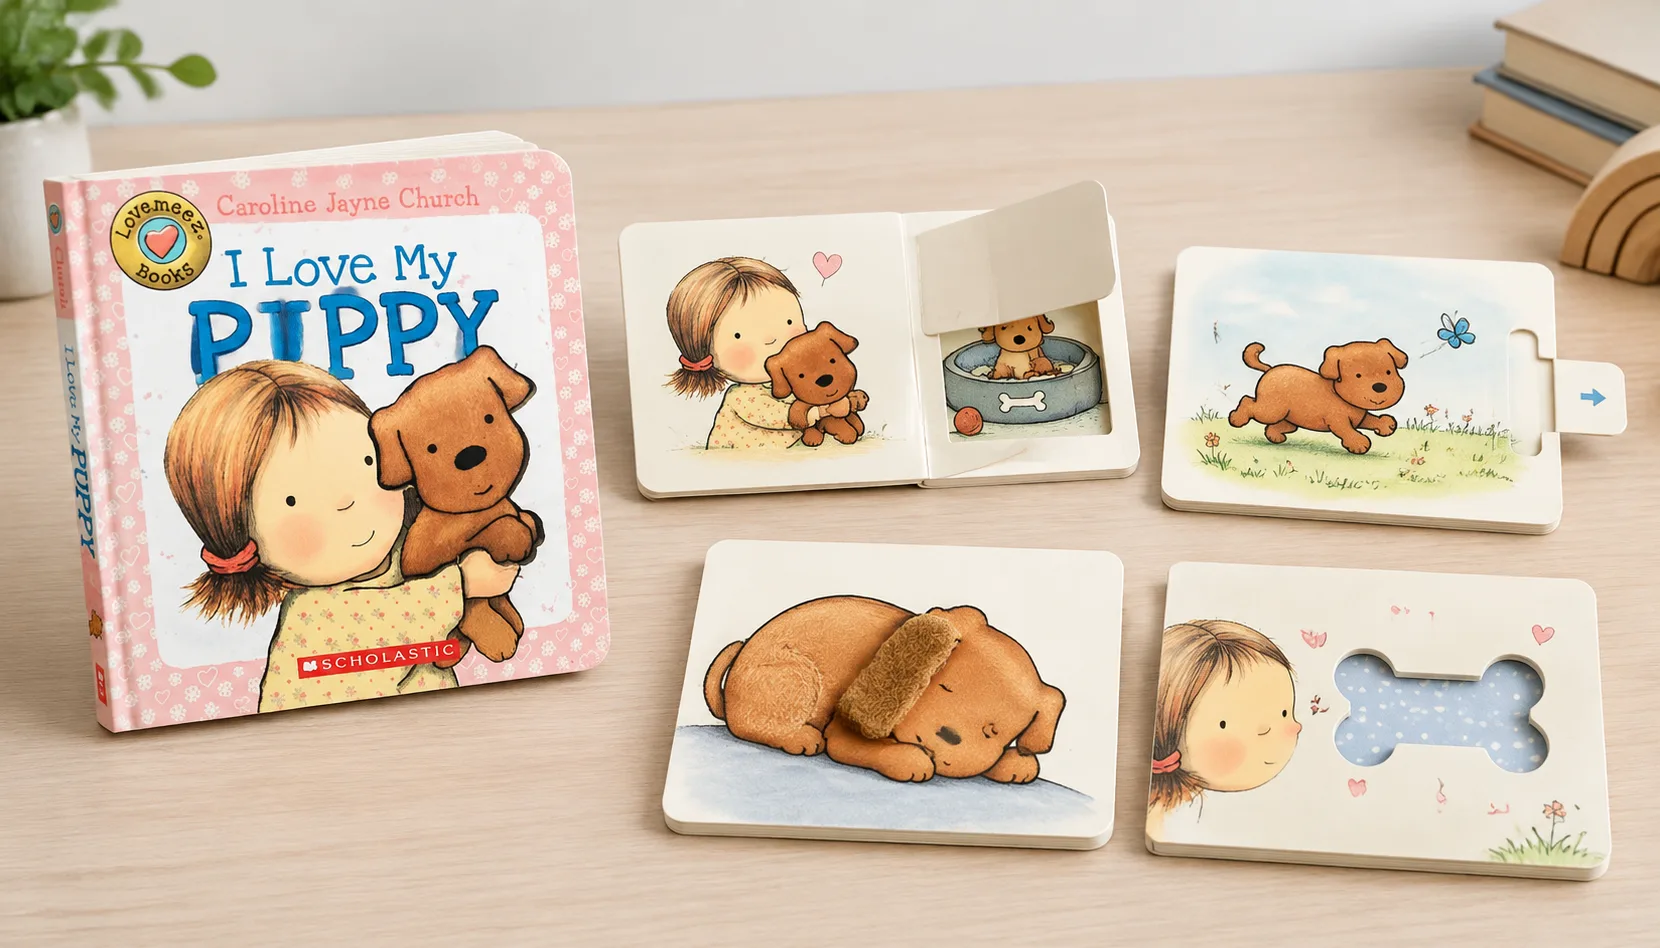
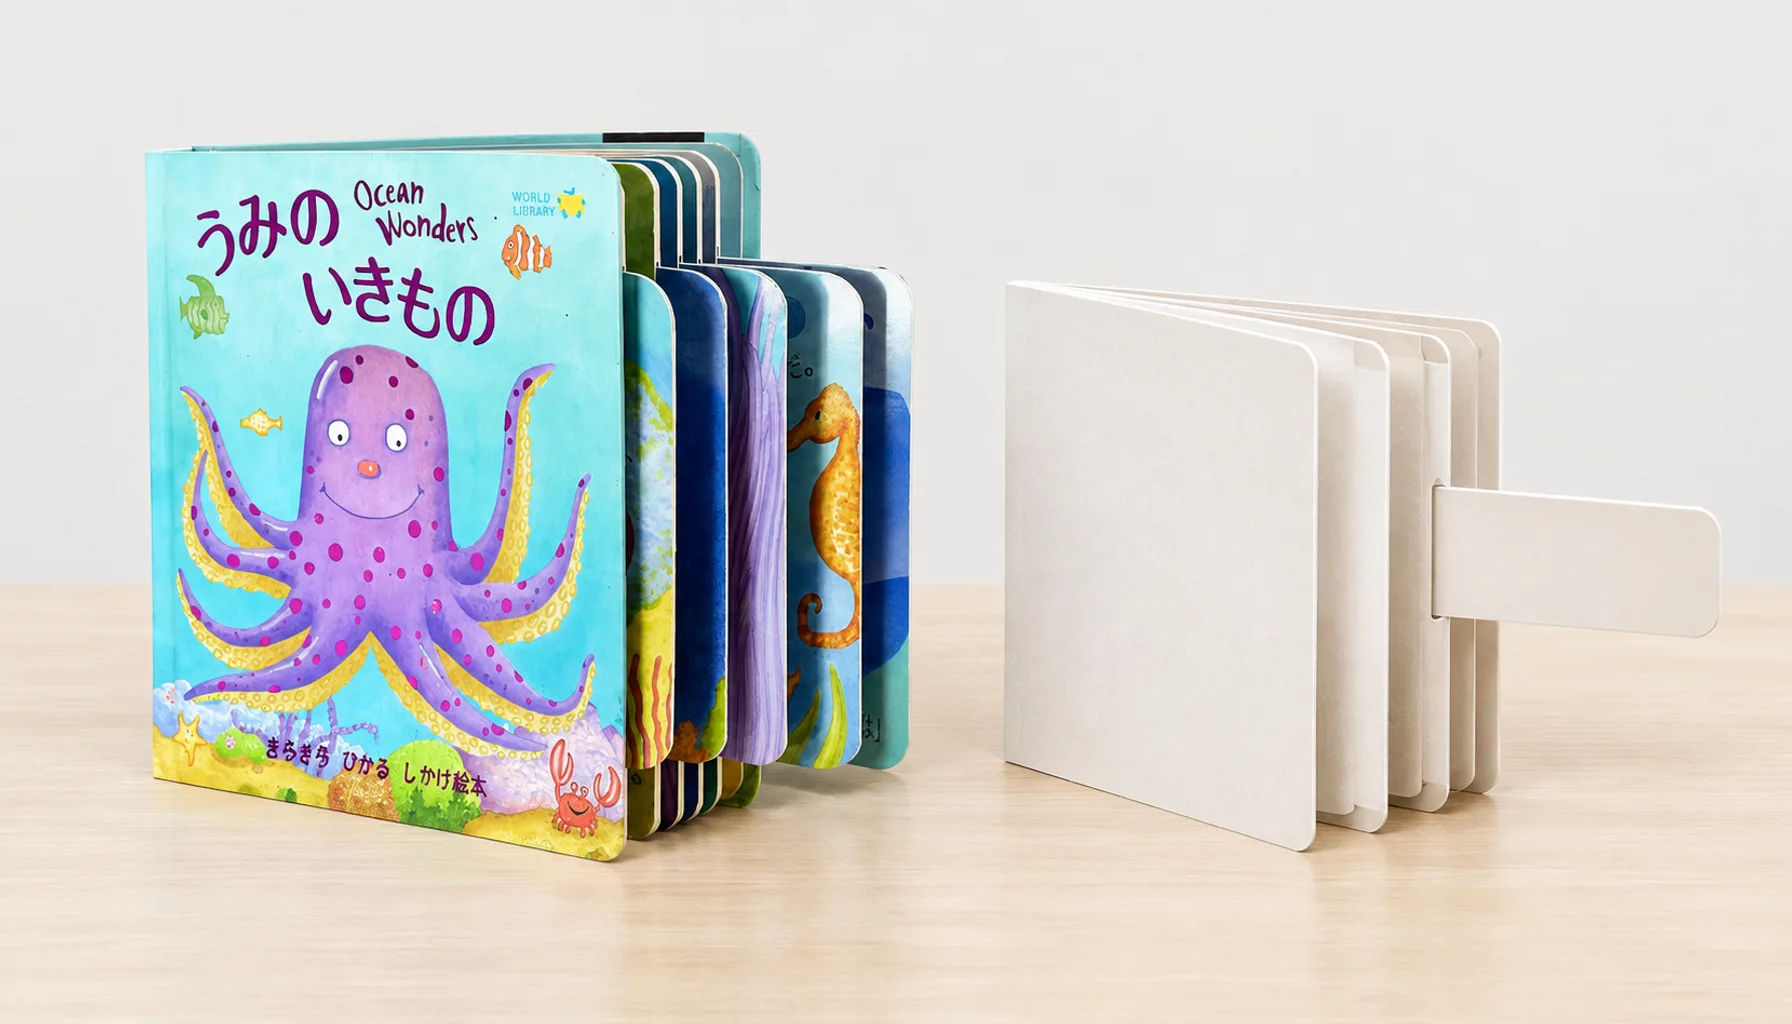
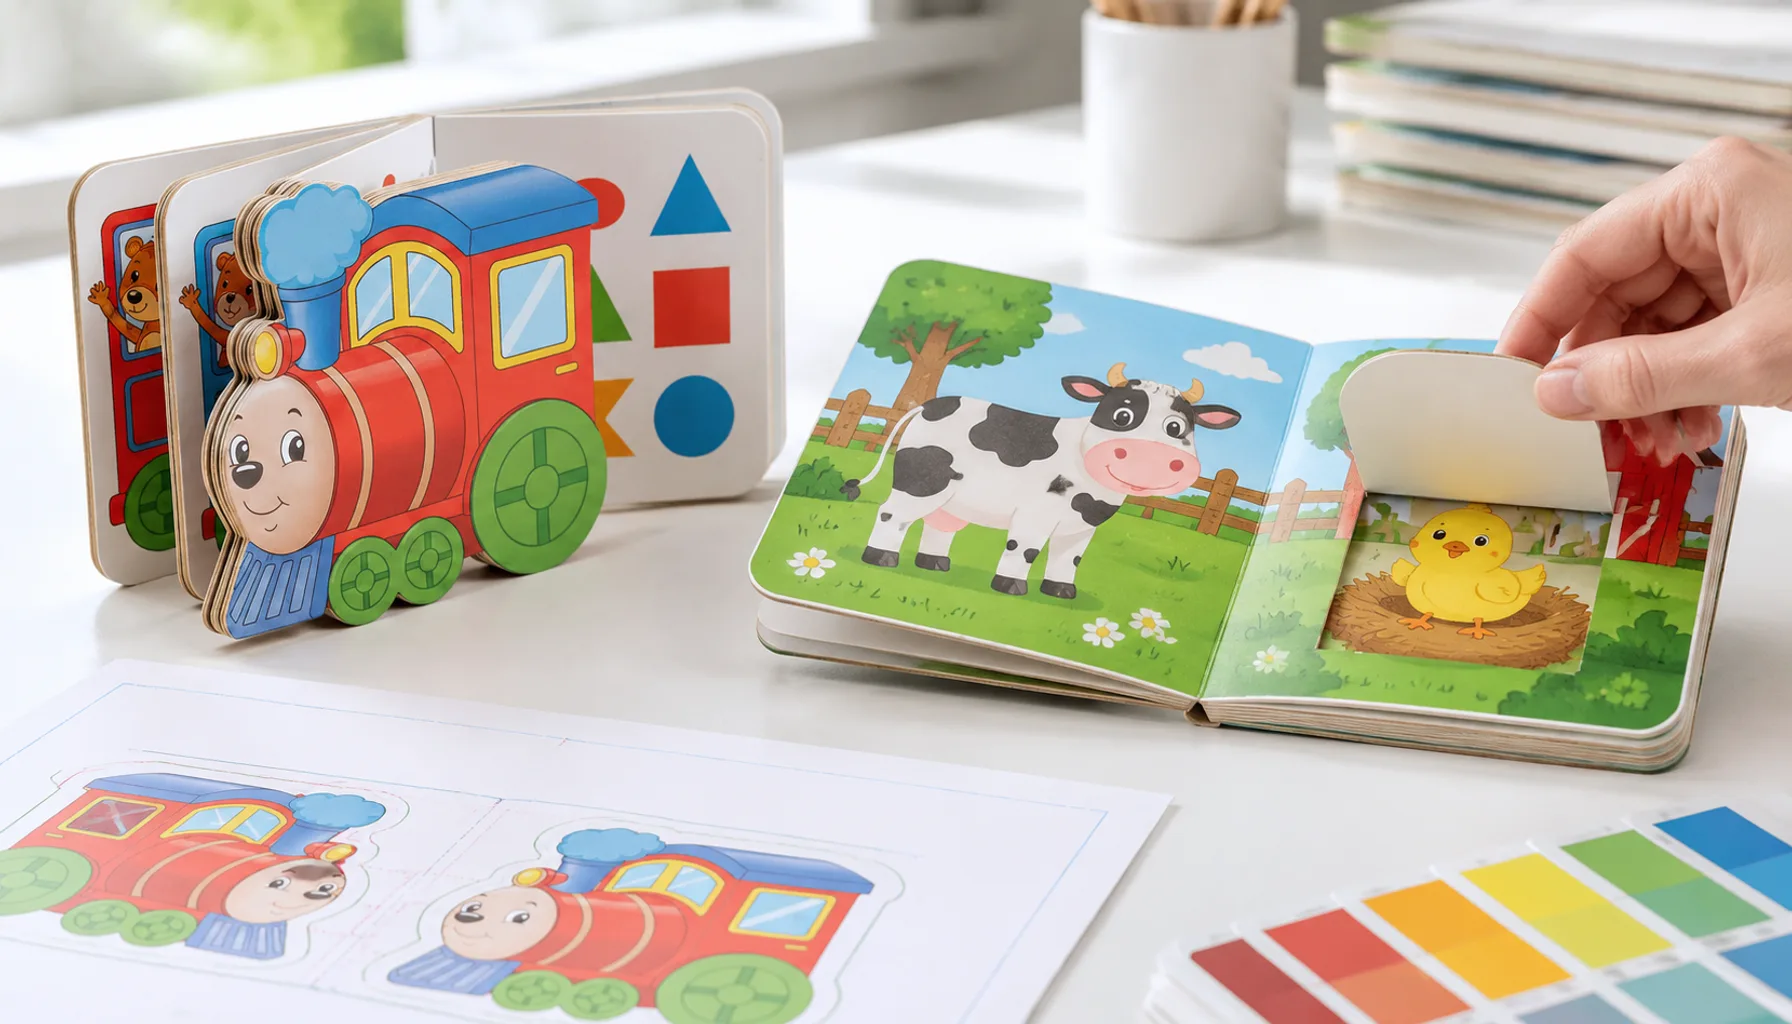
Lift-the-flap board book printing is the production of a rigid children’s book with hinged paperboard pieces that readers lift to reveal hidden pictures, words or activities. Each flap needs a defined cut shape, hinge, opening edge and concealed image. These elements must be engineered together rather than added after the main pages have been designed.
A successful board book with flaps should open naturally, keep the hidden artwork aligned and provide enough space for a child or adult to lift each flap. Its construction may involve printed sheets mounted to board, die-cut components, hand or machine-assisted assembly, lamination and binding.
The exact method depends on the trim size, page count, flap count, flap dimensions, board thickness, intended age range and order quantity. A printer should review these specifications and the proposed dielines before confirming feasibility, price or production time.
Plan the Interaction Before the Artwork
Begin children’s flap book design with an interaction map. For every spread, record what the reader sees before lifting, where the opening edge is located, what appears underneath and how the reveal supports the story or learning objective.
Keep important faces, words and clues away from cut lines and hinges. A small visual cue, such as a tab, notch or illustrated handle, can make the opening edge easier to identify. The lifting direction should also suit the page layout. Flaps close to the gutter may be difficult to reach or may interfere with the binding.
Avoid placing too many mechanisms in one small area. Overlapping cut paths, narrow strips and weak corners can make assembly more complicated and reduce durability. Large flaps may need additional clearance so they can move without rubbing against the gutter, page edge or another flap.
Create a simple physical dummy at the intended finished size. Plain paper or lightweight card is sufficient for checking scale, hand access, reading order and hinge direction before detailed illustration begins.
Compare Common Flap Constructions
The correct construction depends on the visual effect, required durability and production budget. The following comparison is a starting point; the manufacturer must confirm the final structure after reviewing the dieline and physical sample.
| Flap style | Typical use | Advantages | Points to check |
|---|---|---|---|
| Page-integrated flap | Simple reveals cut within a page layer | Clean appearance and efficient use of the spread | Hinge strength, surrounding board width and hidden artwork alignment |
| Applied flap | A separate printed piece attached to the page | Flexible position, shape and lifting direction | Attachment area, added thickness and assembly consistency |
| Gatefold-style flap | Large side, top or bottom reveals | Creates a broad reveal area | Clearance at page edges, fold accuracy and closing position |
| Nested or multiple flaps | Sequential questions, counting or discovery activities | Supports layered interaction | More complex dielines, thicker pages and longer assembly |
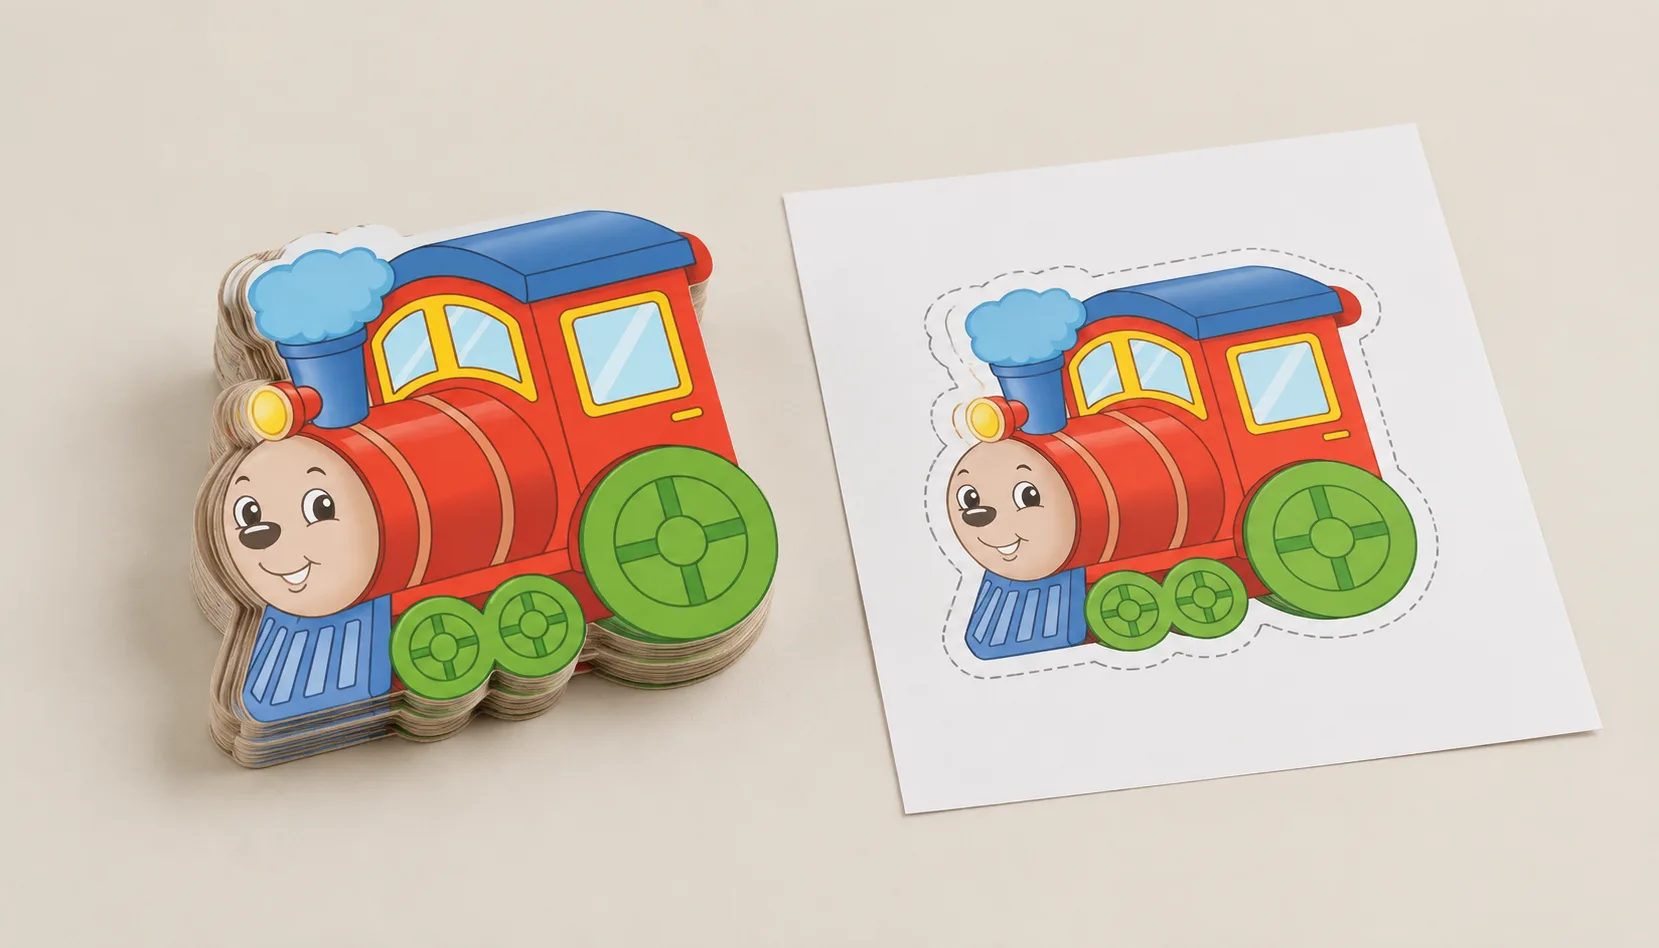
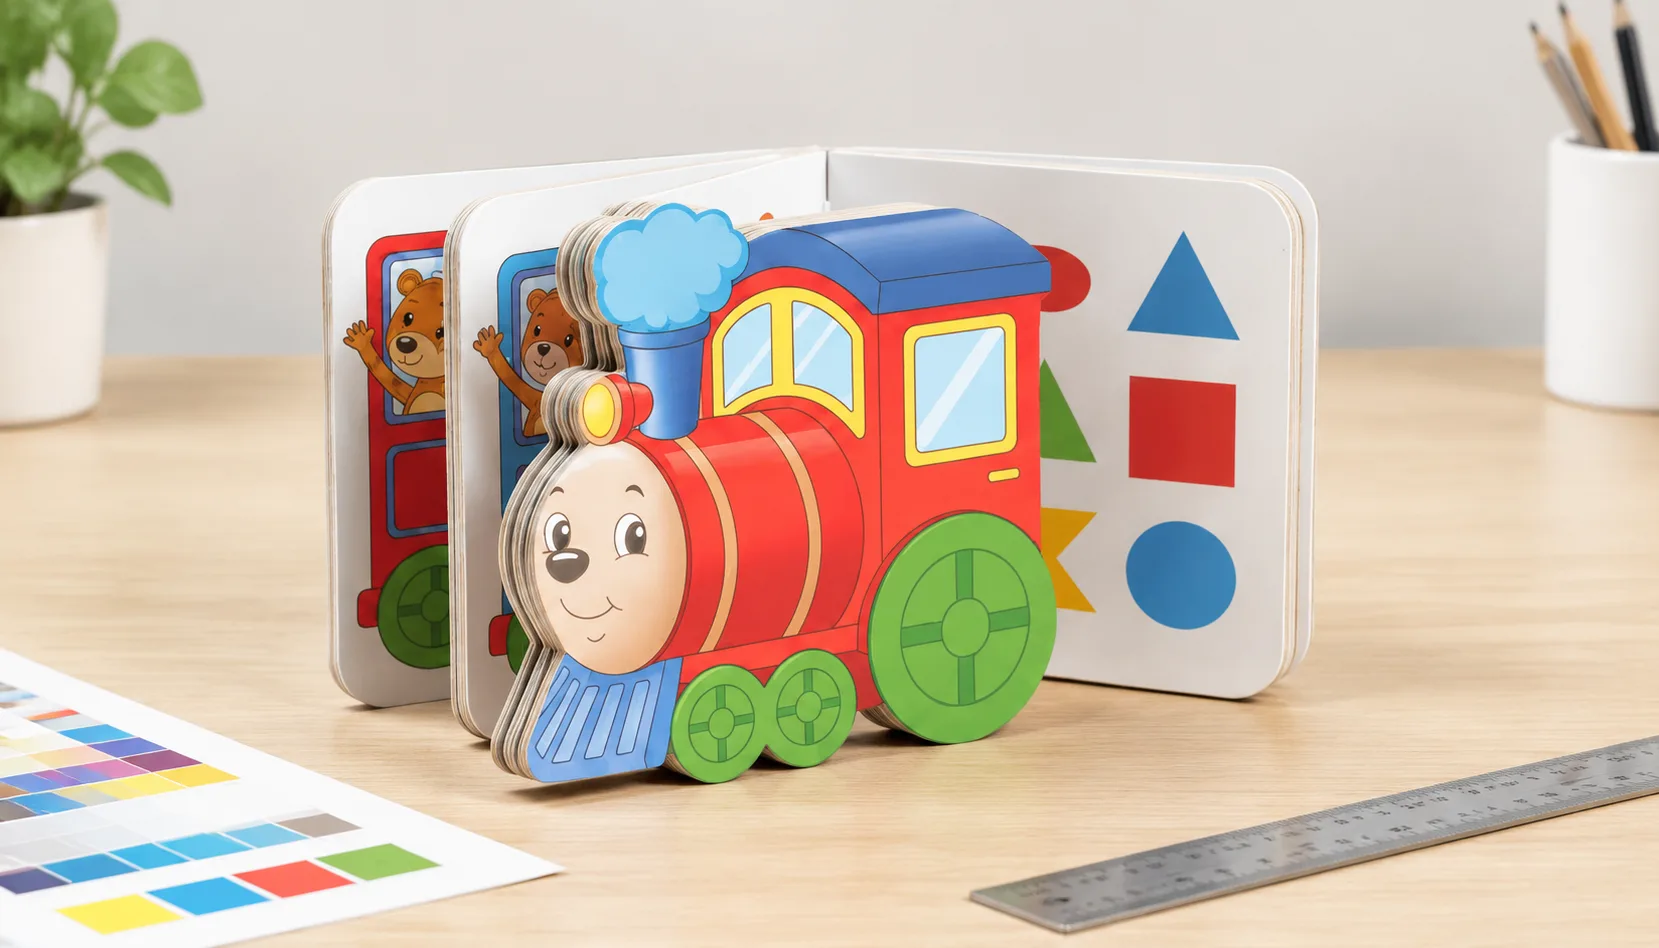
Rounded corners and uncomplicated silhouettes are generally easier to handle than very sharp points or narrow projections. If the design uses an unusual outer profile as well as internal flaps, review the options for custom die-cut shaped board book printing.
Choose the Book Specifications
Trim size affects illustration space, flap accessibility, carton dimensions and shipping weight. A compact format may suit simple concepts, while a larger spread provides more room for multiple reveals. However, increasing the size or page count can affect material use, assembly and packing.
Board thickness should be considered together with the flap construction and total number of leaves. A thicker page can feel substantial, but the finished book also becomes heavier and the spine must accommodate the assembled page block. Review the relationship between board book thickness, page count and finished size before finalising the format.
Discuss paper surface, board core, lamination or coating, corner treatment and binding with the printer. Gloss, matt and other surface choices can change colour appearance, glare, cleanability and scuff visibility. Suitability also depends on the intended market and age group.
Flap books can become uneven when many applied pieces are concentrated in one area. Show the manufacturer the complete flap map so page build-up and closing behaviour can be assessed.
Prepare Artwork and Flap Dielines
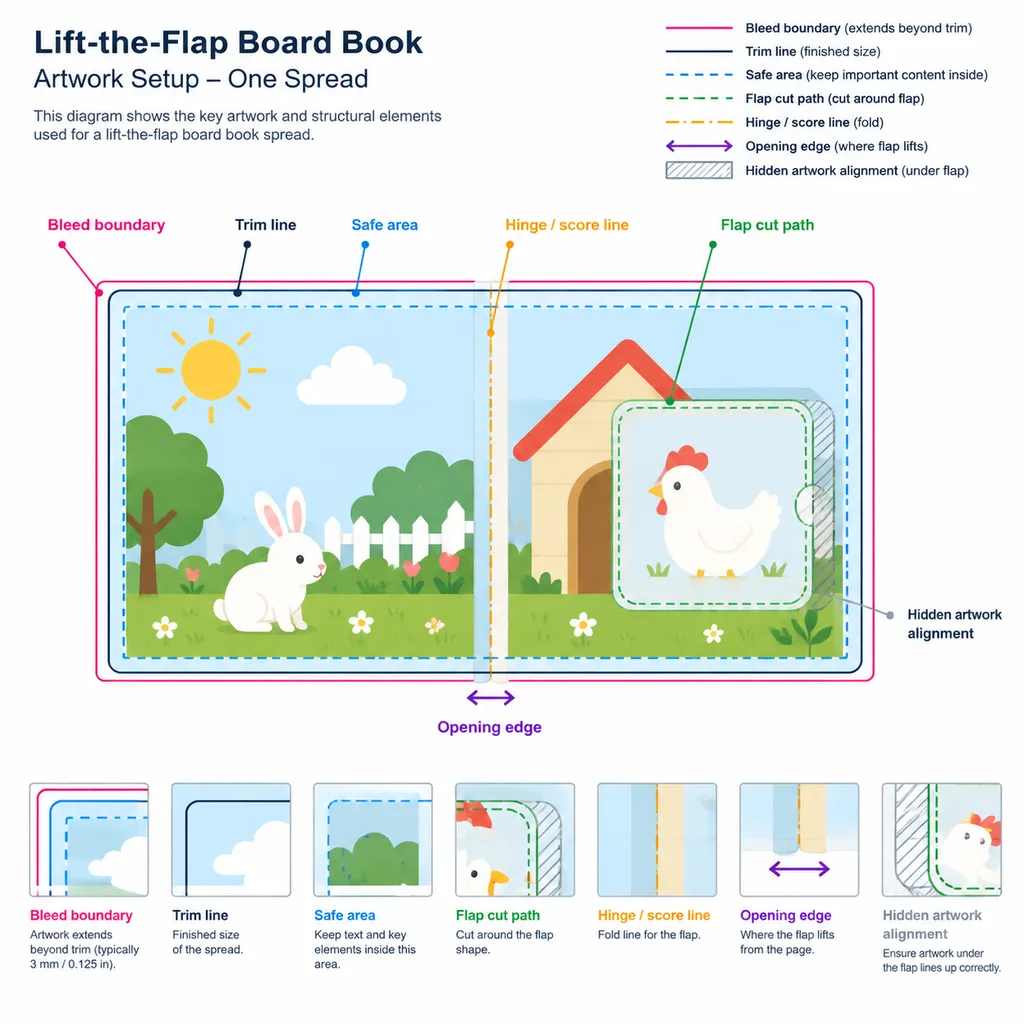
Flap book artwork setup normally requires separate, coordinated layers for printed artwork, cut paths, fold or score lines and technical notes. Ask the printer for a project-specific template because the required bleed, safe area and hinge allowance may vary with the selected construction.
Use vector paths for cutting and scoring instructions. Give each technical line a clearly named spot colour and set it to overprint if requested by the printer. Technical paths should remain separate from printable artwork and should not appear as visible lines in the final image.
Extend background colours and images beyond trim and cut boundaries by the printer’s specified bleed. Keep text, faces and critical details within the safe area. The visible artwork on top of a flap, the concealed image below it and any artwork on the reverse must share the same position and orientation.
Number every flap and match that number across the artwork layer, dieline, assembly guide and proof comments. Include arrows showing hinge and opening directions. For multiple language versions, keep translated text on separate, clearly labelled layers and check whether longer words still fit safely.
The general requirements for spreads, bleed, colour and exported PDFs are covered in YBJ Printing’s board book file setup guide. Final production files should use the requested colour space, embedded or outlined fonts and suitable image resolution.
Proofing and Production Checks
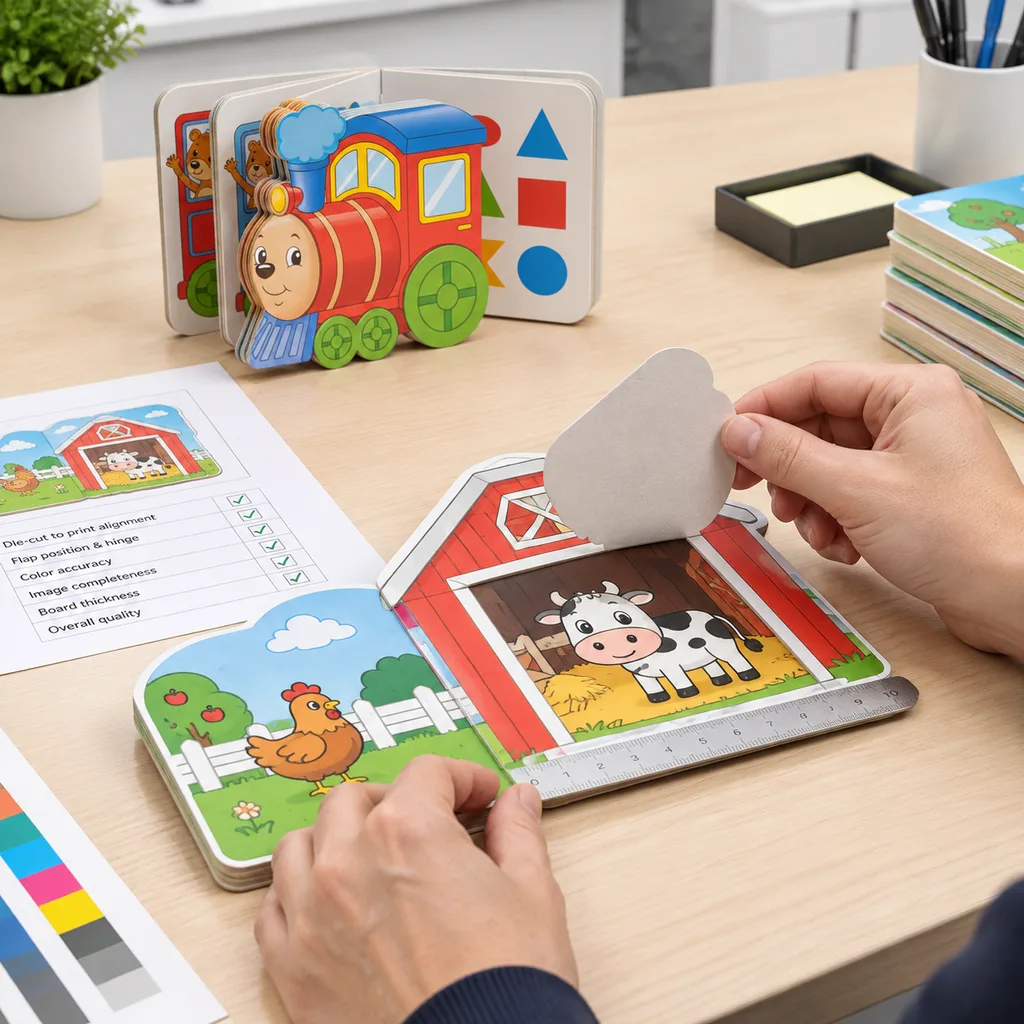
A screen PDF can confirm text and basic positioning, but it cannot fully demonstrate hinge resistance, flap clearance, board thickness or page build-up. For a new mechanism, ask what physical proof or handmade dummy is appropriate and what differences may remain between that sample and mass production.
During proof review, open every flap several times. Check that the reader can find and grip the opening edge, the hinge folds in the intended direction and the flap closes close to its original position. Confirm that hidden images are centred, cut edges are clean and no essential artwork is removed by cutting.
Also inspect page order, colour, lamination, rounded corners, spine movement and the way the closed book lies. Record approvals and corrections using flap numbers and page or spread references rather than informal visual descriptions.
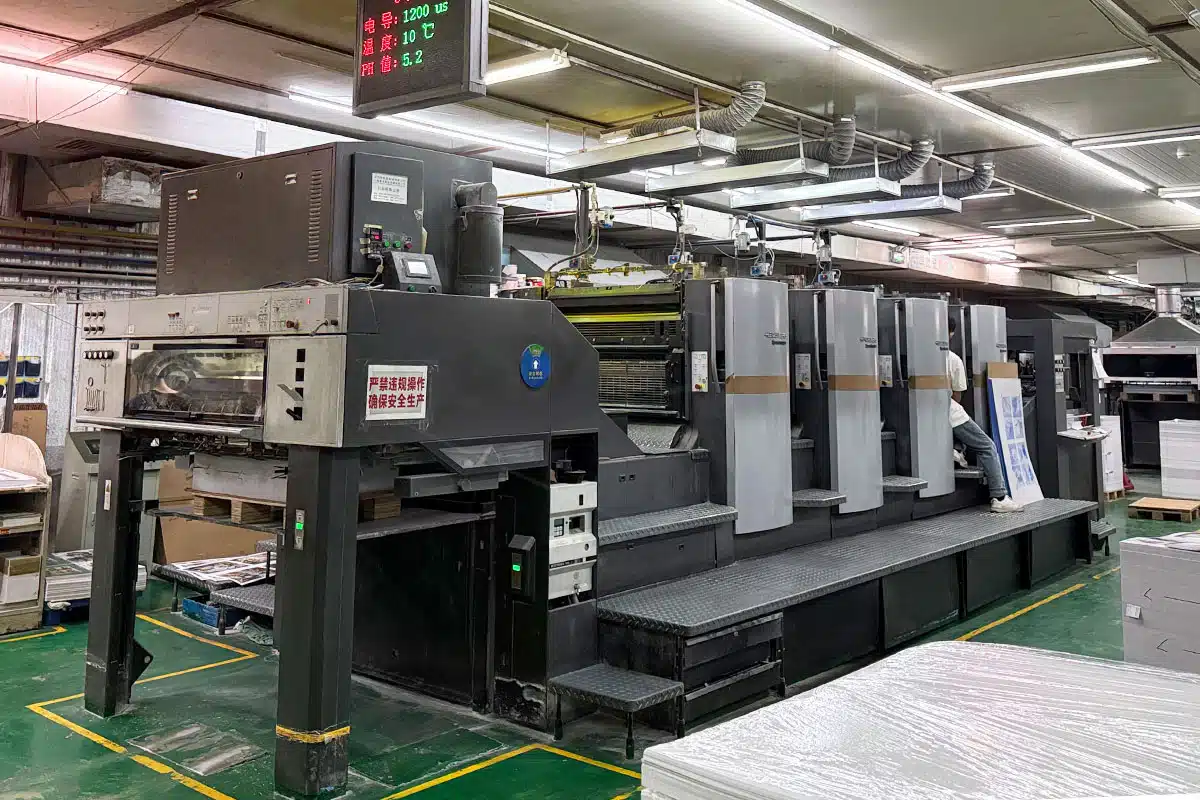
After artwork and structure approval, production can include printing, mounting, die cutting, flap assembly, binding, inspection and export packing. The sequence varies by design. The broader stages are explained in the board book production process.
Relevant Board Book Product Options
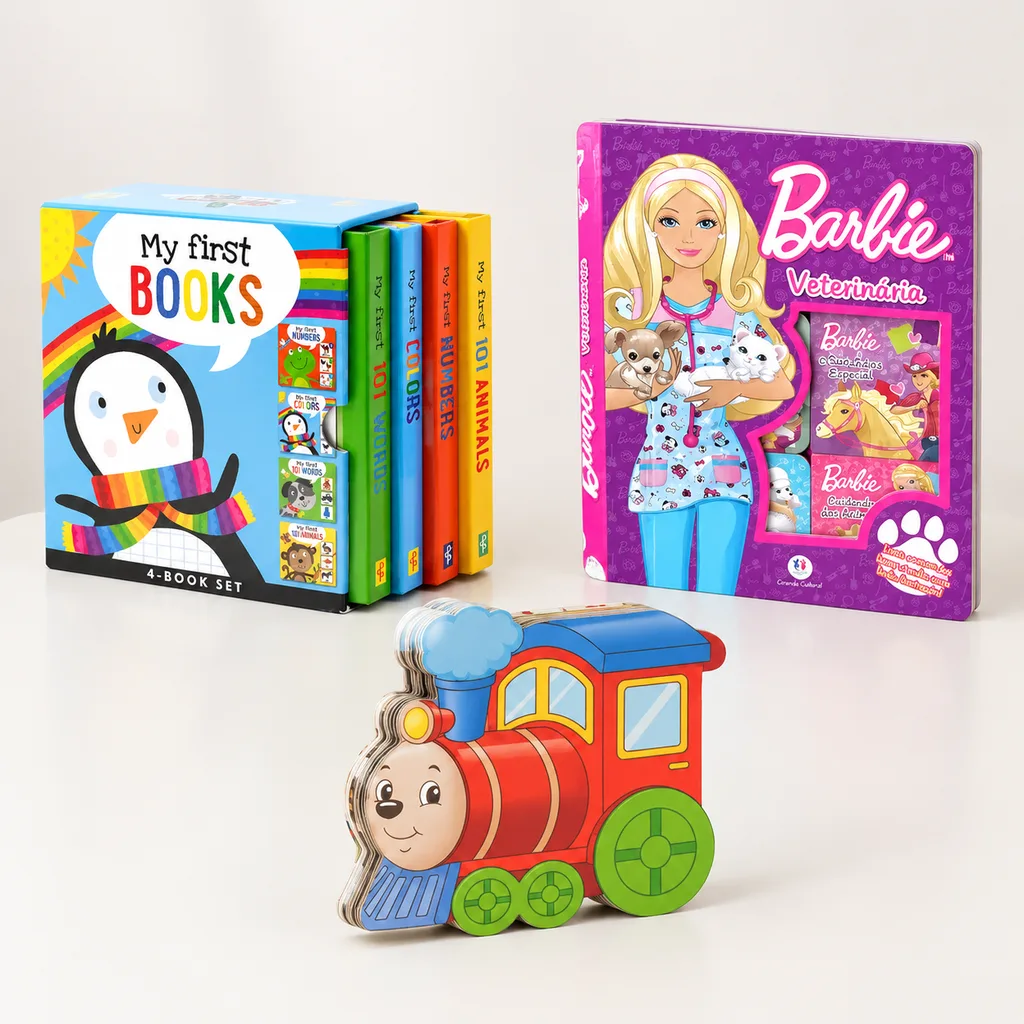
The most relevant product route depends on whether the project is a single interactive title, a shaped concept or a coordinated collection. These pages provide useful starting points for a specification discussion. The flap mechanism itself should still be reviewed against the artwork and prototype.
| Product option | Potential fit | What to provide for review |
|---|---|---|
| Custom board book set printing | Related titles sold or packed as a coordinated set | Book count, individual specifications and packaging concept |
| Die-cut shaped board book printing | Projects combining interactive pages with a custom outer silhouette | Outer cut path, flap dielines and a full-size dummy |
| Children’s story board book set printing | Story-led collections with related formats or themes | Title list, page plans, artwork status and set presentation |
Do not select a format from appearance alone. Confirm the intended interaction, target market, quantity and packing requirements with the lift-the-flap book manufacturer before approving the final structure.
Buyer Checklist
Use this checklist before requesting a custom flap book printing quotation or approving production:
- Define the intended reader age and destination market.
- Confirm the finished trim size, orientation, page count and quantity.
- List every flap by spread, size, shape, hinge position and opening direction.
- Provide a full-size physical or digital interaction mock-up.
- Identify the preferred board thickness, paper surface and finish.
- Keep critical artwork clear of cuts, folds, hinges, gutters and page edges.
- Supply separate artwork, dieline and instruction layers.
- Number flaps consistently across files and review comments.
- Confirm whether packaging, sets, labels or individual wrapping are required.
- Agree on the proof type and record what the proof can and cannot represent.
- State the delivery country, postal code or port and any deadline constraints.
- Confirm applicable product testing, labelling and documentation requirements for the sales market.
Market requirements differ. The publisher, importer or brand owner should identify the rules that apply to the intended age group and destination, then discuss material declarations and testing arrangements with the supplier before production.
Cost, Lead Time and Quality Assumptions
Pricing assumptions should include the finished size, page count, quantity, board and paper choices, number and complexity of flaps, die-cut tooling, surface finish, proofing, assembly, packing and delivery destination. A project with many uniquely shaped or applied flaps will normally require more tooling and assembly than a book with a few simple integrated flaps.
Lead time cannot be assessed from page count alone. It may be affected by dieline development, prototype revisions, material availability, printing, mounting, die cutting, manual work, drying or curing, binding, inspection and shipping method. Incomplete artwork or structural changes after proofing can extend the schedule.
Print quality assumptions should cover colour expectations, registration tolerance, cut-to-print alignment and acceptable hinge behaviour. Share physical colour references when a particular result matters, but allow for differences between screens, digital proofs, production printing and materials.
Ask for the quotation to separate product specification, proofing, packing and freight assumptions. This makes alternatives easier to compare when changing quantity, finish or construction.
Conclusion
Effective lift the flap board book printing starts with a clear interaction plan and a manufacturable structure. Finalise the flap map, build a full-size dummy, obtain a project-specific dieline and check the physical mechanism before approving mass production. Early coordination between the illustrator, designer and printer helps keep hidden artwork, cut paths and assembly instructions aligned.
FAQ
How should artwork for a lift-the-flap board book be supplied?
Supply print-ready artwork together with separate vector dielines for cuts, folds or scores. Clearly label each flap, hinge and opening direction. Use the printer’s required bleed, safe area, colour settings and PDF standard rather than assuming that a general book template will suit the mechanism.
Can every flap shape be manufactured?
No. Very narrow sections, sharp points, crowded cut paths and weak hinges may be impractical or less durable. The manufacturer should assess the design at final size and may recommend wider bridges, rounded corners or a simpler outline.
Does a lift-the-flap book need a physical prototype?
A physical prototype is advisable for a new structure because a screen proof cannot show flap resistance, hand access, closing position or page build-up. Ask what type of dummy or proof is appropriate and how it may differ from production copies.
What affects the cost of custom flap book printing?
Main factors include trim size, page count, quantity, materials, flap count, shape complexity, tooling, assembly, finish, proofing, packaging and delivery destination. Complete dielines are usually needed for a meaningful quotation.
How can I make flaps easier for young readers to open?
Use a clear opening edge, adequate finger access and a lifting direction that does not conflict with the gutter or another flap. Avoid small or fragile projections. Test a full-size dummy with the intended interaction before finalising the artwork.
Who is responsible for safety and compliance requirements?
The publisher, importer or brand owner should identify the requirements that apply to the product’s age grading and destination market. Discuss required materials, labelling, documentation and testing with the supplier before approving production.
Discuss Your Lift-the-Flap Board Book Project
Contact YBJ Printing to review your proposed structure and request a quotation. For an accurate assessment, provide the product type, finished trim size, page count, quantity, paper or board and binding preference, flap count and dielines, finish, current file status and destination country. A digital mock-up or full-size dummy is also helpful for explaining how each flap should work.