
Table of Contents
- What a die-cut board book file needs
- Confirm the construction before drawing
- Build a usable shaped board book dieline
- Place artwork, bleed and safe content
- Compare file approaches for shaped pages
- Check page order and the binding edge
- Preflight and proof the shape
- Match the file to the board book format
- Buyer checklist before sending files
- Final takeaway
A shaped board book needs more than a standard print-ready PDF. Learn how to coordinate the cut line, artwork, page sequence and proof so the finished shape works throughout the book.
What a die-cut board book file needs
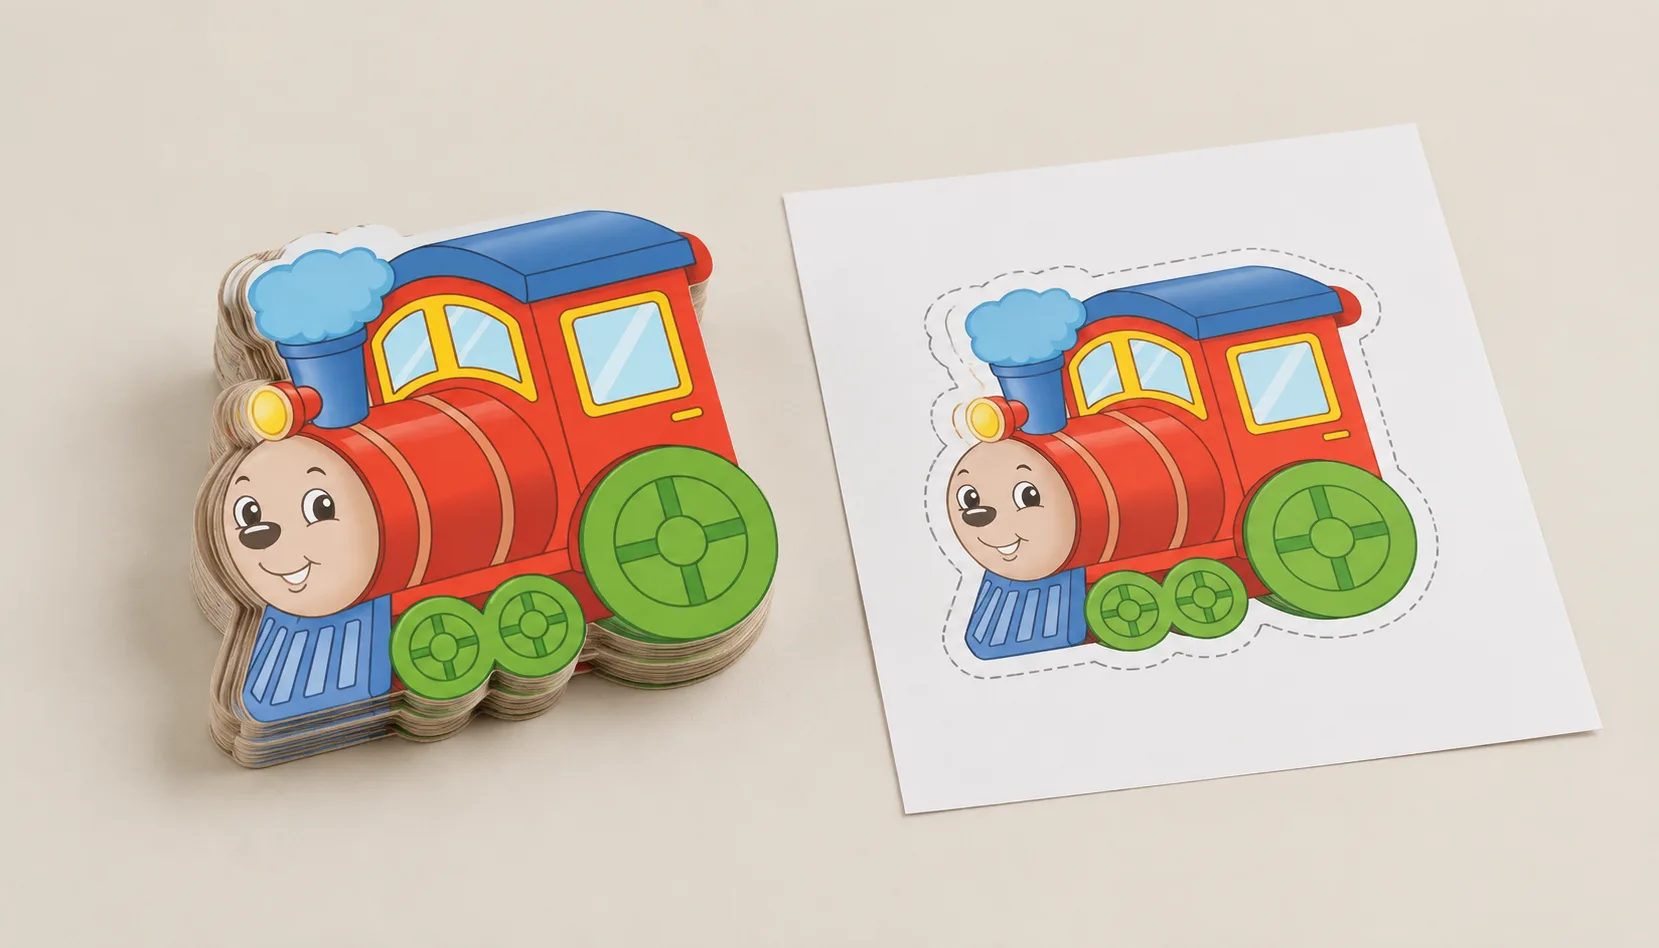
Die cut board book file setup means preparing two coordinated things: artwork that extends beyond the intended finished edge, and a clearly identified dieline that shows where the board pages should be cut. The printer also needs the correct page sequence and enough information to understand how the shaped pages will be assembled and bound.
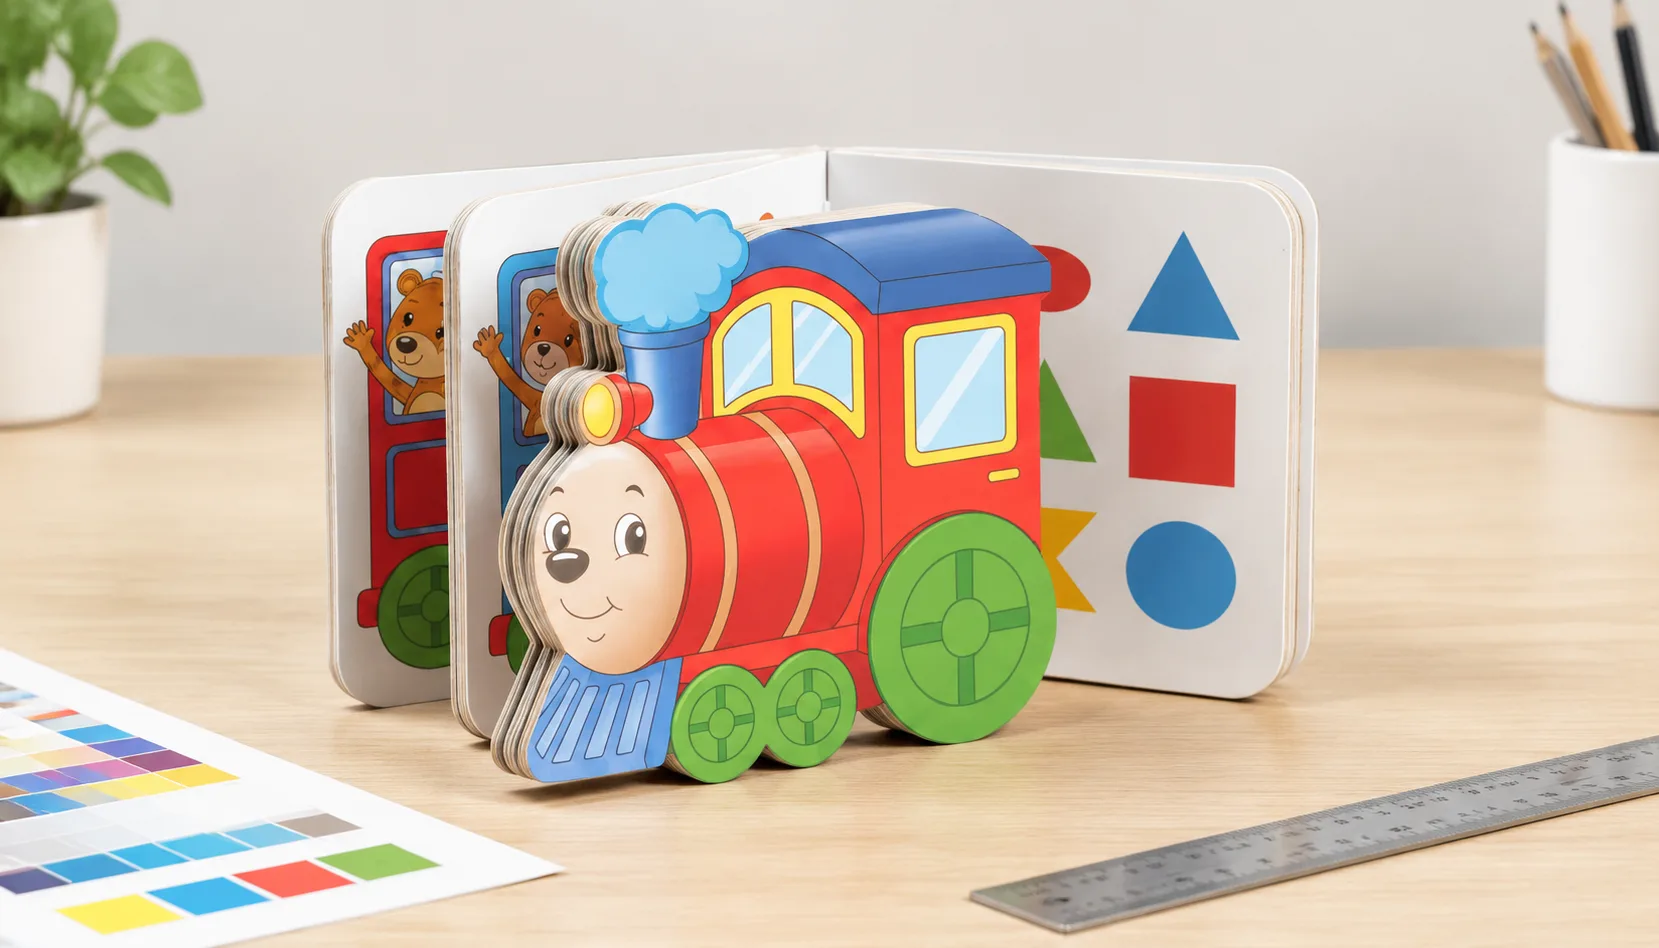
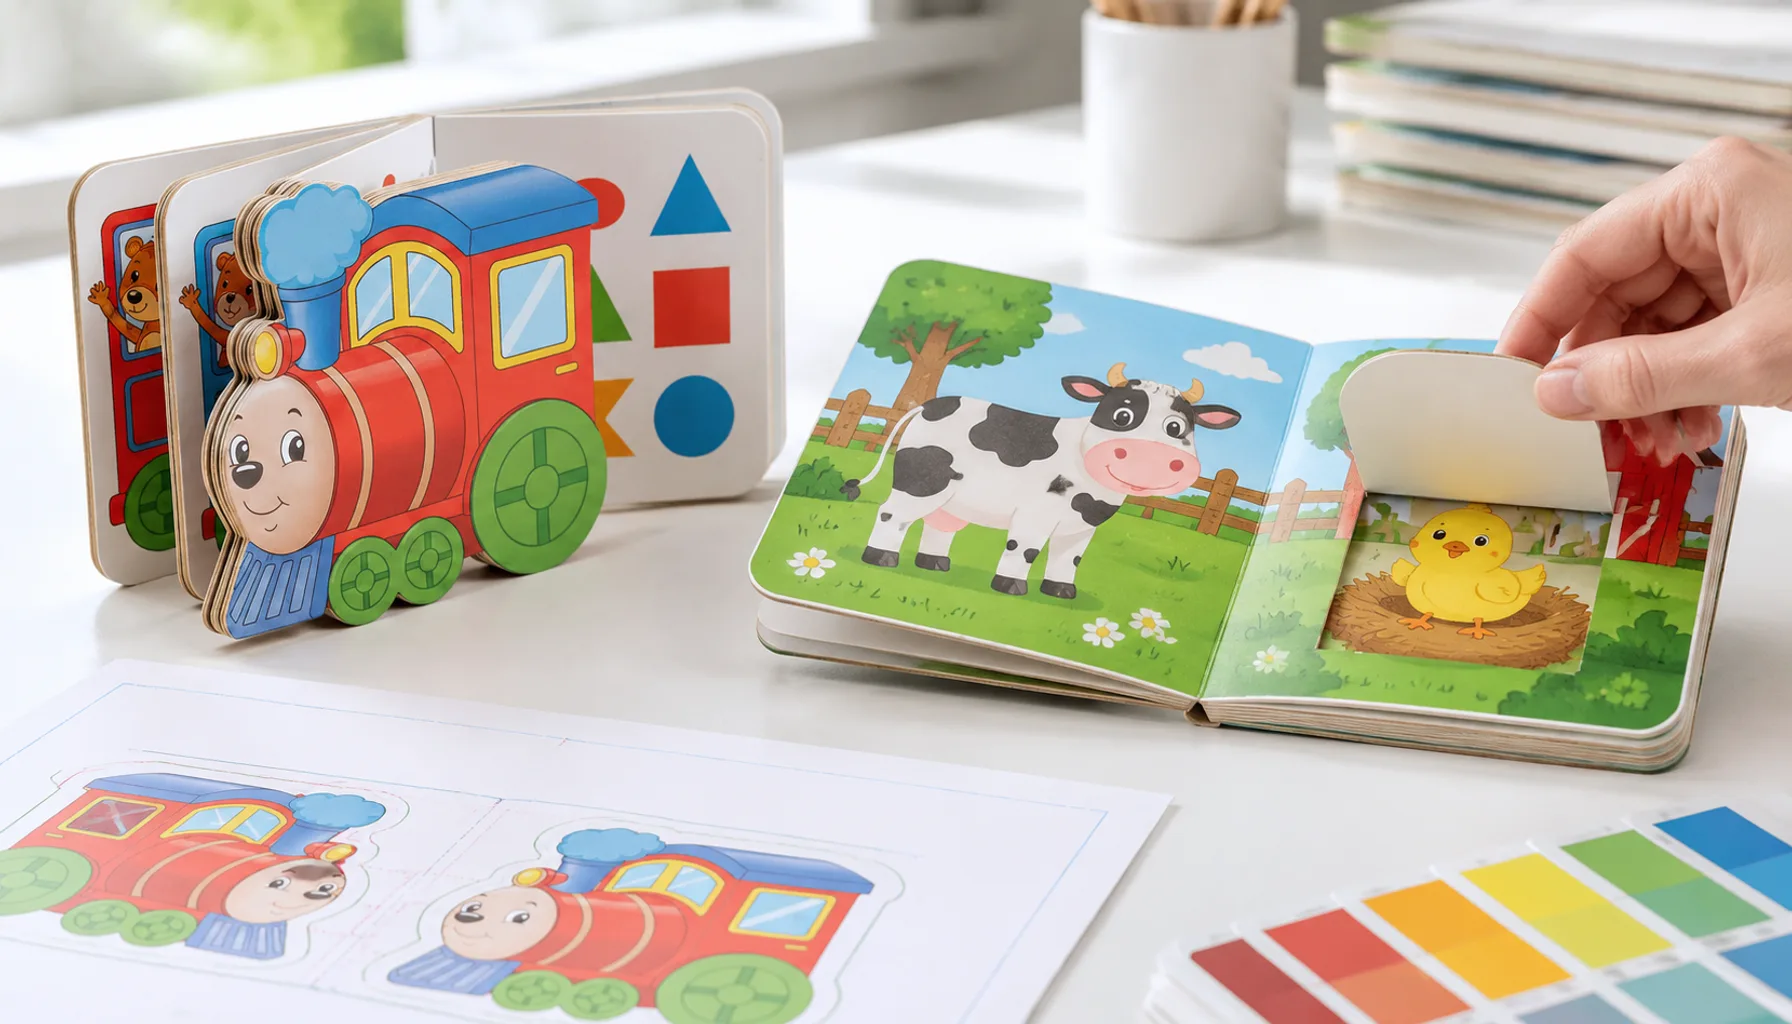
Unlike a rectangular book, a shaped book may have curves, projecting details or pages with different outlines. Those choices affect the usable area for text, the opening of the book and the way pages align when closed. Treat the dieline as a production specification, not decorative artwork.
The steps below are a preparation guide, not a universal cutting tolerance. Confirm the production template, bleed, safety clearance and acceptable shape with the manufacturer before finalizing files. For context on available formats, see custom die-cut shaped board book printing.
Confirm the construction before drawing
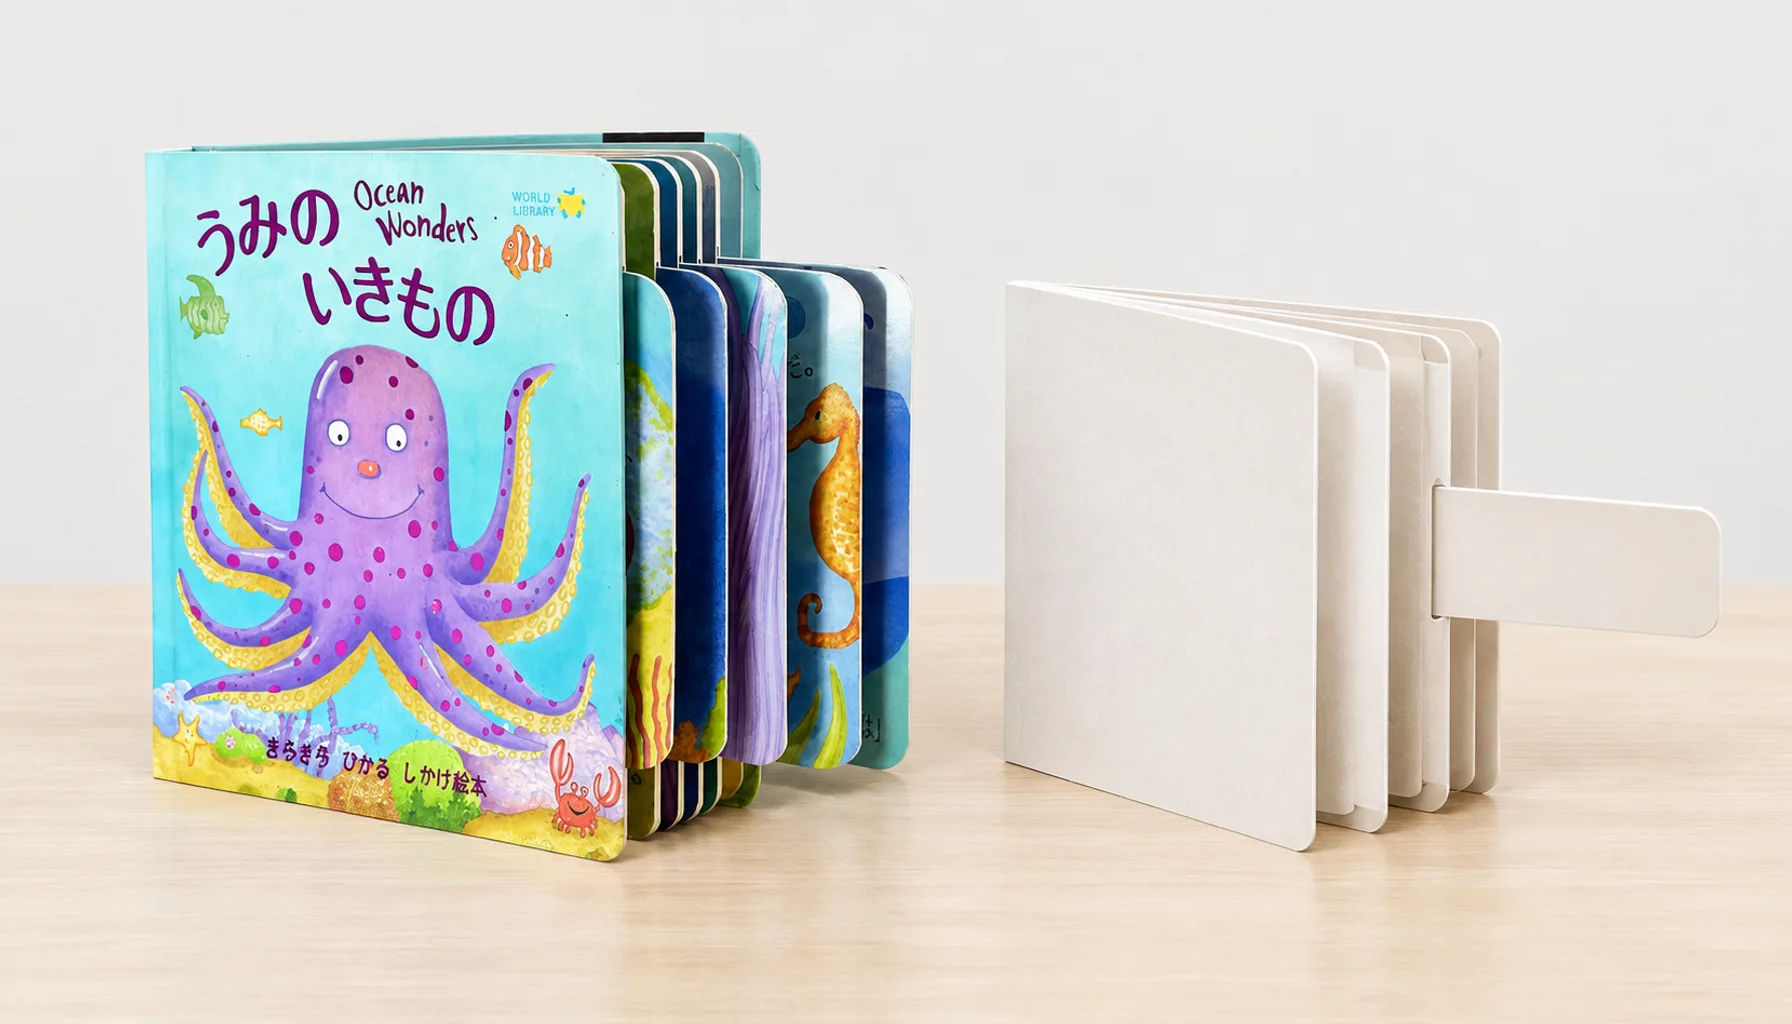
Start with the finished book, not the software document. Specify its maximum width and height, page count, intended opening direction, board construction and whether every page shares one outline. Identify any tabs, stepped pages, internal openings or cutouts separately. A silhouette cut around a closed book is a different job from a window cut through one page.
Ask which edge must remain available for binding and how close a cut feature may come to it. Board thickness, page count and construction can change how the closed book stacks and how easily small projections turn. Do not estimate a hinge or spine allowance from a screen preview; request the approved dimensions or template for the selected construction.
If the size or page structure is still undecided, review board book thickness, page count and finished-size considerations before commissioning detailed illustrations. Changes at this stage can affect the outline on every page.
Build a usable shaped board book dieline
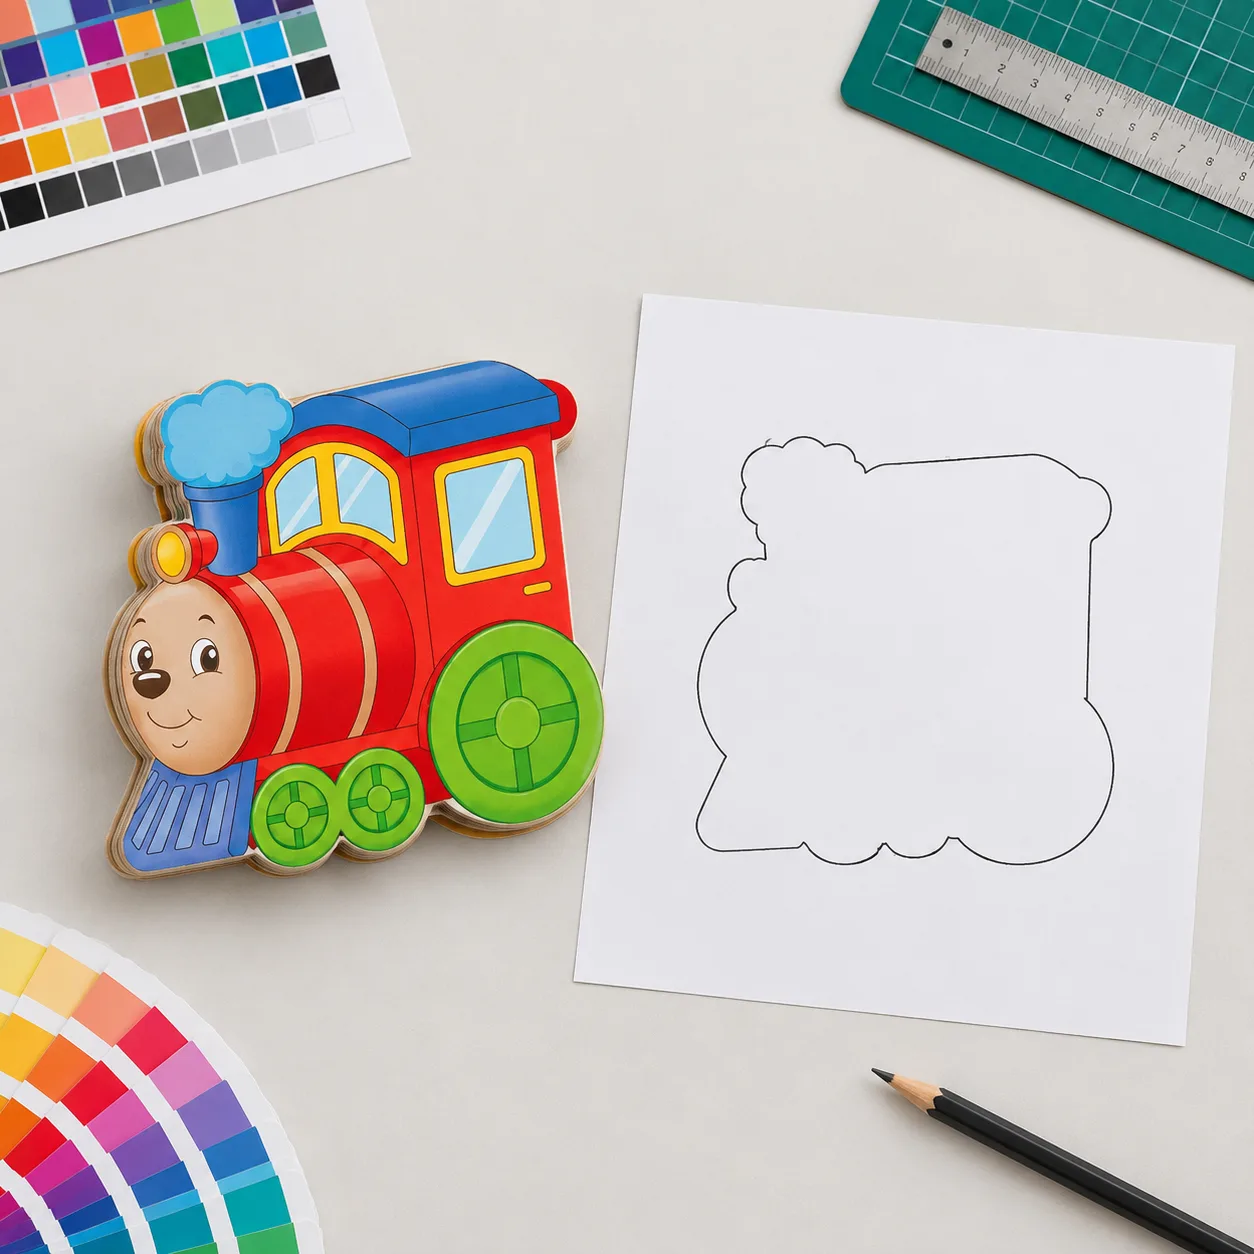
A shaped board book dieline should make the finished perimeter unmistakable. Draw the proposed cut path as a clean vector line at final size, on its own clearly named layer. Keep it separate from illustrations and identify it as a guide for production, not an element to print. If a page has an internal opening, give that cut its own clearly labeled path. Confirm with the printer how dielines should be supplied and whether they want a separate dieline file, a nonprinting layer or both.
Use closed paths for complete cut shapes. Remove accidental duplicate paths, loose points and tiny irregularities left by image tracing. Inspect curves at high zoom, especially around tight corners, tabs and narrow necks. A smooth outline is easier to review than a path made of hundreds of unnecessary points.
Label each outline by the page or spread it belongs to. If several pages use the same perimeter, state that explicitly. If pages are staggered, include a simple closed-book view showing which shapes sit in front and which remain visible. Mark the binding edge and the book’s top so a rotated dieline cannot be mistaken for a different page.
A dieline alone does not confirm that a shape is manufacturable. Very fine protrusions, small internal openings and cuts close to the binding area need a feasibility check against the chosen board and construction before artwork approval.
Place artwork, bleed and safe content
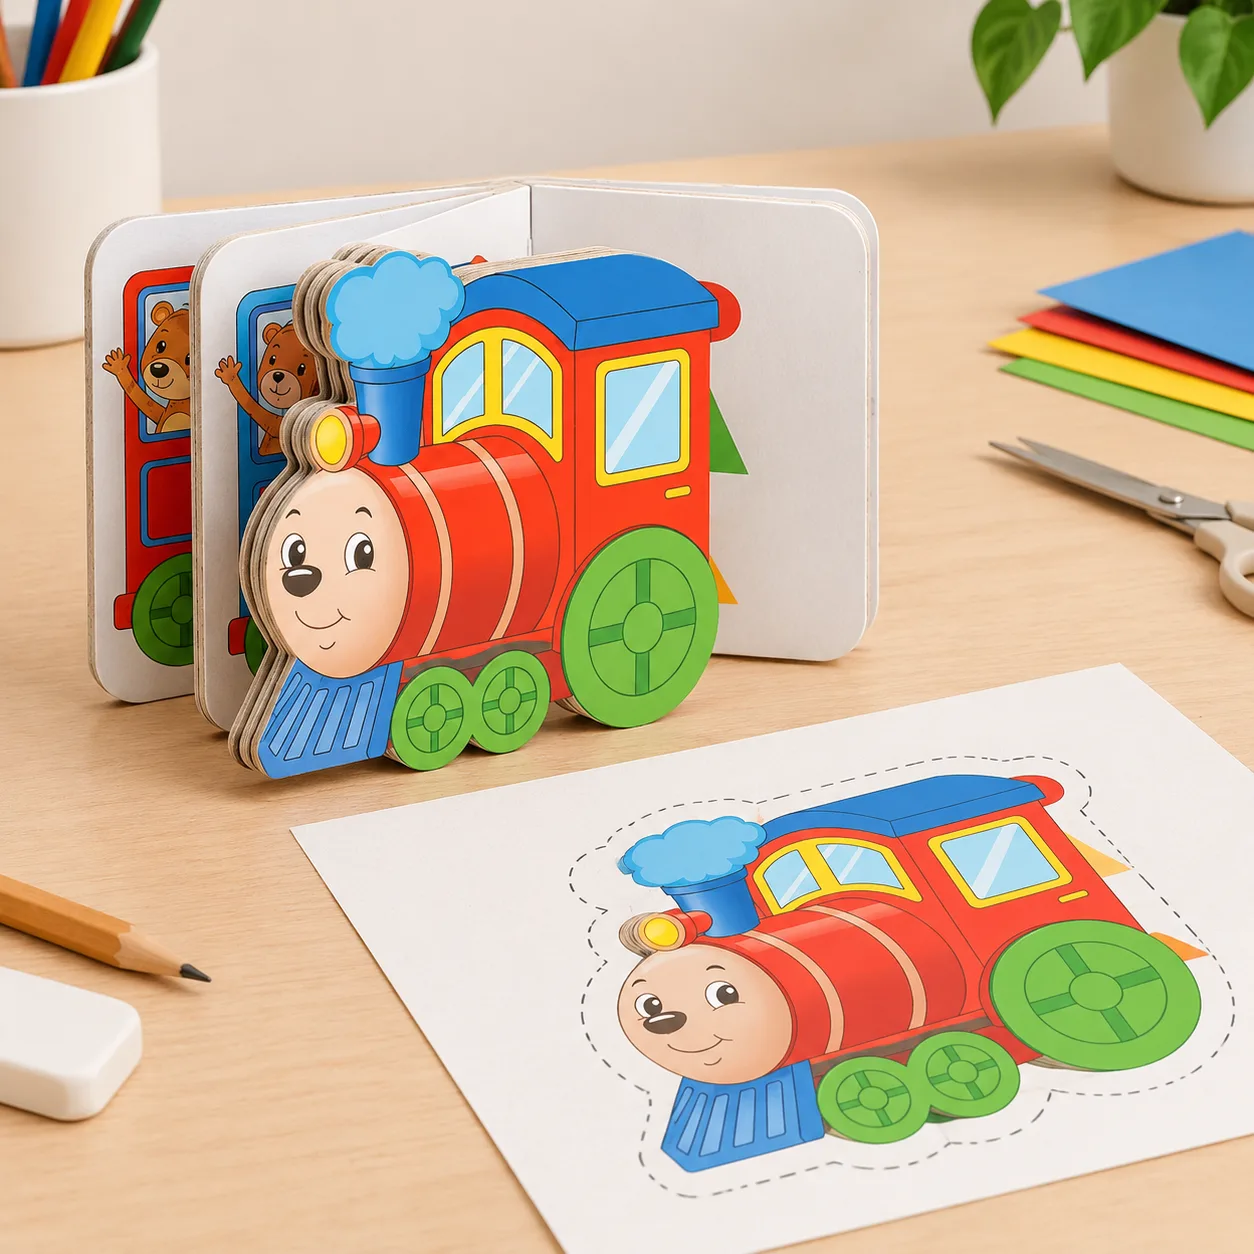
Extend backgrounds and images past every edge that will be cut, including the sides of tabs and internal openings where the design requires printing to the edge. This extra image area is bleed. Its required width depends on the approved production template; do not assume that a bleed value used for an ordinary book applies to every shaped feature.
Keep text, faces, logos, small illustrations and other essential details inside a safe area set back from the cut path. Pay particular attention to inward curves and narrow projections: an element that looks comfortably inside the shape at one point may approach the cut a few millimetres farther along. Ask the printer to confirm the safe-area guidance for those features.
Check the binding side independently. Artwork disappearing toward the hinge may be intentional, but text and important visual details need enough clearance to remain visible when the thick pages are opened. For basic page and spread setup, consult the board book template guide for pages, spreads and bleed; then apply the approved shaped dieline to each relevant page.
Prepare placed images at the effective resolution requested by the printer, use the agreed colour workflow and review any small type or fine lines at final size. Do not place the cutting path on the printable artwork layer: it should guide production without appearing as a coloured outline in the finished book.
Compare file approaches for shaped pages
There is no single best way to package every die cut book artwork file. Choose a method the production team can identify and verify, and confirm their preferred export settings before delivery.
| File approach | Useful when | What to check |
|---|---|---|
| Artwork PDF plus separate vector dieline | The cut paths require independent review or several pages share an outline. | Page IDs, orientation, size and version must match exactly across both files. |
| Artwork and dieline on separate layers in a working file | Designer and prepress team need to inspect cut placement against live artwork. | Keep the dieline clearly named and distinguish it from print objects; confirm the printer accepts the file format. |
| Artwork PDF with a visible reference overlay, plus production dieline | Reviewers need a quick visual check of alignment and page order. | Mark the overlay as reference only and supply unmarked print artwork separately. |
Do not rely on a screenshot or raster image as the only source of the board book cut line. A visual mockup helps communicate intent, but production needs a clearly specified, scalable path and artwork that matches it.
Check page order and the binding edge
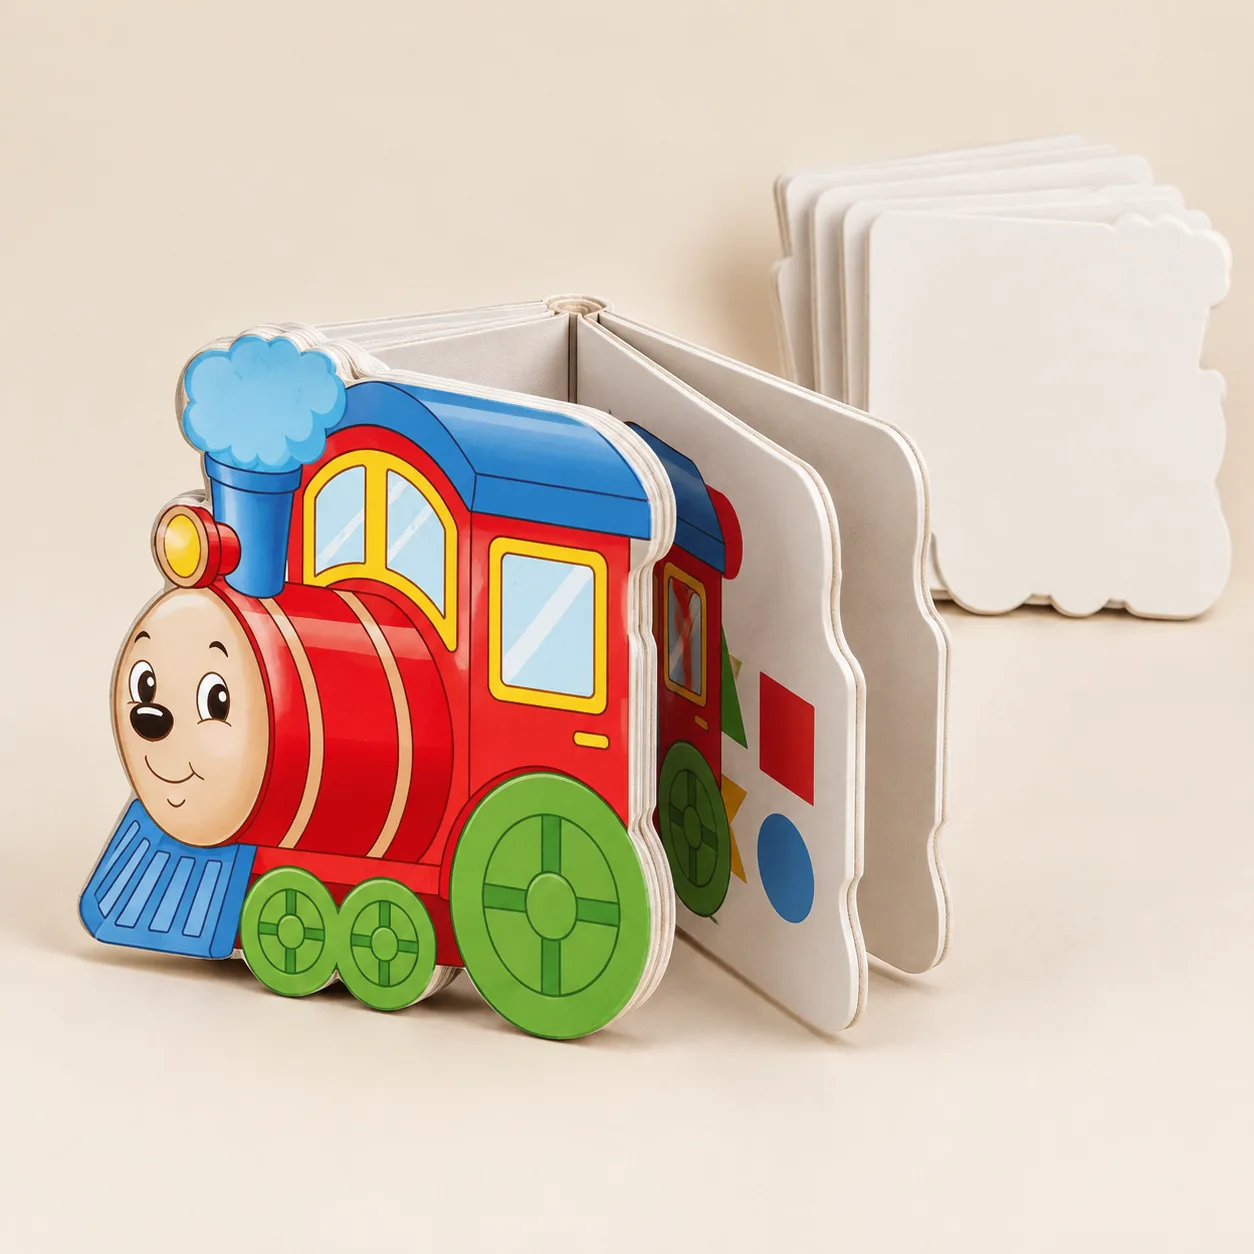
Number the reading sequence clearly, including the front cover, back cover and any printed inside-cover surfaces. Ask the printer whether artwork should be supplied as single pages, reader spreads or a production-specific layout. Board book construction can affect which printed surfaces are paired, so do not impose pages or reverse back-side artwork without instructions.
For each page, verify that the shape is oriented correctly relative to the hinge. This matters when a projecting feature alternates sides, a character must align across an opening or an internal cutout reveals artwork beneath it. Check both the open spread and the stack of pages as the reader closes the book.
A simple page map can prevent expensive ambiguity. Show thumbnails in reading order, identify the cut path used for each one and flag intentional overlaps or reveal areas. Where shapes vary, include a closed-book mockup so the printer can distinguish deliberate stepped edges from a mismatched file.
Preflight and proof the shape
Before export, inspect every page at its actual finished size. Look for missing bleed along irregular edges, essential details too close to the cut, inconsistent outlines, unintended white slivers and fine features that may be difficult to produce. Confirm fonts and linked images are handled according to the printer’s file requirements, and check that the artwork PDF does not accidentally print the dieline.
Then compare the exported files with the working document. PDF export can change layer visibility or produce an unexpected page box, so verify dimensions, orientation, page count and the match between artwork and dieline after export, not just before it.
Ask what the proposed proof will demonstrate. An on-screen or printed artwork proof can help check content and colour expectations, while a physical dummy is more useful for assessing shape, handling and page interaction. Neither should be assumed to represent every final production characteristic. The guide to book dummies, proofs and press samples explains these different checks.
Request confirmation of the cut path and any revised template before approving production. If prepress moves an outline or changes a narrow projection, review the corresponding artwork and page stack again.
Match the file to the board book format
The intended product format determines which outlines and assembly details need the most attention. These product pages provide starting points for discussing a project; the final file specification should be confirmed for the actual design.
| Product option | Relevant file-planning question |
|---|---|
| Custom die-cut shaped board book | Do all pages share one perimeter, or does each page need its own labeled dieline? |
| Board book and hardcover printing | Which construction and binding edge apply to the proposed page layout? |
| Custom board book set printing | Are the book files, set components and any packaging artwork identified separately? |
For a book whose outer contour carries the concept, start with the die-cut shaped format and share the proposed outline before completing all pages. For a multi-book set, keep each title’s page map and dielines clearly identified. A set may also need separate packaging specifications; do not assume the book’s dieline applies to its container.
Buyer checklist before sending files
- Finished format: State the maximum trim width and height, page count, opening direction and intended construction.
- Shape: Identify the binding edge, page-specific outlines, tabs and any internal openings.
- Dieline: Supply clearly labeled vector cut paths at final size, following the printer’s requested format.
- Artwork: Check bleed at all cut edges and keep essential content within the agreed safe area.
- Sequence: Include a page map and a closed-book mockup if shapes overlap or vary.
- Export: Check fonts, images, dimensions and page order in the files actually being sent.
- Production review: Ask for confirmation of shape feasibility, template dimensions and an appropriate proof before approval.
File readiness affects scheduling, but it is not the only lead-time factor. Quantity, materials, finishing, the approved shape, proofing and delivery destination also matter. Resolve uncertain dimensions and cut details before treating a production estimate as final.
Final takeaway
A reliable die-cut board book file pairs each page’s artwork with an unambiguous cut path, sufficient bleed and a clear reading sequence. The most important early decision is the approved shape and construction: once those are settled, the designer can position content and prepare exports against the correct template.
FAQ
What is a dieline for a die-cut board book?
It is the specified cut path for a page or cover. Supply it as a clearly labeled vector path at final size, separate from printable artwork, and confirm the printer’s preferred file format.
Does every shaped page need a separate dieline?
Not necessarily. Pages with the same outline can be identified as sharing a dieline. Supply distinct, labeled paths wherever the shape or internal openings change.
How much bleed should I add around a shaped page?
Use the bleed specified in the approved production template. Extend artwork beyond every printed cut edge, including tabs or internal openings where the design runs to the edge.
Can I send a JPEG of the shape instead of a vector cut line?
A JPEG can communicate the concept, but it should not be the only production dieline. The printer needs an accurately sized, clearly identified cut path that can be checked against the artwork.
Should I arrange board book pages into printer spreads myself?
Only if the printer requests that layout. Supply a clear reading-order page map and follow the agreed template, because page pairing depends on the book’s construction.
Discuss your shaped board book files
Request a quote or share your proposed dieline for a file review discussion. For an accurate quotation, include the product type, trim size, page count, quantity, paper or binding preference, finish, artwork file status and destination country. Note whether all pages share one shape or require different cut paths.